Turning off the water supply to your shower may seem like a simple task, but if you’re not sure how to do it, it can be quite frustrating. Whether you’re dealing with a leaky faucet or you need to replace a showerhead, knowing how to turn off the water to a shower is an essential skill for any homeowner. In this guide, we’ll walk you through the steps on how to turn off water to a shower.
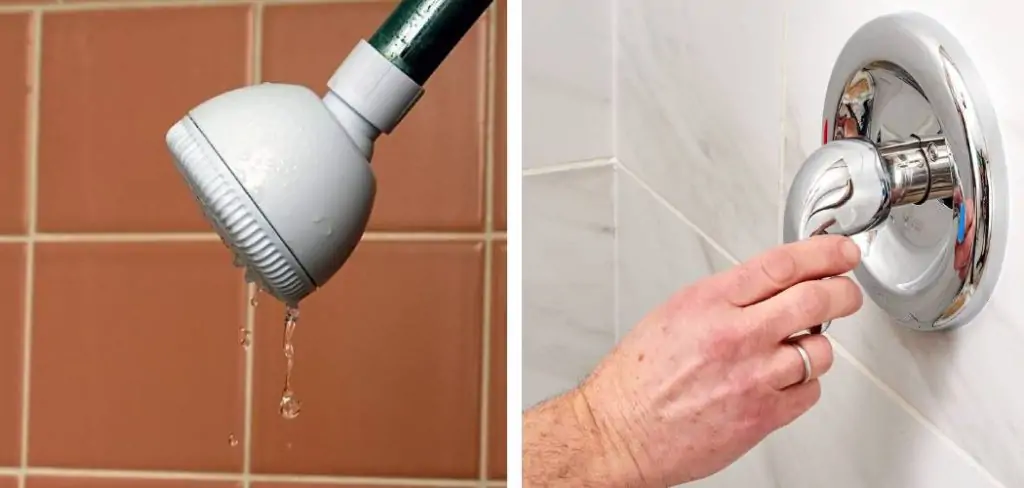
What Tools Are Needed to Turn Off Water to a Shower
Before you get started, it’s important to make sure you have the necessary tools on hand. These may include:
- A pair of pliers or an adjustable wrench
- A bucket or container
- Teflon tape (if replacing a showerhead)
It’s also a good idea to have some towels handy in case any water spills out during the process.
10 Simple Steps on How to Turn Off Water to a Shower – DIY Guide
When it comes to home maintenance and the joy of DIY projects, knowing how to turn off water to a shower is an essential skill. Whether you’re preparing for a repair, a renovation, or just want to have the knowledge for the inevitable home plumbing issues, understanding the process is critical for homeowners. Here’s a step-by-step guide to turning off water to your shower.
Step 1: Locate the Shut-Off Valve
The first step is to find the shut-off valve that controls the water supply to your shower. In most cases, you’ll find it near the shower, either below it, alongside the shower arm, or on a nearby wall or floor. If it’s a newer home, the valve may be a lever-style handle, while in older homes, it could be a round or cross-shaped knob. Make sure the valve is accessible and not hidden behind a wall. If it’s hard to reach or you’re unsure if you’ve found the correct valve, it’s a good idea to call a professional plumber for assistance.
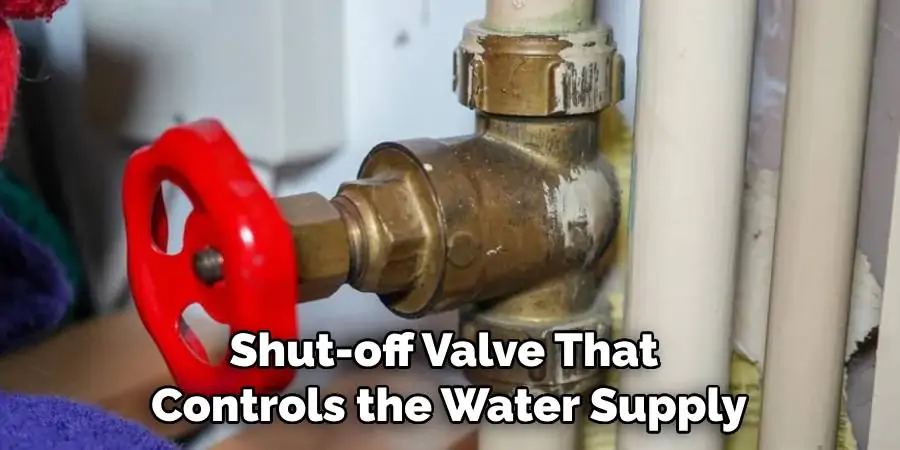
Step 2: Turn the Valve to the Right (Clockwise)
Once you have located the valve, you need to close it. For most standard valves, turning the handle clockwise will stop the flow of water. If it’s a lever-style handle, you may need to turn the lever to a 90-degree angle from the direction of the pipe to cut off the water. The valve is closed when you can no longer turn it, or when it’s fully perpendicular to the pipe.
Step 3: Check for Leaks
After closing the valve, it’s important to check for leaks. They can be a sign of a faulty valve or another issue that may require professional attention. Even a small drip can waste a significant amount of water over time and cause water damage, so this step is crucial to verify that the water supply is completely shut off.
Step 4: Open the Shower Faucet to Drain Remaining Water
To ensure the water is fully turned off, open the shower faucet and let it run until the water stops flowing. This will drain the remaining water in the pipes and depressurize the system, which can help minimize any potential leaks if you need to do work on the shower.
Step 5: Secure Tools and Materials
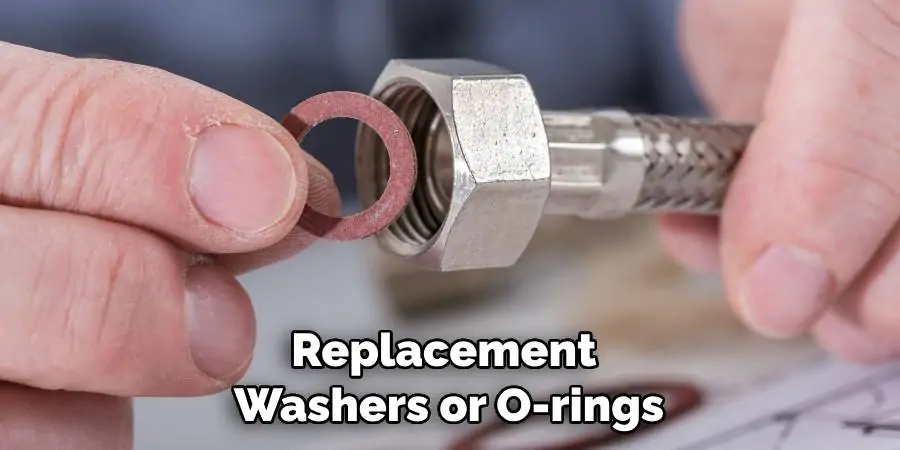
If you’re shutting off the water to perform a repair or replace any parts, you’ll need to gather all the necessary tools and materials. Common items you may need include pipe wrenches, Teflon tape, replacement washers or O-rings, and a bucket or towels to catch any excess water. By being prepared, you can streamline the repair process and avoid multiple trips to the hardware store.
Step 6: Identify the Issue
Before starting any work, be sure you understand what the problem is. If you’re experiencing a leak, try to locate the source. If the shower is not functioning properly, try to diagnose the issue. For example, if the water pressure is low, it could be a blockage in the showerhead, while a leaking shower could be due to damaged seals or a cracked pipe. Understanding the problem is the first step to solving it.
Step 7: Perform the Repairs
Now it’s time to address the issue. Use the appropriate tools and techniques to perform the necessary repairs. If you’re unsure about your DIY skills, consult with a professional to avoid causing further damage. Follow any instructional materials that come with the replacement parts, and be careful not to overtighten fittings, as this can cause damage.
Step 8: Test Your Work
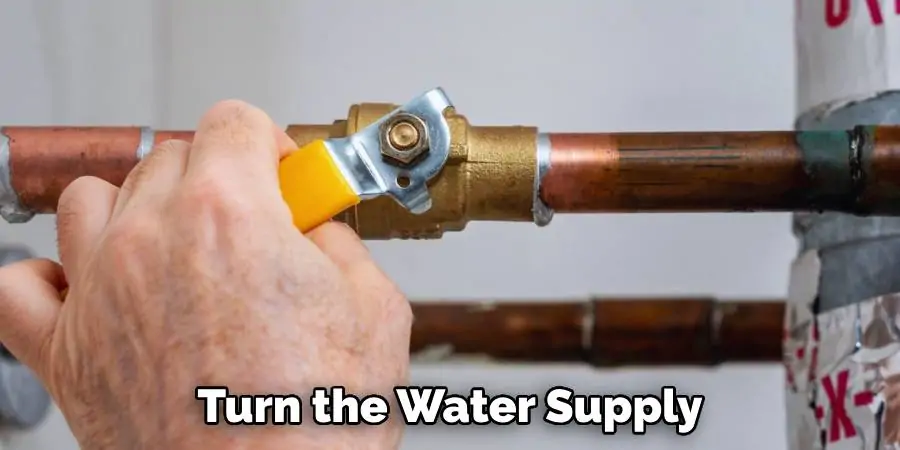
Once the repairs are complete, turn the water supply back on and test the shower. Check for leaks and ensure the repairs fixed the initial problem. It’s a good idea to start with a low water flow and gradually increase it to re-pressurize the system and check for leaks under all levels of water pressure.
Step 9: Clean Up any Mess
If there were any leaks during the repair, be sure to clean up and dry the area thoroughly. Water damage can lead to mold and other issues, so it’s important to address any problems immediately. Dispose of any parts or materials safely, and keep the workspace clean to minimize any hazards.
Step 10: Maintain Your Plumbing
Preventative maintenance is key to avoiding major plumbing issues in the future. Regularly check for leaks, repair any drips or irregular water flows, and keep an eye out for signs of water damage. Keep the area around the shut-off valve clear and accessible, and know how to turn it off in case of emergencies. Finally, consider having a professional plumber inspect your system annually to catch any potential problems early and keep your home’s plumbing in top shape.
Additional Tips for Proper Shower Maintenance
- Regularly check the condition of your shower valve and its components to catch any issues early on.
- Avoid using harsh chemicals or cleaners on your shower as they can damage the valve and cause leaks.
- Keep an eye out for any signs of water damage or leaking around your shower area. Address them immediately to prevent further damage.
- Consider installing a water pressure regulator to prevent excessive pressure from damaging your shower valve.
- If you notice any unusual noises or difficulty turning your shower on and off, it may be a sign of a faulty valve that needs to be replaced.
- Don’t ignore any leaks or issues with your shower, as they can lead to bigger problems and costly repairs in the long run. Regular maintenance and timely repairs are key to keeping your showers functioning properly.
Remember, taking care of small maintenance tasks now can save you from bigger headaches and expenses down the line. Don’t hesitate to reach out to a professional for assistance if needed. Happy showering!
You Can Check it Out to

Frequently Asked Questions
Where is the Water Shut-off Valve for a Shower?
In the stillness of your home, a sudden hiss breaks the silence—a telltale sign that your tranquility might soon be dampened by a plumbing emergency with your shower. Before panic sets in, it’s crucial to know how to turn off water to a shower. Hunting for the elusive water shut-off valve might not be your idea of an adventure, but it’s an essential skill every homeowner should master. Typically tucked away in an access panel or nestled near the bathroom’s main water line, this gatekeeper of the aqueous realm stands guard against unwanted spills and splashes.
With a deft twist, you can staunch the flow, transform potential chaos into calm, and bask in the satisfaction of a crisis skillfully averted. Descend into the nether regions of your sink cabinet or brave the cobwebbed corners of your basement, ready to emerge as the champion of your domestic waterscape.
Why is the Water Not Turning Off in My Shower?
A shower that won’t stop running can feel like a never-ending annoyance, not to mention the damage it can cause to your water bill. The culprit is usually a malfunctioning shower valve, which controls the flow and mixture of hot and cold water. This valve can become worn out or damaged over time, leading to leaks or continuous running. In some cases, the issue can be fixed with a simple adjustment or replacement of the valve’s components. However, it’s always best to consult a professional plumber for an accurate diagnosis and safe repair.
How Do I Shut the Water Off to My Bath?
If you find yourself in a situation where water won’t stop running from your shower, the first course of action should be to shut off the water supply. This will prevent any further damage and allow for proper repairs to be made. To turn off the water to your bath, locate the main shut-off valve for your home’s plumbing system. It is usually found near your water meter, as this is where the main water line enters your home. Turn the valve clockwise to shut off the water supply.
Conclusion
In this guide, we’ve discussed the causes of a shower that won’t turn off and how to turn off water to a shower to prevent any further damage. Remember, if you’re unsure about making any repairs or adjustments yourself, always consult a professional plumber for safe and accurate solutions. With these tips in hand, you can confidently tackle any water-related issues that may arise in your home. So don’t let a continuously running shower stress you out, take action and fix the problem before it becomes a bigger headache. Keep your showers relaxing and worry-free with proper maintenance and plumbing care. Happy showering!
