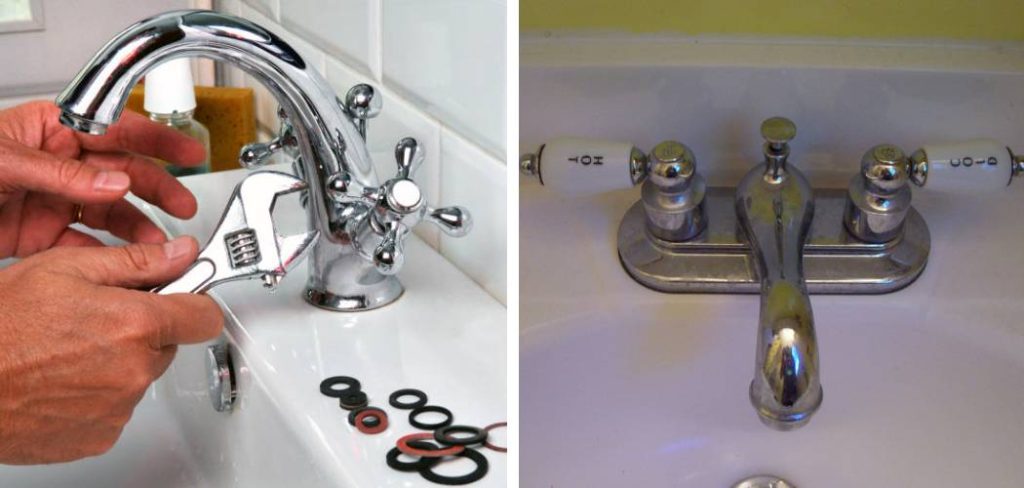
One of the most common problems encountered in bathroom faucets is looseness. Over time, constant use can cause your faucet to get a bit wobbly. This can be due to worn out parts or loose screws and fittings. In this guide, we will discuss the steps on how to tighten bathroom faucet and make it stable again.

What Tools Are Needed to Tighten a Bathroom Faucet
Before you begin, it is important to gather the necessary tools to make the process easier and more efficient. Here are the items that you will need:
- Adjustable wrench
- Screwdriver (flathead or Phillips)
- Plumbers tape or thread sealant
- Basin wrench (optional)
How to Tighten Bathroom Faucet: A Step-by-Step Guide
Loose bathroom faucets can be quite an annoyance, not to mention the potential for leaks and wasted water they bring along. Fortunately, tightening a bathroom faucet is a surprisingly simple DIY task that you can complete without needing to call a plumber. Here’s how to secure that wiggly fixture in no time:
Step 1: Shut Off the Water Supply
Before you start any work on the faucet, it’s essential to shut off the water supply to prevent any accidental spillage or flooding. Look for the water valves under the sink; you’ll find one for hot water and another for cold water. Turn these valves clockwise to close them and cut off the water supply. Make sure they are tightly shut to avoid any water coming through while you are working on the faucet.

Step 2: Plug the Drain
Before you proceed, it is wise to take a precautionary measure to avoid losing any small parts or tools during the repair process. Plug the drain by using a sink stopper or cover it with a cloth or a rubber drain cover. This will prevent any accidental drop of screws, nuts, or tools from disappearing down the drain while you work on tightening the faucet.
Step 3: Locate the Faucet Fixings
With the water supply safely shut off and the drain plugged, you can move on to locating the nuts that hold the faucet in place. Start by clearing out any items you have stored in the cabinet under the sink to provide sufficient working space. It’s often dark under there, so use a flashlight for better visibility. Look for the securing nuts attached to the faucet’s tailpiece underneath the sink. These are typically located at the base of the faucet where it connects with the sink or countertop. Once you have a clear view of the fixings, you’ll be ready to move on to the next step of actually tightening the faucet.
Step 4: Tighten the Nuts
Using your adjustable wrench or a basin wrench, grasp the nuts that secure the faucet to the sink or countertop. Turn them clockwise to tighten. It’s critical to apply pressure evenly and gradually to ensure the nuts snug up against the underside of the sink without causing damage. Be cautious not to over-tighten, as this can lead to stripped threads or damaged fixtures. A good rule of thumb is to tighten the nuts until there is resistance and then give them a quarter turn more. This should secure the faucet in place without compromising the integrity of the materials.
Step 5: Check the Faucet Alignment
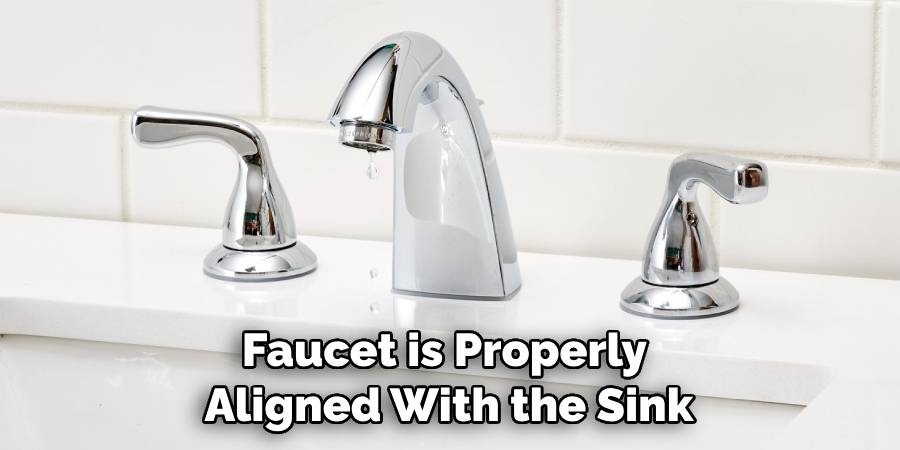
After tightening the nuts, take a moment to ensure your faucet is properly aligned with the sink or countertop. It’s important to do this before delivering a final tightening to avoid any awkward positioning or unevenness. Examine the faucet from several angles to confirm that it sits straight and evenly. Once satisfied with the placement, give the nuts a final gentle turn with your wrench to secure the faucet firmly in place. This added attention to alignment details provides a polished look and guarantees functional excellence.

Step 6: Test the Faucet Stability
Once you’ve tightened the nuts and aligned the faucet, return to the top of the sink and gently test the faucet’s stability. It should remain firmly in place without any wiggle or movement. If you detect any instability, carefully adjust beneath the sink and incrementally tighten the nuts a bit more. Be mindful not to apply excessive force to avoid damaging the fixtures or countertop material. A stable faucet ensures a leak-free and reliable performance for everyday use.
Step 7: Reconnect the Water Supply
With the faucet now stable and not showing any signs of movement, it’s time to restore water flow. Carefully twist the water supply valves located beneath your sink counter-clockwise to turn them back on. This action should be done gently to allow water to flow through the new faucet gradually, preventing any sudden pressure that might cause leaks. As the water begins to flow, keep an eye out for any drips or unusual seepage around the connections, addressing them promptly before proceeding further.
Step 8: Test for Functionality and Leaks
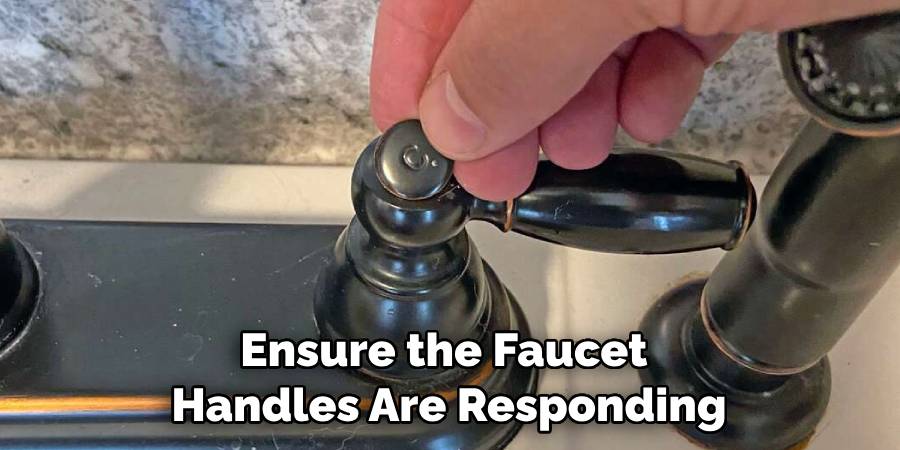
Turn the faucet’s handle to initiate the flow of water and observe its operation. The water should flow smoothly with an even stream. Regulate the temperature and pressure to ensure the faucet handles are responding appropriately and without delay. After confirming the functionality from above, position yourself under the sink to meticulously inspect the connections. During this examination, look closely for any signs of water escaping from around the supply lines or the base of the faucet. If all connections seem dry and secure, your installation has been successful, and you can take pride in a job well done. If leaks are present, immediately turn off the water and tighten any loose connections before repeating the test.

Step 9: Do a Final Cleanup
Wipe down the area under the sink to clean up any water that may have spilled during the process, and remove the tools and cloths you’ve used.
Safety Tip: If you’re uncomfortable with any of these steps or suspect the issue may be more significant than simply a loose faucet, don’t hesitate to call a professional plumber.
A secure bathroom faucet not only reduces the risk of wear and tear but also gives you peace of mind. With the right tools and a little patience, you can easily keep your faucet in top shape. Share this guide with friends and family to help them keep their fixtures firmly in place!
Frequently Asked Questions
Can You Over Tighten a Faucet?
Tightening a bathroom faucet seems like a straightforward task, but did you know there’s such a thing as too tight? When zeal overtakes caution, the result may be compromised seals or even a cracked porcelain sink. The key is achieving that snug fit – firmly anchored, yet not so forceful that the faucet cannot do its job or leads to leakages. If you’re wondering how to tighten bathroom faucet just right, remember to heed the Goldilocks principle: not too loose, not too tight, but just perfect. A gentle turn, a careful alignment, and a watchful eye to ensure a secure, leak-free fit, could mean the difference between a faucet that functions flawlessly and one that fosters a flood.
Why is My Shower Knob Tight?
If your shower knob is tight, it could be due to the buildup of mineral deposits from hard water, a common issue in many households. Over time, these deposits can accumulate around the valve stem and inside the knob mechanism, causing resistance and making it difficult to turn. In some cases, the washer or O-ring inside the knob might have deteriorated or become dislodged, also contributing to stiffness. Regular maintenance, such as cleaning the knob and occasionally removing it to clear out debris, can help prevent this problem. If the issue persists despite cleaning, you may need to replace the washer or even the entire valve assembly to restore smooth operation.

Can You Over Tighten a Faucet?
Yes, you can over tighten a faucet and it is important to be mindful of this when tightening bathroom or kitchen fixtures. Over tightening can lead to damaged parts, such as cracked porcelain sinks or compromised seals, which can result in water leakages. It’s important to find the right balance between being too loose and too tight when tightening a faucet. A good rule of thumb is to use a wrench or pliers with a light touch and avoid applying excessive force.
Conclusion
In this article, we discussed about on how to tighten bathroom faucet with ease, highlighting the different methods and tools that can be used to achieve this task. We also covered potential reasons for a tight shower knob and how to prevent it from happening in the future. Additionally, we touched on the importance of not over tightening a faucet and how it can lead to damaging consequences. By following these tips and techniques, you can maintain your bathroom faucets and keep them functioning smoothly for years to come. Remember to always exercise caution and consult a professional if you encounter any difficulties when tightening your bathroom faucet. Here’s to a leak-free and efficient bathroom! So, take care of your faucets by giving them the right attention they need. Happy tightening!
