Sealing your kitchen cabinets is a straightforward and rewarding DIY project that can prolong the life of your cabinetry. This process not only aids in protecting the wood from moisture, stains, and damage but also rejuvenates the aesthetic appeal of your kitchen. This guide will provide step-by-step instructions on how to seal your kitchen cabinets, even if you are a novice in the field of DIY home improvements.

Gather Your Materials
Before you begin the sealing process, make sure you have all the necessary materials on hand. This will save time and prevent any interruptions during the project. You will need:
- Sandpaper (120-grit and 220-grit)
- Tack cloth
- Wood stain or sealant of your choice
- Paintbrushes or foam brushes
- Soft cloths or rags
- Protective gear (gloves, safety glasses)
- Drop cloth or old newspapers to protect surrounding areas
How to Seal Kitchen Cabinets: A Step-by-Step Guide
Step 1: Prepare the Cabinets
Before you begin sealing your kitchen cabinets, it’s important to properly prepare them. This includes removing all items from the cabinets and cleaning them thoroughly with a mild soap and water solution to remove any grease, dust, or grime. It’s important that the surface is completely clean to ensure the sealant adheres properly. Once cleaned, inspect the cabinets for any rough spots or imperfections. Use your 120-grit sandpaper to lightly sand these areas until they are smooth, wiping away any dust with your tack cloth afterward. This preparation step is crucial for achieving a flawless finish when you apply the sealant.
Step 2: Choose the Right Sealant
There are several types of sealants available for kitchen cabinets, including polyurethane, varnish, and wax. Consider the type of wood your cabinets are made of and the level of durability and shine you want to achieve when choosing your sealant. Water-based sealants are generally easier to apply and have a faster drying time, while oil-based sealants offer a more durable finish.
Step 3: Apply the Sealant
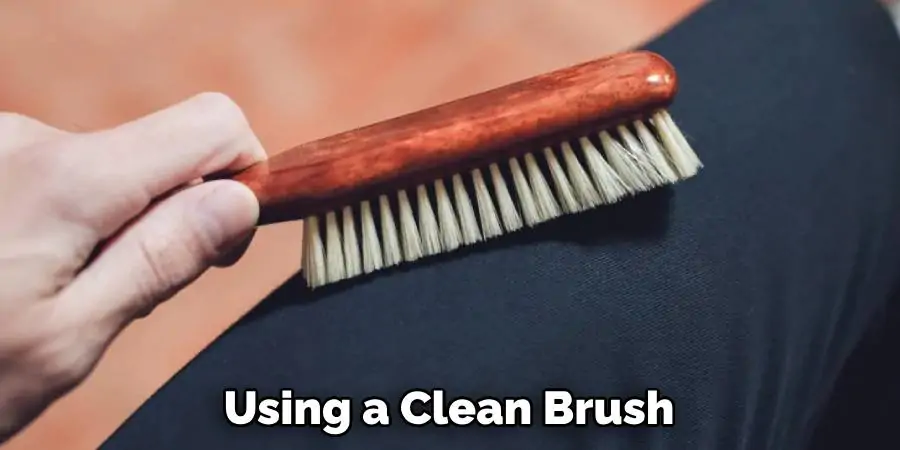
Using a clean brush or cloth, apply the sealant evenly over the entire surface of the cabinet. Make sure to follow the grain of the wood for a smooth finish. For best results, apply two to three thin coats rather than one thick coat. Allow each coat to dry thoroughly before applying the next one. Use your 220-grit sandpaper to lightly sand between coats for an ultra-smooth finish. Wipe away any dust with your tack cloth before applying the next coat. This process may seem time-consuming, but it is essential for achieving a robust and lasting finish that will stand up to everyday wear and tear.

Step 4: Allow Time for Drying
After applying each coat of sealant, allow time for it to dry completely before applying another coat or using your cabinets again. The drying time can vary depending on the type of sealant used, so be sure to read and follow the manufacturer’s instructions. Typically, it takes between 2 to 4 hours for a water-based sealant to dry, while an oil-based sealant may require up to 8 hours or overnight. Remember, patience is key to achieving a perfect finish. Rushing this step can lead to smudges or fingerprints on the surface and may reduce the effectiveness of the sealant.
Step 5: Sand Between Coats
For an extra smooth finish, lightly sand between each coat of sealant using fine-grit sandpaper. This will help remove any imperfections or bumps and create a more even surface. Be sure to wipe away any dust with your tack cloth before applying the next coat. This helps to ensure that each subsequent layer of sealant adheres uniformly, providing a consistently polished and professional-looking finish to your cabinets. The goal is to build up multiple thin layers of sealant, each one contributing to the overall strength and shine of your cabinets’ finish.
Step 6: Reattach Hardware
After all the coats have dried thoroughly, it’s now time to reattach any hardware such as handles or knobs that were removed during the preparation phase. Be gentle while doing this to avoid scratching or damaging the newly sealed surface of the cabinets. Use the correct tools and take your time to ensure everything is securely in place. Now, your kitchen cabinets are sealed, protected, and ready for use again. Enjoy the fresh, revitalized look of your kitchen. The durability and shine added by the sealant not only enhance the aesthetic appeal but also extends the lifespan of your cabinetry, making this DIY project a worthwhile investment.

Step 7: Maintain Regularly
To keep your kitchen cabinets looking their best, it’s important to maintain them regularly. This involves wiping them down with a mild soap and water solution to remove any spills, stains, or dust. Reapplying sealant every few years is also recommended, as this will help maintain the protective layer on your cabinets. By following these tips, you can help extend the life of your cabinets and keep them looking as good as new for years to come. Regular maintenance is the key to ensuring the longevity of your sealed kitchen cabinets.
By following these steps, you can successfully seal your kitchen cabinets and protect them from moisture damage, stains, and wear and tear. This will not only keep your cabinets looking beautiful, but also extend their lifespan.
How Long Does It Take to Seal Kitchen Cabinets?
The time it takes to seal your kitchen cabinets will depend on factors such as the type of sealant used, the size and number of cabinets, and how many coats are applied. On average, sealing kitchen cabinets can take between 2 to 4 hours per coat for water-based sealants and up to 8 hours or overnight for oil-based sealants. It’s important to allow enough time for each coat to dry completely before applying the next one. This may seem time-consuming, but it is crucial for achieving a durable and long-lasting finish.
Benefits of Sealing Kitchen Cabinets
Sealing your kitchen cabinets offers several benefits, including:
- Protection against moisture and humidity: Sealing creates a protective barrier that prevents moisture from seeping into the wood and causing damage, such as warping or mold growth.
- Increased durability: The sealant acts as a shield against scratches, stains, and wear and tear, helping to extend the life of your cabinets.
- Easier maintenance: Sealed cabinets are easier to clean and maintain, as spills and dirt can be easily wiped away without causing damage to the wood underneath.
- Enhanced appearance: Sealing your kitchen cabinets can give them a refreshed look by enhancing the color and natural beauty of the wood. It also adds a slight sheen or gloss, depending on the type of sealant used.
- Cost-effective: Regularly sealing your kitchen cabinets can help avoid the need for expensive repairs or replacements, saving you money in the long run.
Overall, sealing your kitchen cabinets is a simple and effective way to protect and maintain the beauty of your cabinetry. With proper care and maintenance, sealed cabinets can last for many years and continue to enhance the overall aesthetic of your kitchen. So, take the time to seal your kitchen cabinets and enjoy the benefits for years to come.
As a final tip, don’t forget to always read and follow the manufacturer’s instructions when applying sealant to your cabinets. This will ensure that you achieve the best results and avoid any potential damage or issues with your cabinets.

Frequently Ask Questions
Do Kitchen Cabinets Need to Be Sealed?
While not all kitchen cabinets require sealing, it is highly recommended to do so for long-term protection and maintenance. Unsealed cabinets are more susceptible to moisture damage, stains, and wear and tear, which can significantly reduce their lifespan.
What is the Best Sealer for Wood Kitchen Cabinets?
The best sealer for wood kitchen cabinets will depend on personal preference, but some popular options include polyurethane, varnish, and lacquer. It’s essential to consider factors such as the type of wood, desired level of sheen or gloss, and compatibility with your cabinet finish when choosing a sealant.
How Do You Waterproof Kitchen Cabinets?
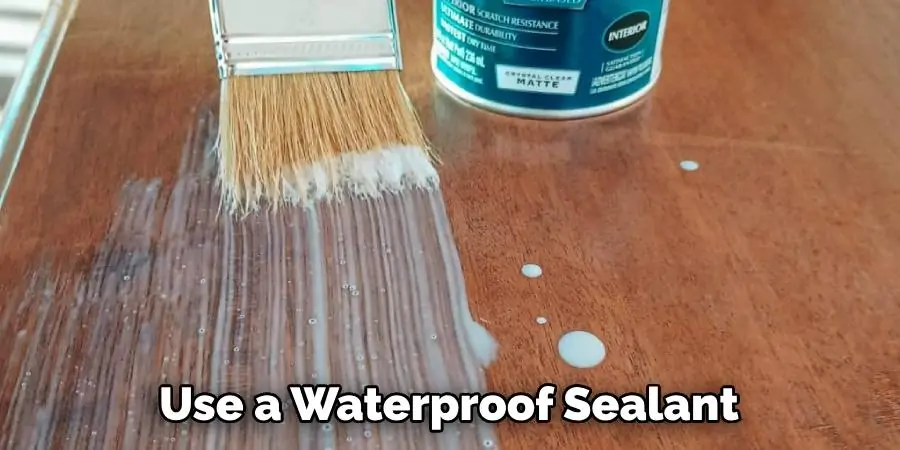
Waterproofing kitchen cabinets involves sealing them with a waterproof sealant to protect against moisture and humidity. The process is the same as sealing, but it’s essential to use a waterproof sealant specifically designed for kitchen cabinets.

Conclusion
In conclusion, sealing your kitchen cabinets is an important step in maintaining the beauty and longevity of your kitchen. With just a few simple steps and some time, you can protect your cabinets from water damage, stains, and wear and tear. Remember to thoroughly clean and lightly sand your cabinets before applying the sealer for the best results. Whether you choose a clear polyurethane or a colored stain, make sure to apply multiple coats for maximum protection.
And don’t forget to let your cabinets fully dry before using them again! So what are you waiting for? Head to your local home improvement store and pick up some sealer to show your kitchen cabinets some love. Your future self will thank you when your cabinets still look brand new years down the road. Don’t neglect taking care of this crucial aspect in your kitchen – now that you know how to seal kitchen cabinets, why not get started today? Your beautifully sealed and protected cabinets are just a few simple steps away!
