Aerator helps to create a smooth and steady water flow from your faucet. It’s a standard feature for most faucets, but sometimes it can get clogged with mineral deposits or debris, reducing the water flow. In such cases, removing the aerator and cleaning it is necessary to restore the water flow. In this guide, we will discuss how to remove recessed faucet aerator.
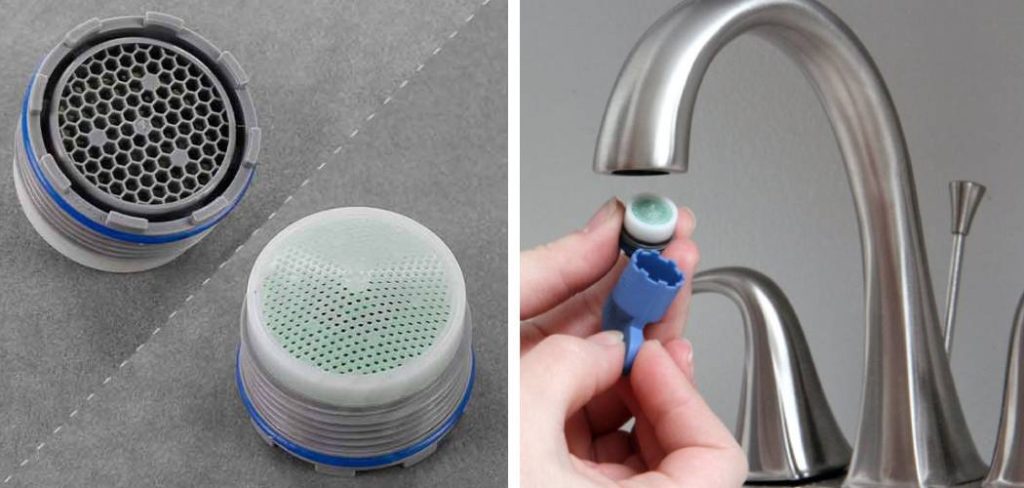
What is a Recessed Faucet Aerator?
A recessed faucet aerator is a type of aerator that is set back into the faucet. This means it cannot be unscrewed directly by hand like a regular aerator. Instead, you need to use specialized tools to remove it.
10 Useful Steps on How to Remove Recessed Faucet Aerator
Your bathroom or kitchen faucet’s performance is often tied to a tiny but crucial component — the aerator. While typically a simple installation, some faucets come with a recessed aerator that can be a little more challenging to remove. Whether you’re looking to clean out sediment or upgrade to a new one, here’s a step-by-step guide to get that aerator out and keep your water flowing beautifully.
1. Gather Your Tools
Before getting started, make sure you have the right tools on hand. You’ll need a few basics: a pair of slip-joint pliers or a wrench, a rag or masking tape (to protect the faucet finish), and potentially some lubricant if the aerator is particularly stubborn. Ensuring you have everything you need will save you time during the process.
2. Turn Off the Water
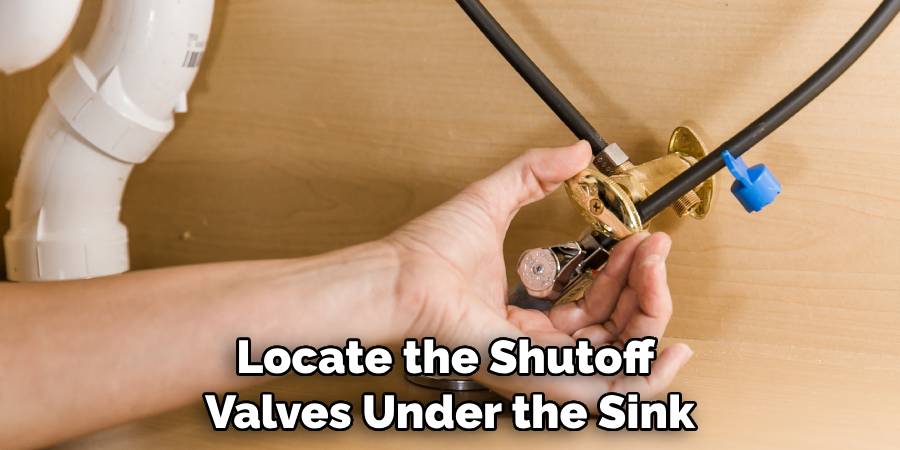
Safety first! Locate the shutoff valves under the sink and turn them clockwise to shut off the water supply to the faucet. Then, to remove any remaining pressure in the lines, turn the faucet on until the water stops running.
3. Protect the Finish
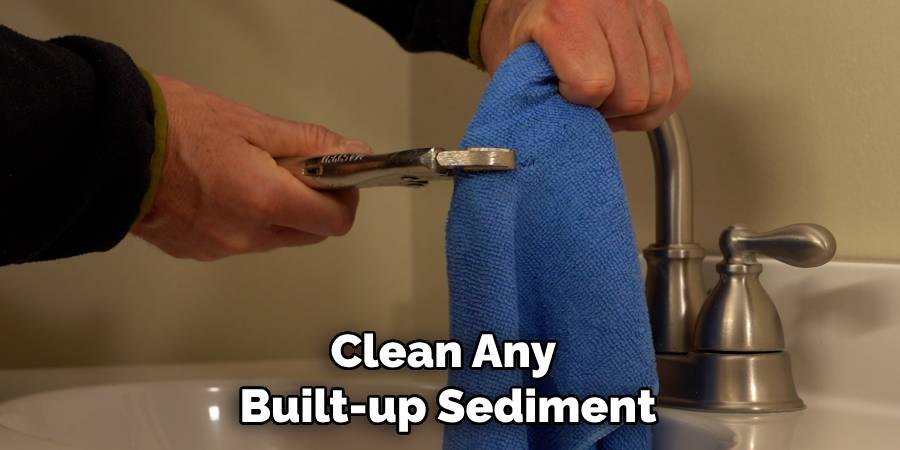
To prevent scratches or other damage to the faucet’s finish, wrap the jaws of your pliers or the base of the wrench in a soft material, like the aforementioned rag or masking tape. Alternatively, you can place a thick rubber band around the aerator for grip.
4. Access the Aerator
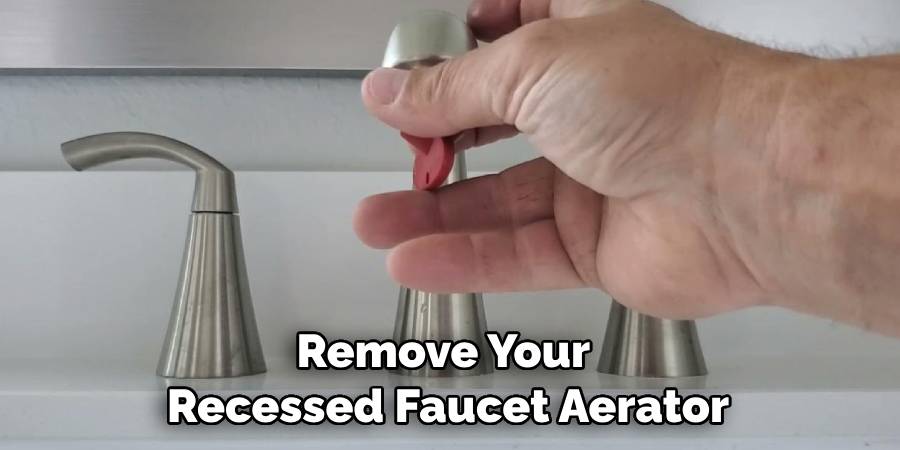
The aerator is usually located at the tip of the faucet spout. Depending on your faucet style, you may need to carefully unscrew or pop off a decorative cover to access the aerator. Some recessed aerators will have a coin slot for removal.
5. Use Lubricant (If Necessary)
If the aerator is stuck, a little bit of lubricant can go a long way. Apply a small amount of plumbing grease or even some mild soap around the edges to help loosen it. Give it a few moments to work its magic before attempting to remove the aerator again.
6. Twist to the Left
With your pliers or wrench, grip the wrapped aerator firmly and turn it counterclockwise (left) to unscrew it. Apply gentle, even pressure at first. If it doesn’t budge, give the lubricant a little more time to work and try again.
7. Clean the Threads
Once the aerator is removed, clean any built-up sediment or debris from the threads on both the inside of the faucet and the aerator. This step is often overlooked but is important to ensure a tight seal when you reassemble.
8. Inspect and Replace
Check the condition of the aerator. If it’s damaged or the screen is comprised, it’s a good time to replace it. Take note of the size and style of the aerator so you can get a suitable replacement from a hardware store.
9. Reassemble the Faucet
If you’re just cleaning the aerator, screw it back into the faucet by hand first to make sure the threads align properly. Then, use your pliers or wrench to tighten it slightly, being careful not to over-tighten, which could damage the aerator or the faucet threads.
10. Turn the Water On
With the aerator securely in place, open the shutoff valves under the sink to restore the water supply. Turn on the faucet to check for leaks and ensure the water flows freely through the newly cleaned or replaced aerator.
There you have it — a straightforward process to remove and manage your recessed aerator. Remember, patience and a gentle touch are key. With a bit of know-how and these steps, you’ll have your faucet back in tip-top shape in no time.
Common Issues With Recessed Faucet Aerators
As with any plumbing fixture, there are a few common issues you may encounter with recessed faucet aerators. These include:
- Difficult to remove: As mentioned, the recessed design can make it harder to remove the aerator without specialized tools or techniques.
- Clogging: Mineral deposits and debris can build up in the aerator, causing reduced water flow. Regular cleaning can help prevent this issue.
- Damage or wear: Over time, the aerator may become damaged or worn out, affecting its performance. Replacing it is a simple solution.
If you encounter any of these issues while trying to remove your recessed faucet aerator, refer back to our step-by-step guide for troubleshooting tips. With some persistence and the right tools, you’ll have a functioning aerator in no time.
5 Things to Consider Before Removing a Recessed Faucet Aerator
Before embarking on the process of removing your recessed faucet aerator, here are a few things you should consider:
1. Age of Faucet
If your faucet is old, it’s possible that the aerator may be stuck due to corrosion or wear. Take extra care during removal and consider replacing the aerator if necessary.
2. Faucet Style
Different faucet styles may require different removal methods, so be sure to research yours before getting started. Some may have a specialized tool for removing the recessed aerator, while others may require a particular technique.
3. Water Pressure
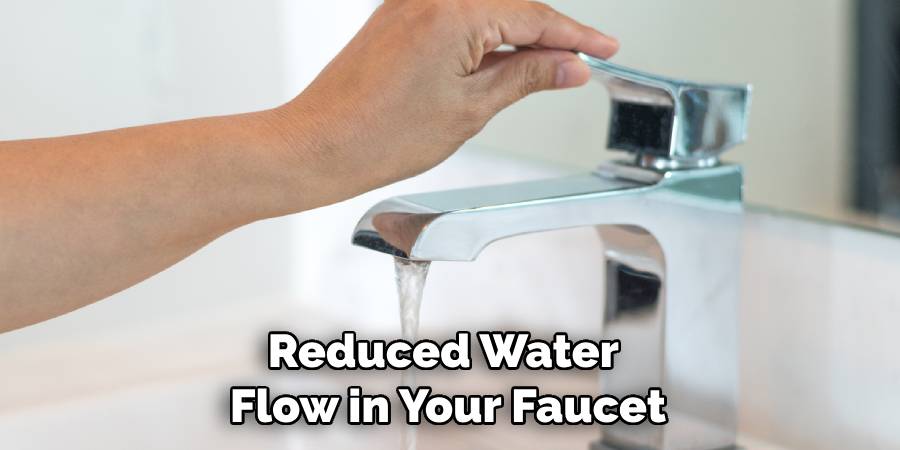
If you notice reduced water flow in your faucet, it’s possible that the aerator is clogged and needs cleaning. However, if you have high water pressure in your home, removing the aerator may cause a sudden surge of water. Be prepared to quickly turn off the faucet and adjust the water flow as needed.
4. Condition of Aerator
Before attempting to remove the aerator, take a moment to inspect its condition. If it’s damaged or the screen is compromised, you may want to replace it rather than trying to clean it.
5. Plumbing Knowledge and Experience
While removing a recessed faucet aerator can be a simple task, if you are not comfortable working with plumbing fixtures, it’s best to hire a professional. They have the knowledge and experience to safely remove and replace the aerator without causing damage to your faucet.
If you are unsure or uncomfortable with any step of the process, it’s always best to seek professional help. Attempting to remove a recessed faucet aerator without proper knowledge or tools can lead to further damage or even injury.
By considering these factors before starting the removal process, you can ensure a smooth and successful experience. Remember, it’s always better to be cautious and seek help when needed rather than causing further problems. So, take your time and approach the task with care for the best results.
Frequently Asked Questions
Do All Faucet Aerators Unscrew?
Venturing into the world of DIY plumbing can be as intriguing as it is perplexing, especially when facing the task of removing a recessed faucet aerator. Nestled at the tip of your faucet, this unsung hero braves a daily barrage of water to ensure a splash-free and efficient flow. But does every aerator willingly comply with a simple unscrewing? The answer is a dance of yes and no.
While many standard aerators are designed to unscrew with ease, some recessed models may play hard-to-get, requiring specific keys or tools to coax them out of their metal lair. Fear not, for with the right technique, even the most stubborn aerator will eventually succumb, unveiling a threaded end that whispers secrets of maintenance and longevity. Learning ‘how to remove recessed faucet aerator’ is more than just a question—it’s a rite of passage for the tenacious DIY enthusiast.
What is a Hidden Aerator?
Hidden aerators, also known as recessed or concealed aerators, are a type of faucet aerator that is tucked away inside the faucet tip. Unlike standard aerators that screw onto the outside of the faucet, hidden aerators have a more streamlined appearance and require specialized tools for removal. This design helps prevent vandalism and tampering with the water flow.
Can I Clean My Recessed Aerator Without Removing It?
In some cases, yes, you can clean your recessed aerator without having to remove it. If the water flow is not significantly affected and the debris buildup is minor, a simple soak and scrub using an old toothbrush or small wire brush may do the trick. However, for more thorough cleaning or if there is a noticeable reduction in water flow, it’s best to remove the aerator for proper cleaning or replacement. So, while it may seem like an extra step, removing and cleaning your recessed aerator can help maintain its performance and extend its lifespan.
Conclusion
In summary, how to remove recessed faucet aerators may seem like a daunting task at first, but with the right tools and techniques, it can be easily done. Regularly cleaning or replacing your aerator is important for maintaining the performance of your faucet and ensuring clean water flow. By following our step-by-step guide and considering certain factors before starting, you can safely remove and manage your recessed faucet aerator without any issues. So, don’t let a stuck aerator stop you from enjoying your faucet — tackle it with confidence and enjoy the satisfaction of completing a DIY plumbing task successfully! Happy fixing!
