Kitchen cabinets are one of the most essential parts of a kitchen. They provide storage for all your utensils, dishes, and cookware. However, there may come a time when you need to remove your kitchen cabinets without screws. It could be due to remodeling, replacing old cabinets, or simply wanting a change in your kitchen. Removing kitchen cabinets without screws may seem like a daunting task, but it can be done with the right tools and techniques. In this guide, we will discuss how to remove kitchen cabinets no screws.
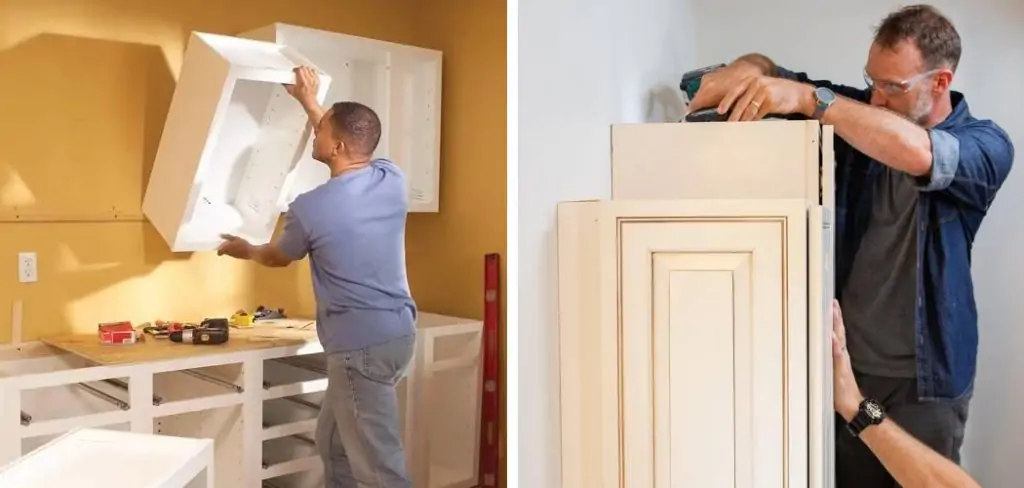
Tools Needed
Before you begin, make sure you have all the necessary tools at hand. Here are some essential tools that you will need:
- Drill
- Hammer
- Pry bar or crowbar
- Screwdriver
- Utility knife
- Drop cloth or tarp to protect your floor
- Gloves and safety glasses for protection
- Painter’s tape (optional)
Step-by-Step Process on How to Remove Kitchen Cabinets No Screws
There are a few different methods for removing kitchen cabinets without screws, depending on how they were installed. Here are some steps you can follow to remove your cabinets safely and efficiently:
Step 1: Determine How the Cabinets Were Installed.
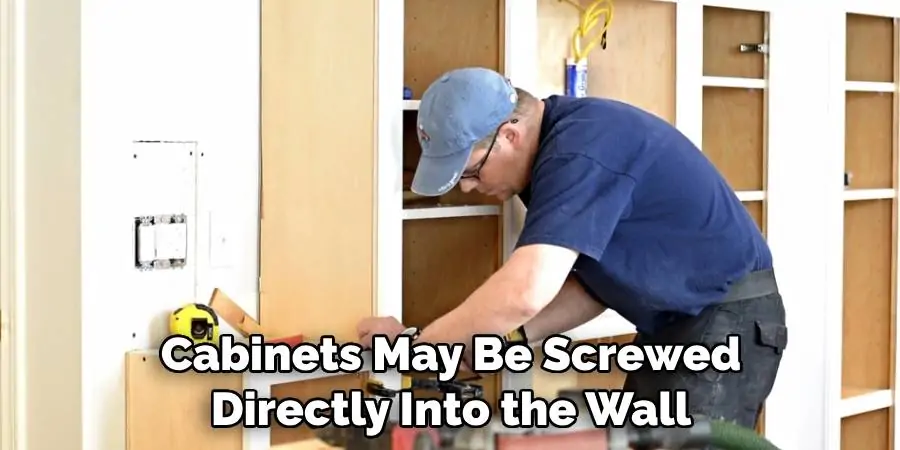
First, you need to determine how your cabinets were installed. Begin by examining the inside and outside of the cabinets for any visible signs of fasteners. Some cabinets may be screwed directly into the wall, while others may be attached with brackets or clips. If your cabinets are not screwed in, they might be glued or nailed instead. Understanding the installation method is crucial for the safe removal of cabinets. Remember to check around the top, bottom, and sides of each cabinet as different parts may have been attached using different methods.
Step 2: Empty Out the Cabinets.
Before beginning the removal process, it’s important to empty all items from the cabinets. This will not only make the cabinets lighter and easier to handle, but it will also prevent any accidental damage to your kitchenware during the process. Make sure to remove all dishes, utensils, cookware, and any other items you have stored in your cabinets. Set these items aside in a safe place to avoid any mishaps.
Step 3: Remove Any Visible Screws.
After you’ve emptied out your cabinets, you need to look for any visible screws on the inside of the cabinet or along its edges. These screws might be used to attach the cabinet to the wall or to secure different parts of the cabinet together. Use a screwdriver or drill to remove these screws. Be careful not to strip the screws while removing them as it might cause difficulties when re-installing new cabinets.
Step 4: Remove Molding or Trim.
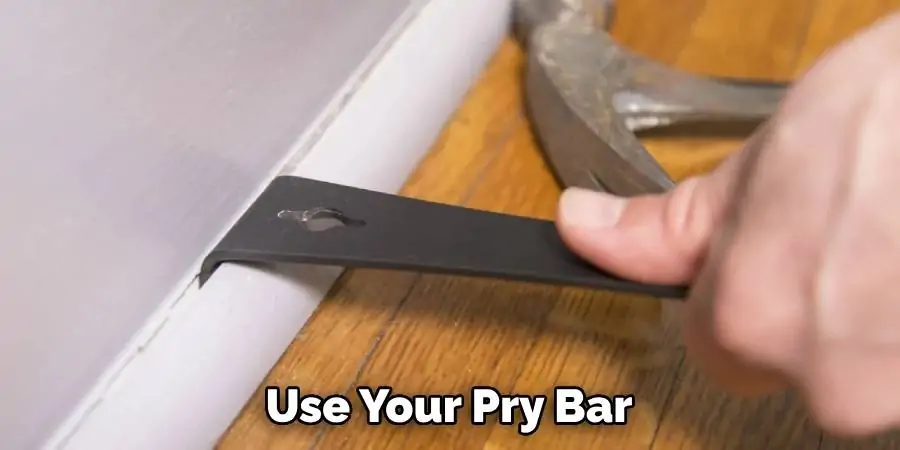
Often, cabinets have molding or trim attached along their tops or bottoms. If your cabinets have this feature, use a pry bar or crowbar to gently remove them. Start at one end of the trim and carefully work your way along, applying gentle pressure. The trim should come off easily, but be cautious not to damage it in the process.
Step 5: Use a Crowbar or Pry Bar.
Once you have removed all visible screws and trim, it’s time to use your pry bar or crowbar to remove the cabinets. Begin at the bottom of the cabinet and carefully insert the pry bar between the cabinet and the wall. Apply gentle pressure to loosen the cabinet. Once it begins to move, reposition the pry bar higher and continue the process. Be sure to support the weight of the cabinet as you do this to prevent it from falling and causing damage or injury. Continue this process until the cabinet is fully detached from the wall. Be mindful of any hidden fasteners or adhesives and work slowly to avoid damaging the wall or cabinet.
Step 6: Cut Through Adhesive Strips.
If your cabinets were installed using adhesive strips instead of screws, you will need to cut through these before attempting to remove the cabinet. This can be done using a utility knife. Ensure you’re wearing your protective gloves and glasses before proceeding. Carefully insert the knife edge under the cabinet where the adhesive strips are located. Apply enough pressure to cut through the adhesive without damaging the wall or cabinet.
Be sure to cut all the way through the adhesive strips to ensure the cabinet can be successfully removed. After cutting through all the adhesive strips, return to using the pry bar as outlined in Step 4, working slowly and carefully to avoid any damage to the wall or cabinet.
Step 7: Ask for Help if Needed.
For larger and heavier cabinets, it’s advisable to enlist the help of friends or family members. Handling bulky cabinets alone can result in personal injury or damage to your kitchen. Therefore, do not hesitate to request assistance to ensure the safe and smooth removal of your cabinets. Having an extra pair of hands not only makes the job easier but also more efficient. Remember, safety should always come first.
Step 8: Patch Up Any Holes.
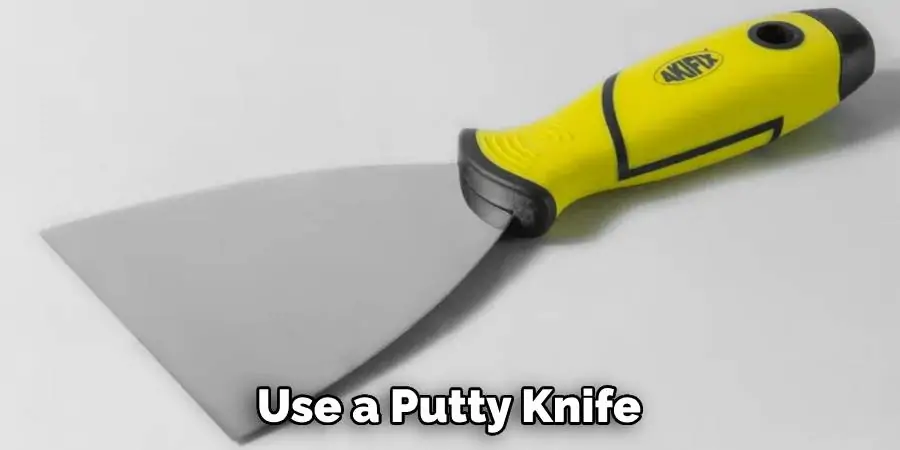
After the cabinets have been removed, it’s time to attend to any holes or damage left behind on the walls. Use a putty knife and some spackling compound to fill in the holes. Smooth it out and allow it to dry completely. Once dry, sand the area till it’s smooth and level with the rest of the wall. This is an important step as it ensures a clean and smooth surface for your new cabinets or any other kitchen renovations you may be planning. Remember, a job well done at this stage will make the installation of new cabinets easier and more secure.
Some Alternative Methods to Remove Kitchen Cabinets Without Screws
If the above method does not work for you, or if your cabinets are attached using different methods, here are some alternative ways to remove kitchen cabinets without screws:
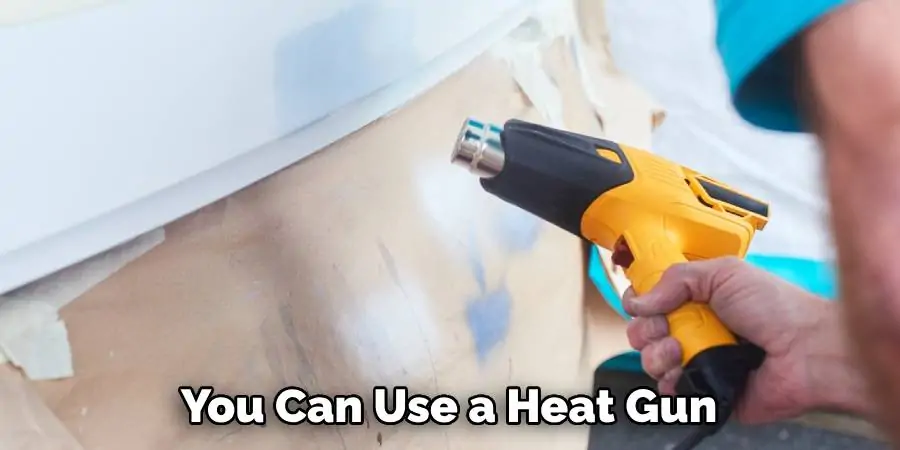
- Use a Heat Gun to Loosen Adhesive: If your cabinets were installed using glue or adhesive strips, you can use a heat gun to soften the glue and make it easier to remove the cabinet. Be careful when using the heat gun and wear protective gear to avoid burns.
- Cut Through Nails: If your cabinets are nailed in, you can use a reciprocating saw or hacksaw to cut through the nails. This method may take longer and require more effort, but it can be effective for removing stubbornly attached cabinets.
- Hire a Professional: If you’re not confident in your abilities or if the cabinets are too difficult to remove on your own, it’s always best to seek professional help. Hiring a contractor or handyman with experience in removing kitchen cabinets can save you time, effort, and potential damage to your kitchen.
Frequently Asked Questions
How Do You Remove Old Kitchen Cabinets Without Damaging Them?
To avoid damaging your cabinets during the removal process, you should take care to remove any visible screws or trim before using a pry bar or crowbar. You can also use alternative methods such as cutting through adhesive strips or hiring a professional to ensure a smooth and damage-free removal.
Can You Remove Kitchen Cabinets Without Removing Countertop?
Yes, it is possible to remove kitchen cabinets without removing the countertop. However, this may require more effort and precision, as you will need to carefully maneuver around the countertop while removing the cabinets. It’s always best to consult a professional if you’re unsure about how to safely remove your cabinets without damaging any other parts of your kitchen.
How Do You Remove Glued Cabinets?
To remove glued cabinets, you can use a heat gun to soften the glue and make it easier to pry off the cabinets. Alternatively, you can also cut through the adhesive strips using a utility knife before using a pry bar or crowbar to remove the cabinets from the wall. Be sure to work slowly and carefully to avoid damaging the cabinet or wall.
Conclusion
In conclusion, removing kitchen cabinets without screws may seem like a daunting task at first, but with the step-by-step process outlined in this post, you’ll be able to tackle it with confidence. By gathering the necessary tools and carefully following each step, you can successfully remove your kitchen cabinets without damaging them or any other surrounding surfaces. Remember to take your time and be patient with the process, as rushing through it could cause costly mistakes.
Additionally, why not use this opportunity to give your kitchen a fresh new look by repainting or replacing the cabinets altogether? The options are endless! And don’t forget, if you encounter any challenges during removal or have any other concerns related to your kitchen renovation projects, don’t hesitate to seek professional help from experts. With these tips and techniques in hand, you’re now equipped to confidently tackle how to remove kitchen cabinets no screws like a pro! So go ahead and get started on transforming your kitchen space today. Happy renovating!
