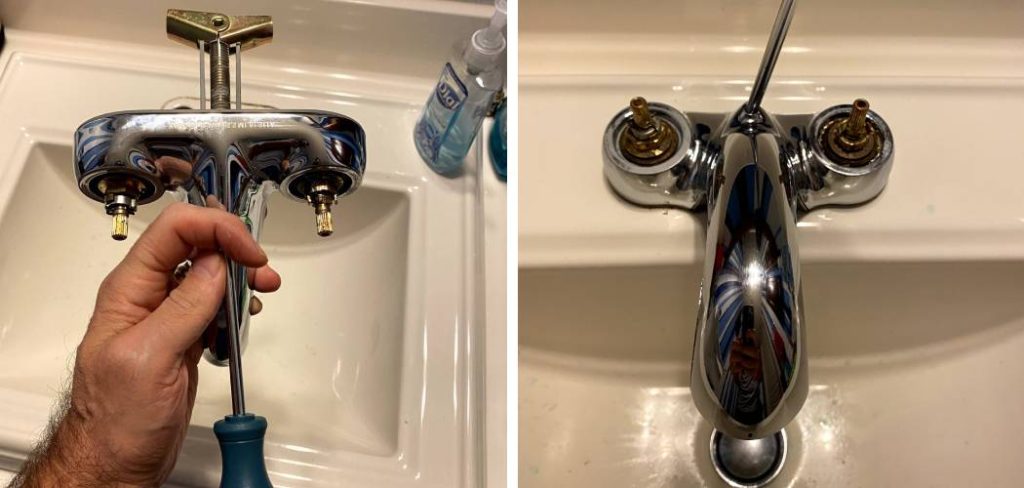
Kohler is a well-known brand that manufactures high-quality bathroom faucets. However, over time, you may find the need to remove the handle from your Kohler bathroom faucet for cleaning or replacement purposes. This guide will walk you through the steps on how to remove handle from Kohler bathroom faucet safely and easily .
Tools and Materials Needed
Before we begin, make sure you have the following tools and materials ready:
- Flathead screwdriver
- Philips head screwdriver
- Adjustable wrench
- Cloth or towel
Understanding the Importance of Handle Removal
Removing the handle from your Kohler bathroom faucet is an essential step in maintaining and repairing the faucet. Over time, mineral deposits and dirt can build up inside the faucet, causing it to leak or work less efficiently. By removing the handle, you can access the internal components of the faucet for cleaning or replacement.
Step-by-Step Guide on How to Remove Handle From Kohler Bathroom Faucet
Removing the handle from your Kohler bathroom faucet may seem like a daunting task. However, with the right guidance and tools, it can be a relatively simple process. Whether you’re replacing the handle or just doing some maintenance, this listicle will walk you through the step-by-step process. Here are ten tips to aid you in this home improvement endeavor.
1. Gather Your Tools and Prepare the Space
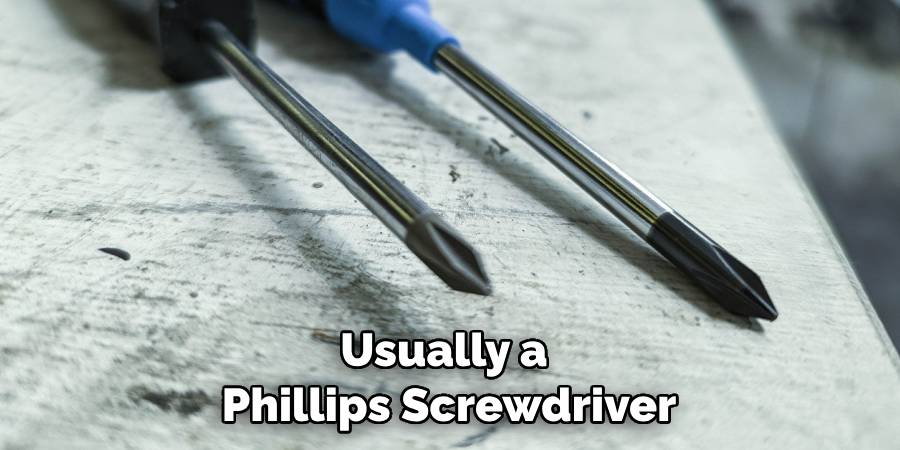
To start, you’ll need a few essential tools, usually a Phillips screwdriver, a pair of pliers, and possibly an Allen wrench, depending on the model of your Kohler faucet handle. Make sure the area around the faucet is clear and that you have enough space to work comfortably. Additionally, you may want to put a towel or cloth down to catch any small parts or water droplets that might fall during the process.
2. Shut Off the Water Supply
Safety first! Before you do any work on your faucet, you always want to make sure the water supply is completely turned off. Most often, this means shutting off the main water supply to your home, but if you have shut-off valves specifically for your sink, you can use those. Test that the water is off by turning on the faucet, and once you confirm that it’s dry, proceed to the next step.
3. Identify the Type of Kohler Faucet You Have
Kohler faucets come in a variety of types, and different types require slightly different approaches to handle removal. There are center set, widespread, single-hole, and wall-mount faucets. These often have unique handle and cap configurations, with some having visible screws and others hiding them under decorative caps. Knowing the type you have will help you understand what to look for.
4. Lever and Knob Handles
For lever handles, look for a set screw below the handle or behind it that requires an Allen wrench to remove. For knob handles, you may find the screw underneath a decorative cap at the center of the handle or it may be in a more inconspicuous location, such as on the side. Pop off the cap with a flat-head screwdriver to access the screw. Turn counterclockwise to remove.
5. Removing the Set Screw
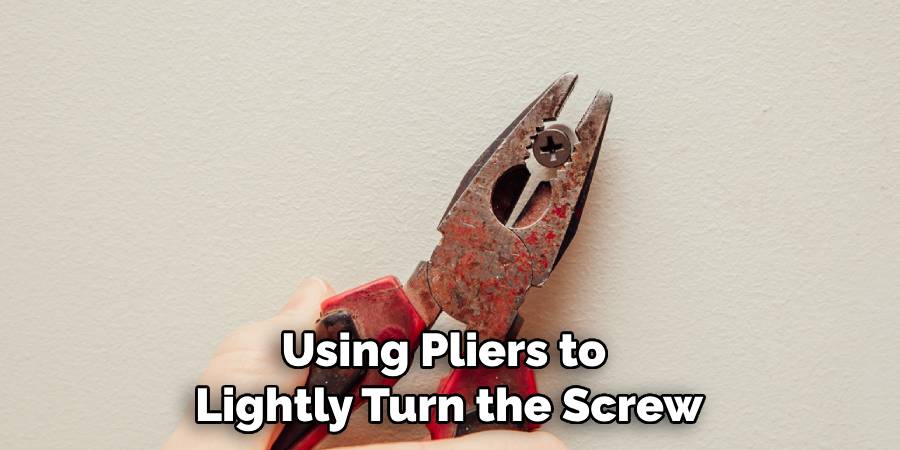
If applicable, use the appropriate tool to access and remove the set screw. For a Phillips screw, it’s usually a simple matter of inserting the screwdriver and turning counterclockwise. If you encounter resistance, you can try using pliers to lightly turn the screw without stripping it. Once the set screw is out, you should be able to lift the handle off the faucet.
6. Handle Removal for Cap and Bonnet Models
Some Kohler faucet models, especially widespread ones, have caps and bonnets that cover the valve. You will need to remove these first before you can access the screw that holds the handle in place. Use a flat-head screwdriver to carefully pry off the cap. Once the cap is off, you might need a wrench or pliers to unscrew the bonnet counterclockwise.
7. Widespread and Wall-Mount Faucets
For widespread and wall-mount faucets, you may need to remove additional components to get to the handle set screw. This can include the handle adaptor, an escutcheon, and other mounting hardware. Again, refer to your specific model’s instructions, which can usually be found on the Kohler website by searching the model number.
8. Inspect for Wear or Damage
With the handle removed, take a moment to inspect the condition of the underlying components. Look for signs of wear, corrosion, or damage, especially around the seat where the handle was attached. If you see any damage, this might be a good time to replace these parts.
9. Reassembling the Faucet Handle
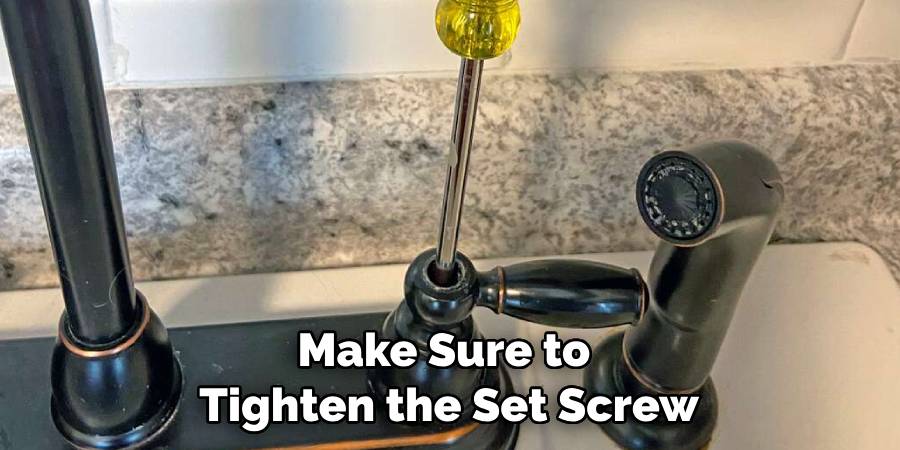
If everything looks good and you’re just doing a routine handle replacement, reassembly is just the reverse of the removal. Make sure to tighten the set screw snugly, but don’t strip it. Turn the water supply back on and test the faucet. Check for leaks and that the handle operates smoothly.
10. If in Doubt, Call a Professional
If you encounter a situation where you’re not entirely comfortable or you may cause further damage, it’s always a good idea to contact a professional plumber. They can quickly and efficiently handle the situation, often saving you time and potential headaches in the long run.
In conclusion, removing a handle from a Kohler faucet is a task that can usually be done with a basic toolkit and a little patience. Know your faucet type, identify the screw location, turn the water off, and work methodically without rushing. Remember, if you’re unsure at any point, it’s best to get professional help to ensure your faucet is handled with care.
Common Issues When Removing a Kohler Bathroom Faucet Handle
While removing a handle from your Kohler bathroom faucet is generally straightforward, there are some common issues you might encounter. Here are a few potential problems to watch out for and how to address them.
Stripped or Stuck Set Screw
The set screw may be challenging to remove if it’s been in place for a long time or has accumulated sediment or debris. In some cases, it may have been overtightened, causing it to strip. If you encounter a stripped or stuck set screw, try using pliers with grip pads to get a better hold on the screw and turn counterclockwise. You can also use penetrating oil to loosen the screw.
Difficult-to-Access Set Screw
In some models, the set screw may be located in a tight or recessed area, making it difficult to access with typical tools. In these cases, you may need to use specialty screwdrivers or pliers designed for hard-to-reach areas. You can also try using an Allen wrench that has been bent at the end to create a more accessible angle.
Rust and Corrosion
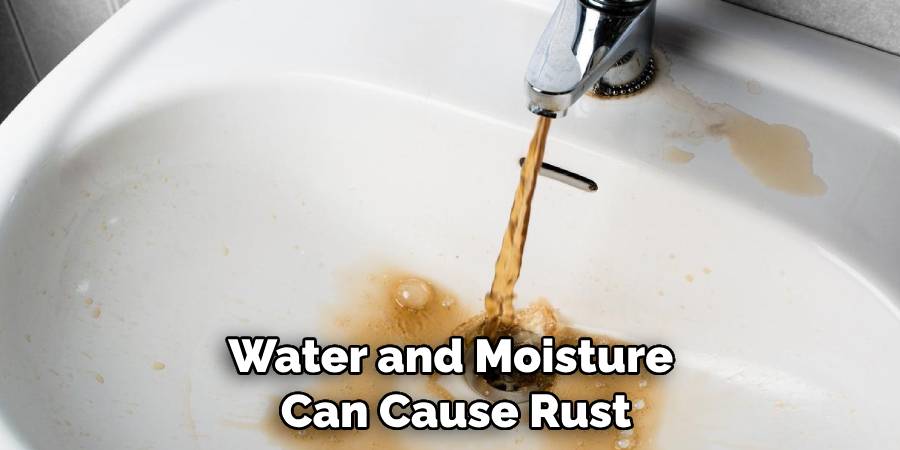
Over time, water and moisture can cause rust and corrosion to build up on the handle and other components. If you encounter significant rust or corrosion, it’s best to replace these parts rather than risking further damage by trying to remove them. Refer to your model’s instructions or contact a professional for guidance on which specific parts need replacement.
Damaged Handle Adaptor
The handle adaptor is the piece that connects the handle to the valve. If this part is damaged or worn, it may not operate correctly, leading to difficulty in removing the handle. In this case, it’s best to replace the adaptor and potentially other surrounding components as well.
Frequently Asked Questions
My Kohler faucet handle is stuck, what should I do?
Staring down at your gleaming Kohler faucet, the frustration mounts as the handle refuses to budge – it’s stuck and your usual bathroom routine is thrown into disarray. But don’t despair, tackling the immovable nature of your faucet handle is not as daunting as it seems. With this straightforward guide on how to remove handle from Kohler bathroom faucet, we’ll walk you through the process step-by-step.
Break free from the grip of a stubborn fixture with some DIY finesse. All you’ll need are a few tools and the resolve to restore the smooth movement to your bathroom companion, ensuring that water flows once again at the simple lift or turn of a handle.
Can I use regular tools to remove a Kohler faucet handle?
Yes, you can use regular tools like screwdrivers and pliers to remove a Kohler faucet handle. However, if the set screw is in a tight or recessed area, you may need specialty tools designed for hard-to-reach areas. It’s always helpful to refer to your specific model’s instructions for the best tool recommendations.
How often should I replace my Kohler faucet handle?
The frequency of replacing your Kohler faucet handle depends on several factors, including the quality of the water in your area, the amount of use the faucet gets and how well it is maintained. In general, a high-quality Kohler faucet handle should last for many years before needing replacement.
However, if you notice any signs of wear or damage, it’s best to replace the handle as soon as possible to prevent further issues. It’s also recommended to replace the handle if you are upgrading your bathroom and want a new look. Overall, regular maintenance and proper care can help prolong the lifespan of your Kohler faucet handle.

Conclusion
In this guide, we’ve covered the steps for how to remove handle from Kohler bathroom faucet, as well as some common issues you may encounter during the process. Remember to always turn off the water supply and work carefully and methodically to avoid any potential damage. If you’re unsure or uncomfortable at any point, don’t hesitate to contact a professional for assistance.
With proper maintenance and care, your Kohler faucet handle can provide you with years of smooth operation and functionality. Now go forth and confidently tackle any handle replacement or maintenance task that comes your way! So long to the days of a stubborn faucet – you are now equipped with the knowledge and tools to easily remove a handle from your Kohler bathroom faucet. Happy DIY-ing!
