Do you have an American Standard shower handle that needs to be removed? Well, you’ve come to the right place! In this guide, we will take you through a step-by-step process on how to remove American Standard shower handle.
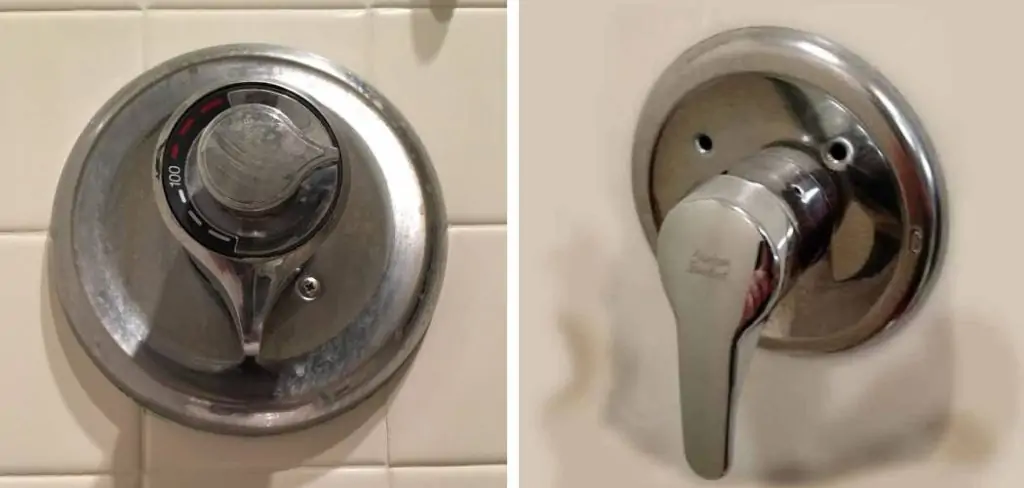
Tools You’ll Need
In order to remove your American Standard shower handle, you will need the following materials:
- Flat-head screwdriver
- Phillips-head screwdriver
- Adjustable wrench or pliers
- Allen wrenches (usually a 2.5mm or 3/32-inch size)
- Clean towel or cloth
- Optional: Penetrating oil (for rusty or stuck screws)
7 Creative Steps for How to Remove American Standard Shower Handle
Step 1: Turn Off the Water Supply
Before you start any work on your shower handle, it’s crucial to turn off the water supply. This will prevent any accidental water spillage or potential injury. Most showers have a local shutoff valve located in the bathroom or nearby. If your shower does not have a local shutoff valve, you will need to turn off the main water supply to your home. Once the water is off, turn on the shower to drain any remaining water from the pipes and to ensure that the water is completely shut off before proceeding to the next step.
Step 2: Remove the Handle Cap
Most American Standard shower handles have a cap that conceals the mounting screw. Gently pry off the cap with a flat-head screwdriver to reveal the screw. Be careful not to scratch or damage the handle’s finish. Place the cap aside in a safe spot where it won’t get lost, as you’ll need to replace it after the handle has been successfully removed and any repairs or replacements are completed.
Step 3: Loosen the Screw
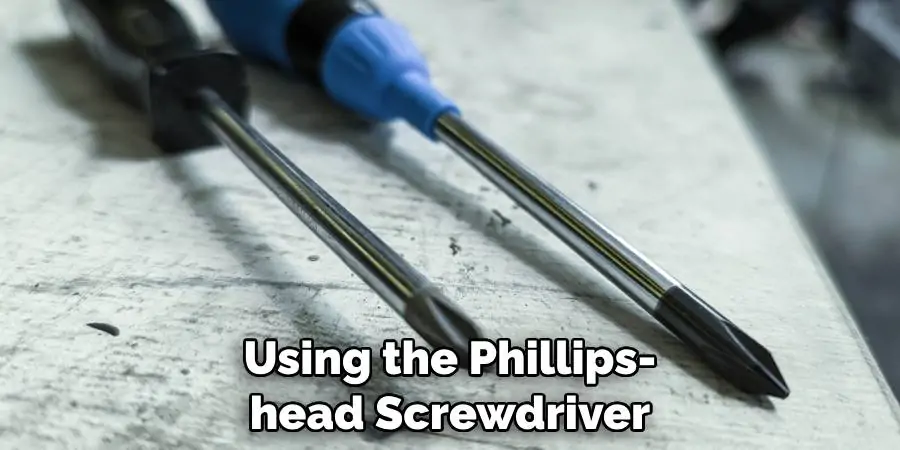
Using the Phillips-head screwdriver or an Allen wrench (whichever fits), turn the screw counterclockwise to loosen and remove it. If the screw is tight or corroded, apply some penetrating oil and let it sit for a few minutes before trying again. This will help to break down the rust and free the screw, making it easier to remove without causing damage to the handle or surrounding fixtures. Be patient and apply gentle, persistent pressure to avoid stripping the screw head.
Step 4: Pull Off the Handle
With the screw removed, you can pull off the handle. It might require a firm grip and a steady hand. If the handle does not come off easily, you may need to wiggle it back and forth or use a handle puller—a tool designed specifically for this job. Never use excessive force or tools like hammers that could damage the plumbing. Once the handle has been removed, inspect it and the stem for any signs of wear or corrosion that may indicate a need for replacement parts.
Step 5: Remove Any Adapters or Remaining Components
After the handle is off, there might be an adapter or sleeve that needs to be taken off before you can get to the valve. Use the appropriate adjustable wrench to remove any additional components. It’s important to grip securely but turn gently to avoid causing any damage to the plumbing. If you encounter resistance, ensure that you’re turning in the correct direction—usually counterclockwise—and consider using more penetrating oil if necessary. Keep small pieces organized and in a safe place; these components are vital for the correct reassembly of the faucet after the maintenance is complete.
Step 6: Clean the Area
Once you’ve removed the handle and any extra parts, use a clean towel or cloth to clean around the valve area. This step ensures a nice clean surface for when a new handle is installed or the old one is placed back. Make sure to remove any grime, mineral deposits, or old plumber’s tape from the stem and surrounding surfaces.
A clean surface will not only help to ensure a snug fit for the new or existing handle but also prevent potential leaks at the point of connection. If needed, utilize a small brush or a plumbing-specific cleaning tool for areas that are particularly difficult to clean. Once thorough cleaning is done, inspect the area one more time to ensure no debris is left behind.
Step 7: Handle Replacements or Maintenance
Now that the handle is removed, you can perform necessary maintenance or get ready to install a new handle. If you are reinstalling the same handle after cleaning, examine it for any signs of damage or wear that could affect functionality. Should there be cracks or significant wear, consider replacing it outright.
For a new handle installation, ensure the replacement part is an exact match to your faucet’s specifications. Align the new handle with the valve stem, and carefully start threading it on by hand to avoid cross-threading, which can damage the faucet. After it’s hand-tight, use the adjustable wrench to finish tightening it, making sure not to over-tighten as this might strip the threaded components or crack the new handle.
How to Identify the Type of American Standard Shower Handle
When it comes to identifying the type of American Standard shower handle, there are a few different factors to consider:
- Handle Design: American Standard offers several different styles of shower handles, including knob, lever, and cross handles. Take note of the shape and design of your current handle.
- Brand Logo or Labeling: Some American Standard handles may have the brand’s logo or name clearly labeled on them. This can make identification easier.
- Size and Shape: The size and shape of the handle itself can also be a clue in identifying the type. Measure the length and diameter of your handle to compare with replacement options.
- Mounting Style: American Standard shower handles may have different mounting styles, such as screw-on or Snap-On. Take note of how your current handle is attached to the valve stem.
- Finish: Lastly, consider the finish of your shower handle. American Standard offers a variety of finishes including chrome, brushed nickel, and oil-rubbed bronze.
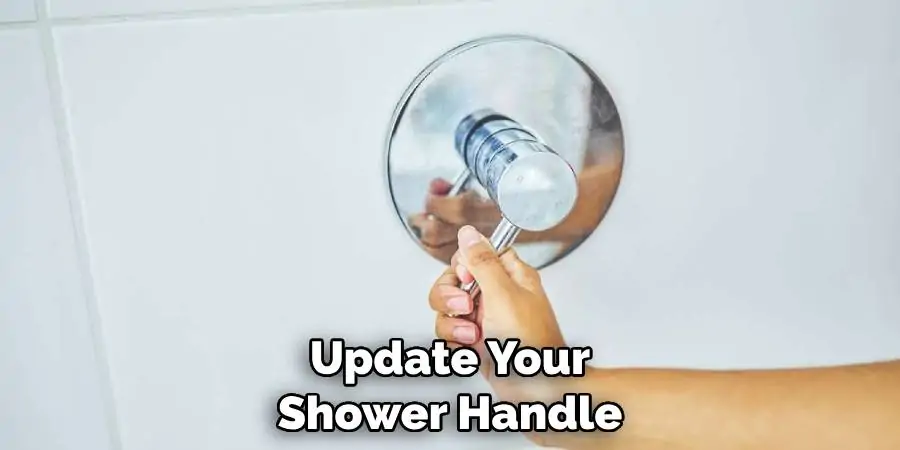
Once you have identified the type of American Standard shower handle you have, you can then begin the process of replacing or reinstalling it. Remember to follow the manufacturer’s instructions and use caution when handling any plumbing fixtures. With the right tools and knowledge, you can successfully update your shower handle and give your bathroom a fresh new look. So, it is important to carefully choose the right replacement handle that matches the type of your original American Standard handle.
Frequently Asked Questions
Can I Replace My Shower Handle Without a Professional Plumber?
Venturing into the realm of DIY home repairs can be both thrilling and rewarding, sparing one the expense of hiring professional help. Particularly in the case of a stubborn shower handle that’s seen better days, you may contemplate whether it’s feasible to undertake the task on your own. For those armed with a screwdriver, some plumber’s tape, and a smidgen of patience, learning how to remove American Standard shower handles is easier than one might surmise.
This simple step towards self-reliance not only imbues you with a sense of accomplishment but also equips you with a handy skill for future endeavors. So before you dial your local plumber, let’s dive into the process that can restore your shower’s splendor without draining your wallet.
How Often Should Shower Handles Be Replaced?
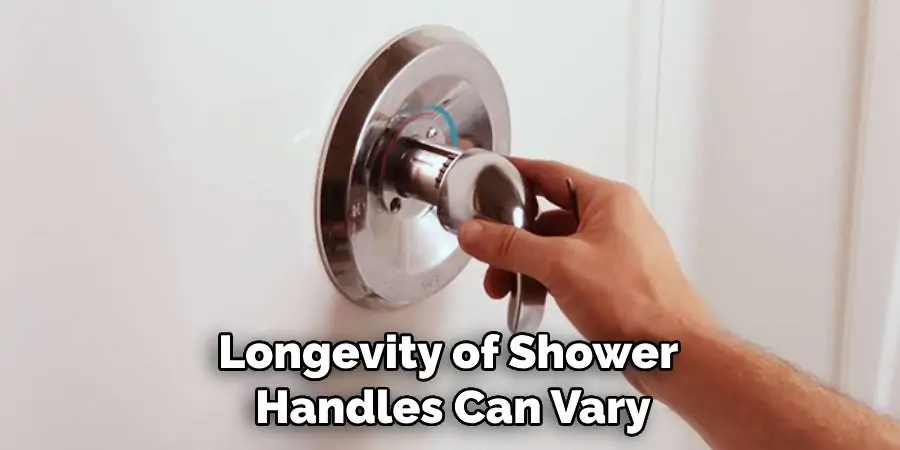
The longevity of shower handles can vary, depending on the frequency of use and the quality of the water running through your home’s plumbing system. Hard water, which is high in mineral content, can accelerate wear and erode fixtures more quickly. Typically, shower handles can last several years, but it is wise to consider replacing them if you notice signs of wear, such as difficulty turning, visible corrosion, or squeaking noises during use. Staying attentive to these details can ensure the functionality and aesthetics of your bathroom remain at their best.
Are All Shower Handles Universal?
Shower handles may appear to be universal, but there is a surprising variety in size, shape, and the way they connect to the plumbing system. Before purchasing a replacement, it’s essential to understand the specifications of your current handle, including the brand, model, and the mounting style. Typically, manufacturers design their fixtures to be compatible within their product lines, which simplifies the process for consumers.
However, universal adapters are available that allow for greater compatibility across different brands, ensuring a wider selection when choosing a replacement handle. It’s important to remember that although an adapter might make a handle fit, it doesn’t guarantee optimal performance or longevity. Always consider consulting with a professional or the handle manufacturer if uncertainty arises.
Conclusion
In this article, we have discussed how to remove American Standard shower handle without screws, and the importance of replacing worn out shower handles. We have also touched upon whether all shower handles are universal and the potential compatibility issues that may arise when purchasing a replacement handle. It is crucial to pay attention to the details and specifications of your current handle before making a replacement to ensure proper functionality and longevity. By following these guidelines, you can maintain the integrity of your bathroom and enjoy a comfortable and aesthetically pleasing shower experience.
So, next time you encounter a problematic or worn out shower handle, remember to take the necessary steps to properly remove and replace it for a hassle-free and efficient solution. With the right tools and knowledge, you can easily DIY this task or consult with a professional if needed. Always prioritize safety and proper handling of the fixtures to avoid any accidents or damage. Thank you for reading and happy showering! For more home improvement tips and tricks, stay tuned to our website for regular updates.
