Painting unfinished kitchen cabinets is an excellent way to update the look of your kitchen without breaking the bank. Unfinished cabinets are often less expensive, and with a fresh coat of paint, they can look just as good as their finished counterparts. In this guide, we will discuss step-by-step instructions on how to paint unfinished kitchen cabinets.
Materials Needed
Before you begin painting your unfinished kitchen cabinets, you will need to gather some materials. These may include:
- Primer
- Paint
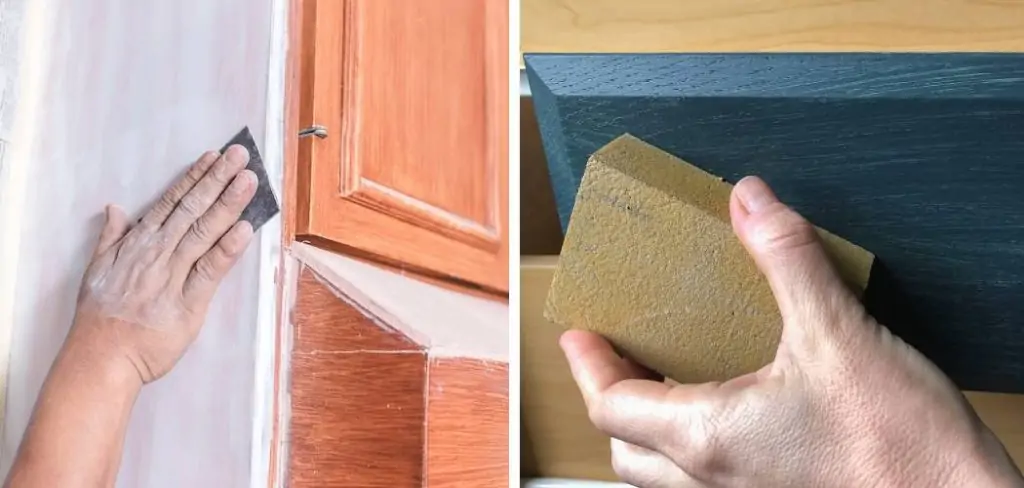
- Sandpaper
- Painter’s tape
- Drop cloths or plastic sheeting
- Paint Brushes or rollers
- Screwdriver
- Cleaning supplies (such as soap and water or degreaser)
What Type of Paint is Best for Unfinished Cabinets?
When it comes to painting unfinished cabinets, you want to make sure that you choose the right type of paint. A high-quality acrylic or latex paint is recommended for the best results. These types of paints are durable and can withstand heavy use in a kitchen setting.
It is also important to consider the finish of the paint. For kitchen cabinets, a semi-gloss or gloss finish is ideal as it can easily be cleaned and is resistant to moisture. However, if you prefer a more matte look, you can choose a satin or eggshell finish.
9 Step Instructions on How to Paint Unfinished Kitchen Cabinets
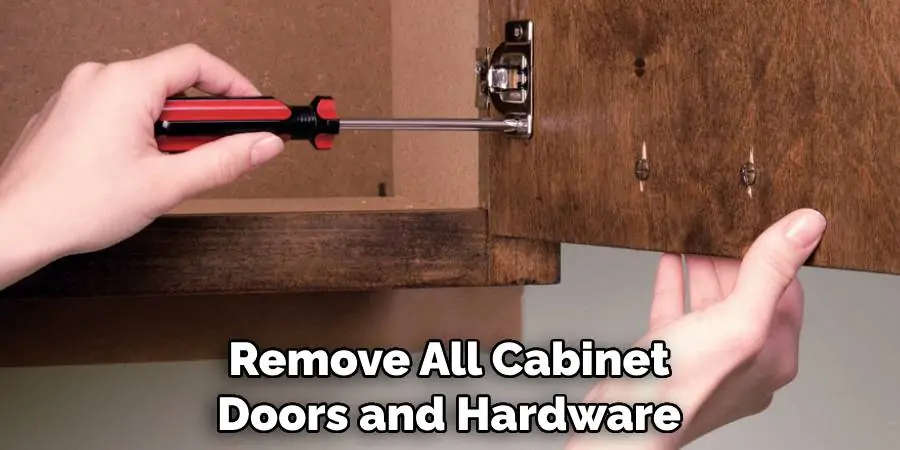
Step 1: Remove Cabinet Doors and Hardware
The first step in painting unfinished kitchen cabinets is to remove all cabinet doors and hardware. This includes handles, knobs, and hinges. Use a screwdriver to carefully remove the hardware from the cabinets. This will allow you to paint the doors and cabinets separately, ensuring a more even coat of paint.
Step 2: Clean the Surfaces
The next step is to clean the cabinet surfaces thoroughly. Use a gentle cleaner or degreaser to remove any dirt, grime, or grease buildup that may prevent paint from adhering properly. Make sure to also clean the doors and hardware you removed in the previous step.
Step 3: Sand the Cabinets
Using sandpaper or an electric sander, gently rough up the surface of the cabinets. This will help the primer and paint adhere better and create a smoother finish. Be sure to clean off any dust or debris from sanding before proceeding.
Step 4: Apply Primer
Using a primer specifically designed for wood or cabinets, apply an even coat to all surfaces of the cabinets. This will help the paint stick and prevent any stains or knots from bleeding through. Allow the primer to dry completely before moving on to the next step.
Step 5: Let Dry and Sand Again (Optional)
Depending on the type of primer used, you may need to let it dry for a certain amount of time before continuing. If desired, you can also lightly sand the cabinets again after the primer has dried to ensure a smooth surface.
Step 6: Paint Cabinets
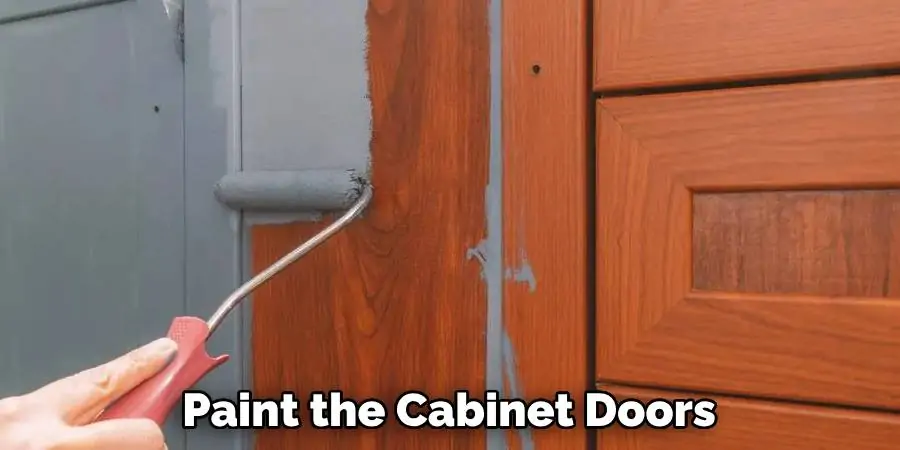
Using a paint specifically designed for cabinets or wood, apply an even coat to all surfaces of the cabinets. It is recommended to use a paintbrush or roller for larger areas and a smaller brush for any detailed areas.
Step 7: Let Dry and Add Additional Coats (Optional)
Allow the paint to dry completely between coats, and apply as many coats as necessary for full coverage. This may vary depending on the type of paint and color chosen. Be sure to also paint the cabinet doors and hardware separately.
Step 8: Reattach Cabinet Doors and Hardware
Once the paint has fully dried, reattach the cabinet doors and hardware using a screwdriver. Make sure all screws are tightly secured for a professional finish.
Step 9: Clean Up
Before admiring your newly painted cabinets, make sure to clean up any drop cloths or plastic sheeting, and properly dispose of any used materials. Use soap and water to clean any paint brushes or rollers for future use.
Additional Tips
- Be sure to choose a high-quality primer and paint specifically designed for cabinets or wood for best results.
- Consider using a glossy or semi-gloss finish for easier cleaning and a sleek look.
- If your cabinets have any knots or imperfections, consider using a wood filler to create a smoother surface before painting.
- Don’t forget to protect your floors and countertops with drop cloths or plastic sheeting while painting.
- Take breaks in between coats of paint to allow it to dry properly and avoid drips or smudges.
- Consider adding new hardware or knobs to your cabinets for an extra touch of style. Overall, have fun and be creative with your painting project! There are endless possibilities for color and design to make your kitchen uniquely yours.
How to Prepare Unfinished Cabinets for Painting
Before diving into painting your unfinished kitchen cabinets, it is important to properly prepare them for the best results. Here are some steps you can take:
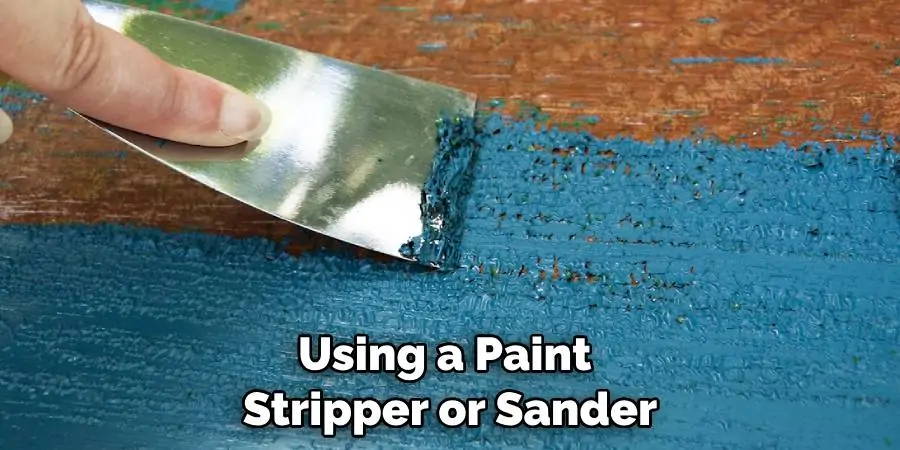
- Remove any old paint or finish from the cabinets using a paint stripper or sander.
- Fill in any holes or scratches with wood filler and sand smooth.
- Clean all surfaces with soap and water or degreaser to remove any dirt or residue.
- Sand the surfaces using sandpaper or an electric sander to create a smooth and even surface for paint adhesion.
- Apply a wood conditioner if working with soft woods such as pine, to prevent blotchiness when staining.
- Follow the steps outlined above for painting your unfinished cabinets.
With these preparation steps, you can ensure a clean and smooth surface for your paint to adhere to, creating a professional-looking finish. Remember to take your time and thoroughly prepare your cabinets before beginning the painting process.
Frequently Asked Questions
Do I Need to Prime Unfinished Cabinets Before Painting?
Transforming your kitchen cabinets with a fresh coat of paint can completely update the look of your space. But if you’re dealing with unfinished cabinets, you may be wondering if priming is necessary before diving in with your paintbrush. The short answer is yes, it’s highly recommended to prime your unfinished cabinets before painting.
Not only will it ensure a more even and smooth finish, but it will also help the paint adhere better to the surface and prevent any discoloration or blotchiness that may occur with unfinished wood. So before you start your painting project, make sure you’re equipped with the necessary supplies and don’t skip the priming step for a professional-looking result.
Do You Paint the Inside of Unfinished Kitchen Cabinets?
Are you in the process of renovating your kitchen and wondering whether or not to paint the inside of your new, unfinished cabinets? While it may seem unnecessary at first, taking this extra step can provide a polished and cohesive look to your kitchen design. Before getting started, make sure to thoroughly clean and sand the inside of the cabinets to ensure proper adhesion of the paint. Additionally, consider using a primer to create a smooth surface and extend the life of your paint job.
Finally, choose a paint color that compliments the rest of your kitchen design and brush on a thin, even coat. With these tips in mind, your unfinished cabinets will be transformed into a beautiful, finished product.
Do I need special brushes or tools for painting unfinished cabinets?
Painting unfinished kitchen cabinets can be a daunting task, especially if you’re new to the world of DIY. However, one of the most common questions people have is whether they need special brushes or tools for the job. The good news is that it’s entirely possible to paint your cabinets without any special equipment. Of course, there are a few key items you’ll need, such as a quality paintbrush, primer, and a paint roller.
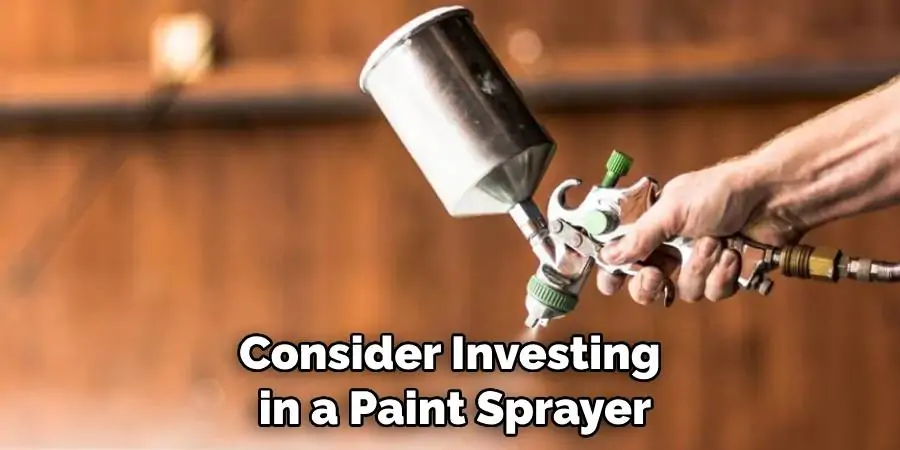
If you want to work more efficiently, you might also consider investing in a paint sprayer, which can save you time and effort in the long run. Overall, with a bit of patience and the right tools at your disposal, there’s no reason why you can’t transform your unfinished cabinets into a stunning focal point in your kitchen.
Conclusion
In conclusion, painting unfinished kitchen cabinets can be a fun and rewarding process that will give your kitchen a fresh new look. By following these simple steps, you can achieve professional-looking results without breaking the bank. It’s important to remember to properly prep and prime your cabinets before painting to ensure long-lasting results. Don’t be afraid to get creative with colors and finishes!
And don’t forget about the cabinet hardware – replacing old knobs and handles can make a big difference in the overall appearance of your cabinets. Whether you’re a DIY enthusiast or just looking for an affordable way to update your kitchen, painting unfinished cabinets is worth considering. So go ahead and transform your kitchen into a space you love with some paint, time, and patience. Thank you for reading our blog post on how to paint unfinished kitchen cabinets – now it’s time for you to grab that paintbrush and get started!
