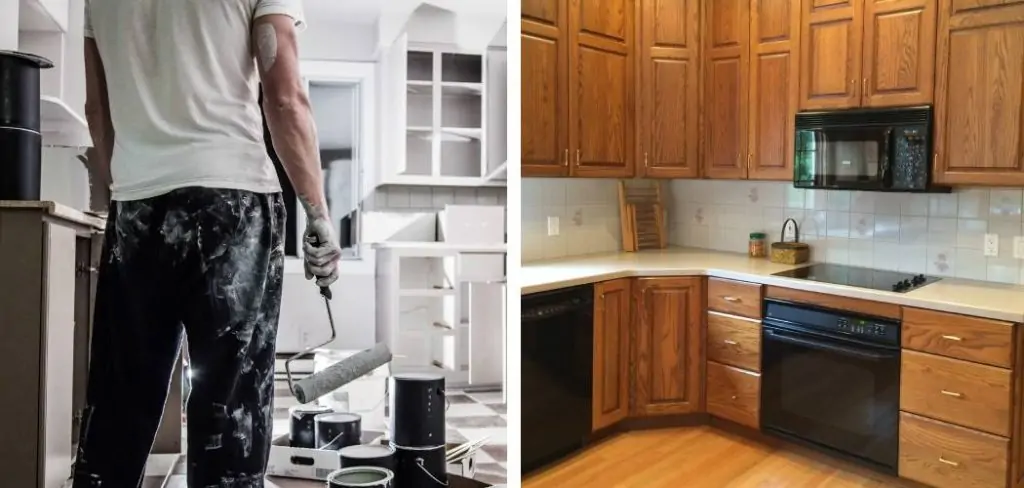
Oak cabinets are a popular choice in many homes due to their strength and durability. However, as time goes on, the oak color can become outdated or simply not fit in with your desired aesthetic. Painting oak cabinets white is a great way to give your kitchen or bathroom an instant facelift without having to completely replace the cabinets.
In this guide, we will walk you through the process of how to paint oak cabinets white, from preparing the surface to choosing the right paint and application techniques.

Materials Needed
- Sandpaper or sanding block
- Tack cloth
- Primer
- High-quality paint in desired shade of white
- Paintbrushes or rollers
- Painter’s tape
- Drop cloths or plastic sheeting
What Kind of Paint Do You Use on Oak Cabinets?
Before beginning the painting process, it’s important to choose the right type of paint for your oak cabinets. Latex or acrylic-based paints are typically recommended for wooden surfaces, as they adhere well and can withstand moisture.
Additionally, look for a high-quality paint with reliable coverage to ensure a smooth finish on your cabinets. It’s also recommended to avoid using oil-based paints, as they can take longer to dry and emit strong fumes.
5 Effective Steps on How to Paint Oak Cabinets White
The bright and refreshing aesthetic of white kitchen cabinets has made them a perennial favorite among homeowners. If you currently have oak cabinets and dream of a white kitchen look, painting them provides a cost-effective solution to achieving the desired transformation. This listicle covers the essential steps to successfully paint your oak cabinets white, ensuring a professional-looking finish that will breathe new life into your kitchen.
1. Prepping Your Space
Before you even think about opening a paint can, it’s crucial to prepare your space. This process will not only ensure the best possible outcome for your cabinets but also protect the rest of your kitchen from unintentional application of paint or dust.
Clearing Out the Cabinets: The first step is to empty the contents of your cabinets. It’s the perfect opportunity to reorganize and declutter your kitchen. This helps you paint more efficiently and ensures the insides are just as fresh as the outside once the job is done.
Protecting Surrounding Areas: Paint can easily spread to unnoticed areas, so it’s important to cover your flooring and any nearby furniture with drop cloths. Use painter’s tape to protect walls or any areas you don’t want to be painted.

2. Cleaning and Sanding
Your cabinets must be clean and have a rough surface for the paint to adhere properly. Here’s how you get there:
Cleaning the Cabinets Thoroughly: Use a mild degreaser and a sponge to thoroughly clean your cabinets. Ensure you remove any dirt, grease, or kitchen splatter. Remember to clean the insides as well – a clean slate is the first step to a fresh kitchen!
Sanding to Remove the Old Finish: Oak can have a strong grain pattern, and you’ll want to sand it down to achieve a smooth, modern surface. Start with a medium-grit sandpaper to remove the majority of the finish, then switch to fine-grit sandpaper to smooth the surface.
3. Priming the Surface
Priming is a step you don’t want to skip – it serves as a foundational layer for your paint to properly adhere to the cabinets’ surface.
Importance of Using the Right Primer: Look for an oil-based, stain-blocking primer. Oak has tannins that can seep through paint, so it’s important to use a primer that will seal the wood effectively.
How to Apply the Primer Evenly: Use a high-quality brush or a paint sprayer for large surfaces. Apply the primer in thin, even layers, and sand lightly between coats for a smooth finish.
4. Applying Paint
This is the step where you start to see real change, and it’s important to do it right to ensure longevity.
Choosing the Right Paint Type: For durability, select an acrylic enamel or oil-based paint. These types of paint are tough and are less likely to show wear and tear in the kitchen.
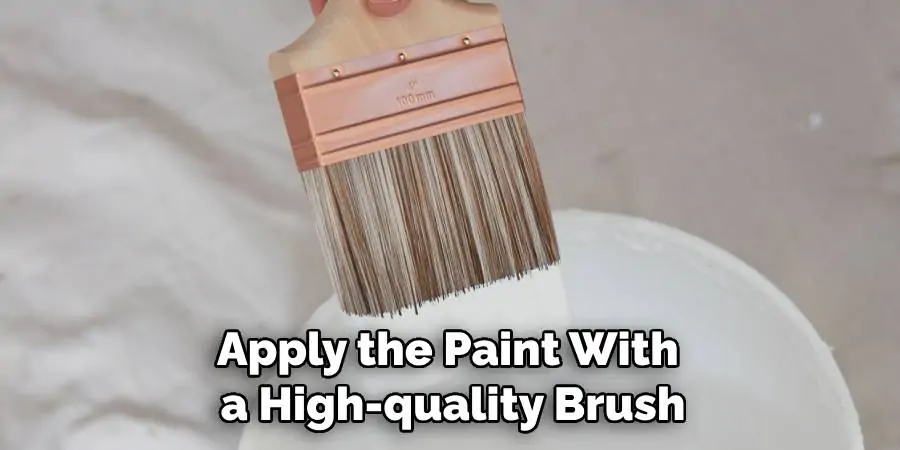
Techniques for a Smooth Finish: Apply the paint with a high-quality brush, roller, or sprayer – whichever gives you the best control.

5. Finishing Touches
Sealing the Paint: Once the paint has fully dried, apply a clear polyurethane top coat. This will protect your cabinets from moisture and ensure your new color lasts for years.
Reinstalling Hardware and Admiring the Work: After your cabinets are completely dry, reinstall the hardware. Step back and take in the transformation – you’ve created a whole new look for your kitchen!
Follow these steps, and you’ll be rewarded with beautiful, white kitchen cabinets that will brighten your space and may even inspire you to tackle additional DIY projects. Remember, patience and attention to detail are key in achieving a professional finish. With dedication and the right approach, you’re just five steps away from a kitchen you’ll love.
How to Remove Scratches From Oak Cabinets Before Painting
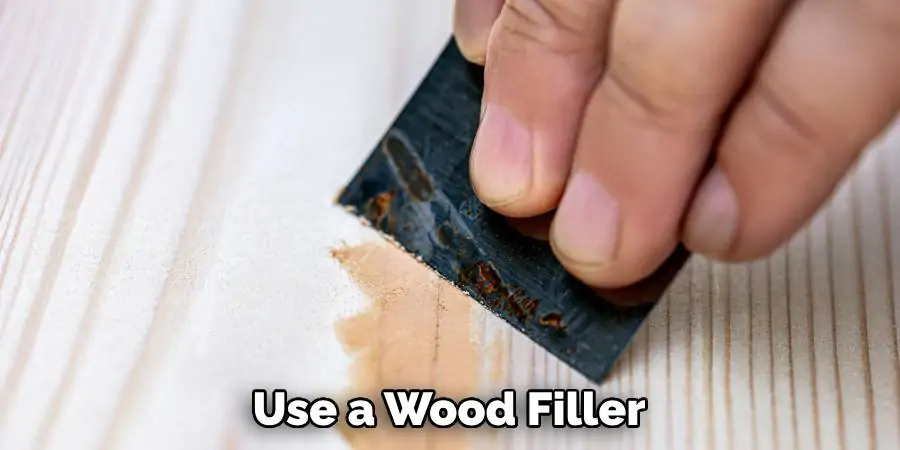
If your oak cabinets have noticeable scratches or dings, you may want to address them before painting. Here’s a simple method for repairing small scratches:
- Clean the area with mild soap and water.
- Use a wood filler or putty in a matching color to fill in the scratch.
- Sand down the surface until it is smooth.
- Wipe away any dust with a tack cloth.
- Follow the steps outlined above to prime and paint your cabinets, making sure to cover the repaired area evenly.
With these tips, you’re well on your way to achieving a fresh, white look for your oak cabinets. Remember to always choose high-quality materials and take your time during each step for the best results.

5 Things to Consider When Painting Oak Cabinets
Painting oak cabinets is a great way to give your kitchen a fresh, updated look. However, before starting this project, there are some important factors to consider:
- Quality of Materials: Using high-quality paint and primer will ensure a professional-looking finish that will last for years.
- Time and Patience: This project can take some time, and it’s important to have patience and attention to detail for the best results.
- Proper Prep: Thoroughly cleaning and sanding the cabinets before painting is crucial for the paint to adhere properly.
- Color Selection: Consider the overall aesthetic of your kitchen when choosing a white paint color, as well as any other colors or finishes that will complement it.
- DIY or Professional: Painting cabinets can be a challenging and time-consuming project, so consider hiring a professional if you don’t have the necessary skills or time to commit to it.
By taking these factors into consideration, you’ll set yourself up for success in achieving beautiful, white oak cabinets that will transform your kitchen. Happy painting!
Frequently Asked Questions
Can Oak Cabinets Be Painted White?
Tired of the golden hues of oak and craving the freshness of a modern kitchen? The good news is that your sturdy oak cabinets can indeed be transformed with a coat of crisp white paint. Many homeowners ask, “How to paint oak cabinets white?” and discover it’s a project brimming with potential. Although oak’s prominent grain pattern presents some challenges, with the right preparation and techniques, your cabinets can emerge as sleek and smooth as any contemporary design.
Sanding, quality primer, and several thin layers of paint are the secret ingredients to a flawless finish. Not only does painting your oak cabinets white revitalize the kitchen space, but it also reflects light beautifully and makes the room appear bigger. Get ready to switch up the ambiance of your culinary haven with just a brushstroke!
How Long After Painting Can I Use My Oak Cabinets?
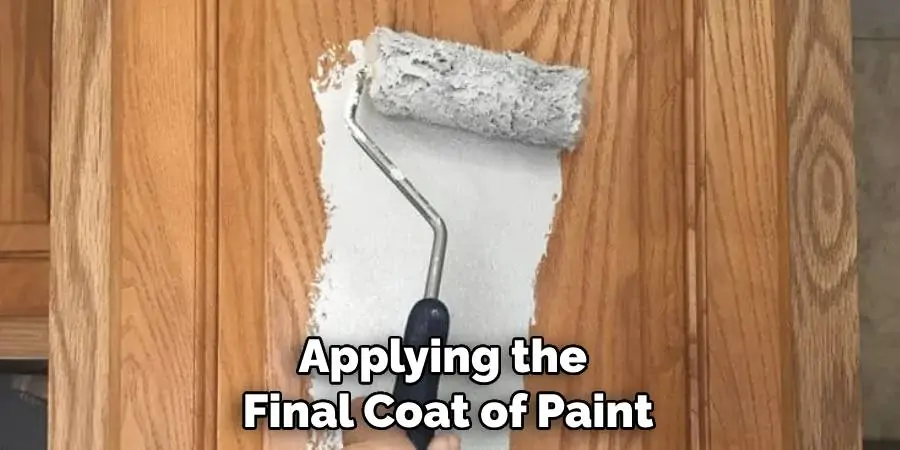
After applying the final coat of paint, it’s important to allow your oak cabinets to fully dry before using them. The recommended drying time can vary depending on the type of paint used and environmental factors such as temperature and humidity. In general, it’s best to wait at least 24 hours before using your cabinets. If possible, allow the paint to cure for a full week before placing heavy objects on or using them regularly. This will ensure the best results and prevent any damage to your freshly painted cabinets.

How Do I Care For My Newly Painted Oak Cabinets?
Proper care and maintenance are crucial for preserving the beautiful finish of your newly painted oak cabinets. Here are some tips for caring for them:
- Avoid using harsh chemicals or abrasive cleaners on the cabinets.
- Wipe any spills or stains immediately to prevent them from setting in.
- Use a soft cloth and mild soap and water for regular cleaning.
- Consider applying a wax or sealant every few years to protect the paint and enhance its durability.
By following these suggestions, you can keep your oak cabinets looking fresh and new for years to come. Happy painting!
Additional Tips for Painting Oak Cabinets
- Remove all cabinet doors and hardware before starting the painting process.
- Label each door and its corresponding location to ensure easy reinstallation.
- Consider using a degreaser or trisodium phosphate (TSP) cleaner before sanding to remove any built-up grease or grime on the cabinets.
- Use a primer specifically designed for cabinets to ensure proper adhesion and durability.
- For a smoother finish, lightly sand between coats of paint with a fine-grit sandpaper.
- Consider adding new hardware or updating the existing hardware to complement your newly painted cabinets.
With these extra tips, you can elevate your painting project and achieve a professional-looking finish for your oak cabinets. Remember, patience and attention to detail are key in achieving the best results.
Conclusion
In this guide, we’ve covered the process on how to paint oak cabinets white, from repairing any scratches to choosing the right materials and considering important factors. With patience and proper preparation, you can achieve a beautiful new look for your kitchen that will last for years to come. We hope this guide has been helpful in your DIY journey. Happy painting!
