Painting kitchen hardware is a simple and cost-effective way to give your kitchen a much-needed update without breaking the bank. Whether you’re looking to revamp old, dated cabinets or just want to add a pop of color to your existing kitchen, painting your hardware can make a big impact. In this guide, we will walk you through the steps on how to paint kitchen hardware and give you tips for a successful project.
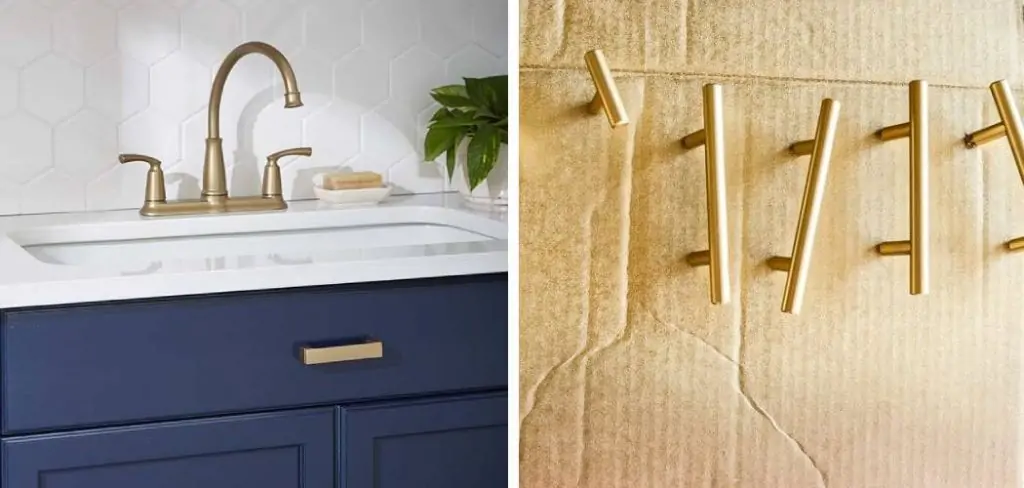
How to Prepare Kitchen Hardware for Painting
Before you dive into painting your kitchen hardware, it’s important to properly prepare the surfaces. This will ensure that the paint adheres well and lasts for a long time. Here are the steps to prepare your kitchen hardware for painting:
- Remove All Hardware From Cabinets: Take off all knobs, handles, and hinges from your cabinets and drawers using a screwdriver. Lay them on a drop cloth or old newspaper to protect your work surface.
- Clean the Hardware: Use a degreaser or soap and water to thoroughly clean the hardware. This will remove any dirt, oil, or grime that can prevent the paint from sticking.
- Sand the Surfaces: Using fine-grit sandpaper (around 220 grit), lightly sand all surfaces of the hardware. This will create a rough surface for the paint to adhere to.
- Wipe Off Dust: After sanding, use a damp cloth to wipe off any dust or debris from the hardware. Allow it to dry completely before moving on to the next step.
- Prime the Hardware: Apply a coat of primer specifically designed for metal surfaces onto the hardware. This will create a smooth base for the paint and help it adhere better.
- Let the Primer Dry: Follow the drying time instructions on the primer before proceeding to paint.
Materials Needed
- Screwdriver
- Fine-grit sandpaper
- TSP or degreaser cleaner
- Drop cloth
- Painter’s tape
- Primer
- Paint in desired color and finish (spray paint or brush-on)
- Clear coat sealant (optional)
Top 10 Tips for How to Paint Kitchen Hardware Like a Pro
Revamping your kitchen doesn’t always have to involve a complete overhaul. Sometimes, it’s the subtle changes that make the most significant impact. One such change, often overlooked, is the painting of kitchen hardware. A splash of color or a new metallic finish on knobs, handles, and faucets can totally transform the space without breaking the bank. Here are ten professional tips to guide you through this DIY project and make your kitchen shine with personalized charm.
1. Prepare the Hardware
To achieve a professional finish, thorough preparation is crucial. Start by removing all the hardware from the cabinets and countertops. Then, clean it with a degreaser to remove any residues that could prevent the paint from adhering properly.
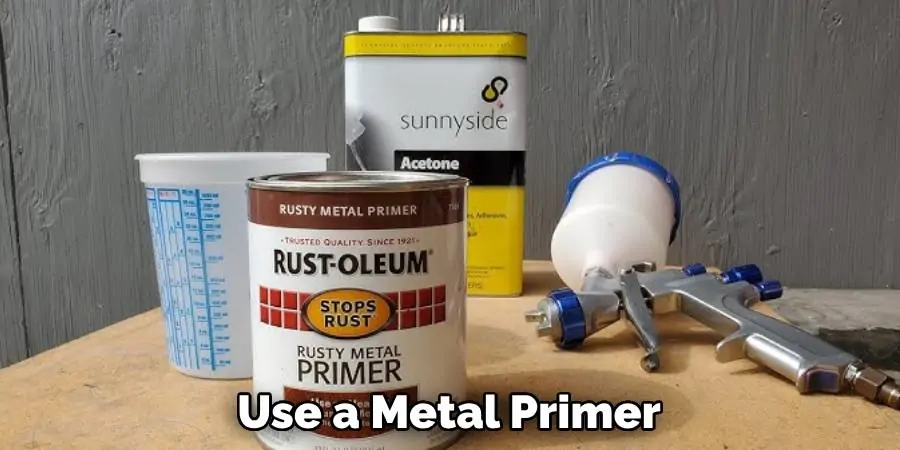
If you’re painting over a metal finish, use a metal primer specifically designed to promote adhesion and prevent rust. If your hardware is wooden or plastic, use a primer suitable for those materials. Allow the primer to dry completely before moving on to the next step.
2. Choose the Right Paint
For durability, choose an enamel paint. This type of paint can withstand frequent cleaning and won’t chip easily. Additionally, consider the texture and appearance you’re going for. High-gloss paints create a polished look but can highlight imperfections, while satin or matte finishes can be more forgiving.
It’s also a good idea to select a quick-drying formula to minimize dust and impurities settling on the surface while it dries. Ensure the paint you choose is compatible with the primer you’ve applied and can adhere to the material of your hardware.
3. Test the Color
Before committing to a full application, test the paint and color on a small portion of the hardware. This step is crucial if you’re unsure about the final look or if the hardware material may react unpredictably with the paint. It’s better to discover any issues on a small test area and make adjustments before painting the entire piece.
4. Apply Paint Evenly
When painting, even application is key. Use light coats, holding the can or brush several inches away from the hardware, to avoid drips and pooling. If using a spray can, move your hand smoothly across the surface in a sweeping motion.
If you’re hand-painting, use a fine-bristled brush and apply the paint with long, smooth strokes in the direction of the grain. Multiple thin coats will provide a better finish than a single heavy one.
5. Allow for Proper Drying Time
After each coat, you must allow the paint to dry completely. This can take several hours, depending on the paint and environmental conditions. Many paints recommend a specific drying time on the label, so be sure to follow these guidelines for the best result.
Do not reassemble the hardware until the paint is completely dry to the touch. If you’re using a layered painting technique or applying a clear topcoat, be sure to also allow for proper drying between these steps.
6. Apply a Clear Topcoat (Optional)
For added durability, especially in high-traffic areas such as the kitchen, applying a clear topcoat can help protect the paint from wear, tear, and cleaning products. Opt for a topcoat that is designed to work with the type of paint you’ve chosen and ensure it won’t yellow over time.
Again, apply the topcoat in thin, even layers, and be patient with drying times. The extra wait will be worth it for the longer-lasting finish.
7. Reassemble Carefully
Once everything is dry, reassemble the hardware with care. Be gentle to prevent any scratching or chipping of the freshly-painted surface. Also, ensure everything lines up correctly and functions as it should.
It’s often a good idea to take some ‘before’ photos of your hardware placement so you have a visual reference for where each piece should go.
8. Consider New Screws or Fasteners
If the existing screws or fasteners are showing wear and tear, this can detract from the fresh look of the newly-painted hardware. Consider replacing these with new ones in a matching or complementary finish to give the project that extra polished look.
It’s a small detail, but it can make a significant difference in the overall appearance.
9. Maintain the Hardware
Ongoing maintenance is important for the longevity of your painted hardware. Use gentle cleaning methods and avoid harsh abrasives that can wear away the paint finish over time.
If you need to do a touch-up, be sure to use the same type of paint and the exact color to maintain a uniform appearance. Store a little extra paint for this purpose, or know where you can purchase more from the same batch.

10. Enjoy Your Newly Painted Hardware
Now comes the most rewarding part – standing back and gazing at the beautiful new hardware in your kitchen. The impact of this DIY project on the overall look of the space can be surprisingly significant, even though the process itself was quite manageable.
By following these professional tips, you’ve painted your kitchen hardware like a pro, adding that personal touch that makes your home truly your own. Enjoy the fresh look and the satisfaction of a job well done!
Additional Tips for Kitchen Hardware Painting
- Don’t be afraid to get creative with colors and finishes. Consider using metallic paints, two-tone designs, or adding a pop of color on select pieces for added visual interest.
- Take your time and have patience during the process. Rushing can result in mistakes or an uneven finish.
- If you’re painting hinges, it’s best to remove them from the cabinet doors before painting for a more seamless look.
- Consider using stencils or decals to add patterns or designs to your newly-painted hardware for a unique and personalized touch.
- Don’t limit yourself to just kitchen hardware – this technique can be used on any metal, wood, or plastic pieces throughout your home for a cohesive and updated look.
- If you’re unsure about painting larger pieces of hardware, start with smaller items like cabinet knobs or drawer pulls to gain confidence and practice your technique. Overall, have fun and get creative with this DIY project – the possibilities are endless! So go ahead, experiment, and transform your kitchen hardware into a beautiful reflection of your personal style.
Frequently Asked Questions
Can You Paint Kitchen Hardware?
Yes, you can paint kitchen hardware to give it a fresh new look. It’s an affordable and straightforward DIY project that can make a significant impact on the appearance of your kitchen.
What Kind of Paint Do You Use on Metal Hardware?
For metal hardware, use a metal primer to promote adhesion and prevent rust. Then, choose an enamel paint for durability. Be sure to test the paint on a small area first.
How Do You Paint Kitchen Hardware Without Removing It?
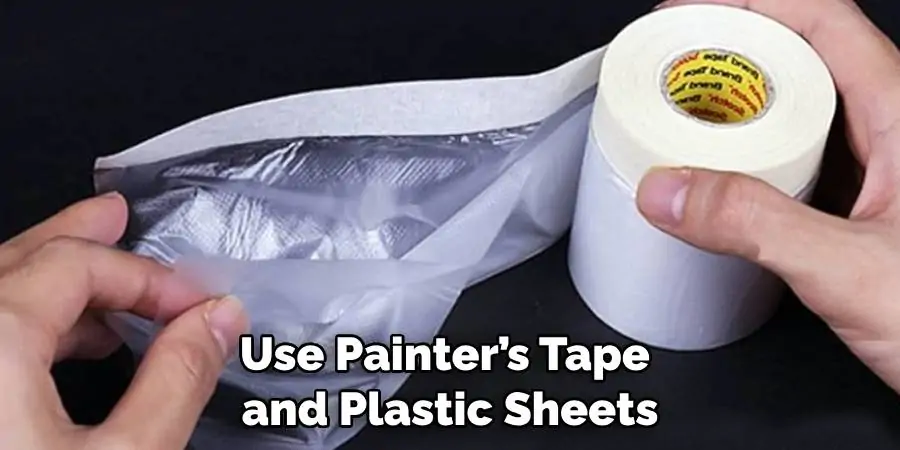
If you prefer not to remove your hardware, you can paint it in place by carefully protecting surrounding areas from the paint. Use painter’s tape and plastic sheets to cover countertops, walls, and floors. You may also want to consider using a spray paint for easy application.
Conclusion
In this guide, we’ve discussed the step-by-step process of how to paint kitchen hardware like a pro. From preparing the area and choosing the right paint to applying it evenly and maintaining the finish, these professional tips will help you achieve a flawless result.
Remember to take your time, follow the instructions on your chosen products, and be patient with drying times. With a little effort, you can transform the look of your kitchen and add your personal touch to make it feel like home. So don’t be afraid to take on this DIY project and enjoy the satisfaction of a job well done! Happy painting!
