Painted cabinets are a great addition to any home, bringing color and personality to your kitchen, bathroom, or other living spaces. However, over time the paint may start to chip, fade or simply become outdated. Instead of replacing the entire cabinet, you can opt for repainting them to give them a fresh new look.
But what if your cabinets are already painted? Can you repaint them again? The answer is yes! In this tutorial, we will guide you on how to paint already painted cabinets, so you can transform your living space without breaking the bank.
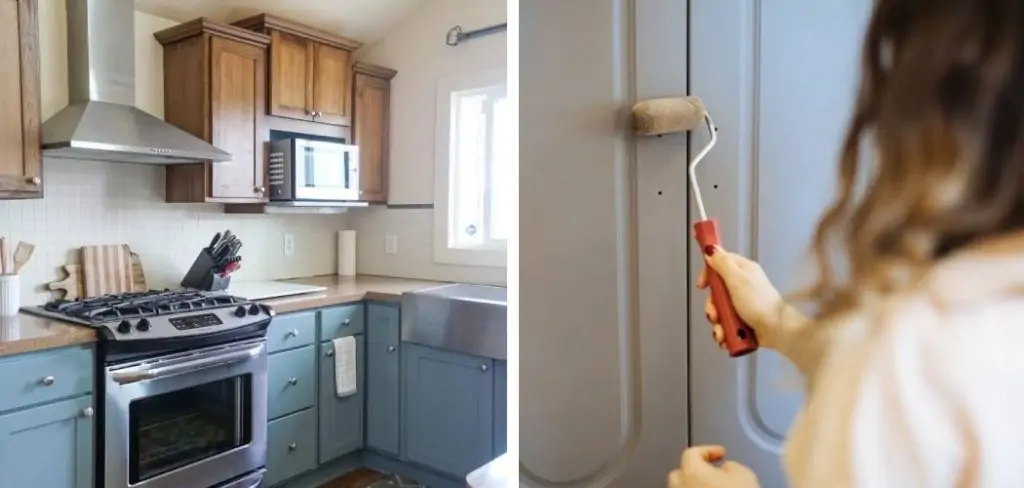
Why Repaint Already Painted Cabinets
Before we dive into the process of repainting already painted cabinets, let’s discuss why you may want to do so. There are a few reasons why people opt for repainting their cabinets:
- Discoloration or Chipping: As mentioned earlier, paint can start to fade or chip over time. This can make your once bright and vibrant cabinets look dull and worn out. Repainting them can bring back the original luster and make them look brand new.
- Change in Style: If you have recently redecorated your home, or simply want to change the style of your kitchen or bathroom, repainting your already painted cabinets is a cost-effective way to do so. You can choose a color that complements the new decor and instantly update the look of your living space.
- Budget-friendly: Replacing cabinets can be a costly endeavor. Repainting them, on the other hand, is a much more budget-friendly option that can give you similar results. It also allows you to customize the color and finish according to your preference.
Now that we have established why repainting already painted cabinets is a great idea, let’s move on to the step-by-step process.
10 Effective Steps on How to Paint Already Painted Cabinets
Transforming the look of your kitchen or bathroom doesn’t necessarily mean an expensive overhaul; sometimes, a fresh coat of paint on those dreary old cabinets can work wonders. However, painting cabinets is more than just slapping on some color. It requires precision, patience, and a thoughtful approach to achieve professional-looking results. In this guide, you’ll learn the essential steps to tackle this DIY project like a pro and breathe new life into your space.
1. Prepare Your Workspace
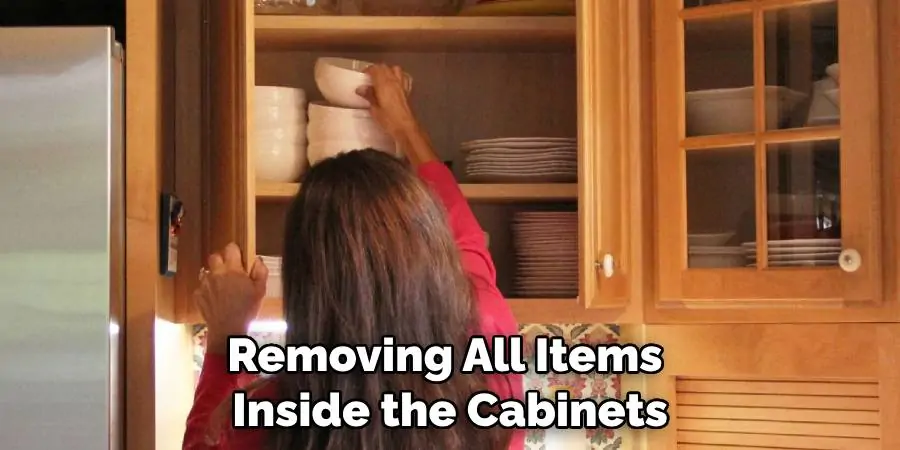
Before you pick up a paintbrush, prepare your workspace for the project. This includes removing all items inside the cabinets and clearing the area around them to give you enough space to work. Cover your countertops and floor with drop cloths or plastic to protect them from paint splatters. If possible, work in a well-ventilated room or set up fans to help with air circulation.
2. Gather Your Materials
Having the right tools and materials on hand is crucial. You’ll need sandpaper (medium and fine grit), a screwdriver, a tack cloth, painter’s tape, primer, paint, a roller with a foam or synthetic bristle brush, and a clear coat. The type of paint and finish you choose depends on your personal preference and the desired look of your cabinets.
3. Remove the Hardware
Take off all the hardware from your cabinets, including handles, knobs, and hinges. It’s best to store them in a labeled plastic bag so you can easily identify where each piece goes. Removing the hardware allows you to paint the cabinet surfaces thoroughly and gives you the opportunity to clean and update the hardware separately.
4. Clean and Sand the Surfaces
Thoroughly clean the cabinet surfaces to remove any grease or grime using a mild detergent. Once dry, use medium grit sandpaper to scuff the existing paint. This step is critical for the new paint to adhere properly. After sanding, wipe down the cabinets with a tack cloth to remove any dust.
5. Apply the Primer
Priming is an essential step, especially when painting over an existing finish. The primer will help the new paint bond to the old surface and provide a more even finish. Apply the primer with a roller or brush, making sure to cover all areas evenly. Allow the primer to dry completely before moving on to the next step.

6. The Choice of Paint
When selecting paint, you can choose between oil-based or latex, depending on your preference and the conditions of the area. Oil-based paint provides a durable finish but has a strong odor and requires paint thinner for clean-up. Latex paint is more user-friendly but might not be as durable for high-use areas like the kitchen.
7. Paint the Cabinets
With the surfaces properly prepared, it’s time to paint. Use a roller for larger areas and a brush for edges and smaller sections. Apply paint in thin, even coats, and work in the direction of the wood grain. Multiple thin coats are better than one thick coat as they will dry faster and reduce the chances of drips forming.
8. Dry and Sand Between Coats
Allow each coat of paint to dry fully before applying the next one. This usually takes a few hours. Once dry, lightly sand the surfaces with fine grit sandpaper to remove any imperfections or brush strokes. Wipe the cabinets down with a tack cloth before painting the next layer.
9. Apply a Topcoat
A topcoat or sealer can help protect your freshly-painted cabinets from moisture, grease, and general wear and tear. Choose a topcoat specifically designed for use over paint and apply it in multiple thin layers for the best coverage and durability.
10. Reinstall the Hardware
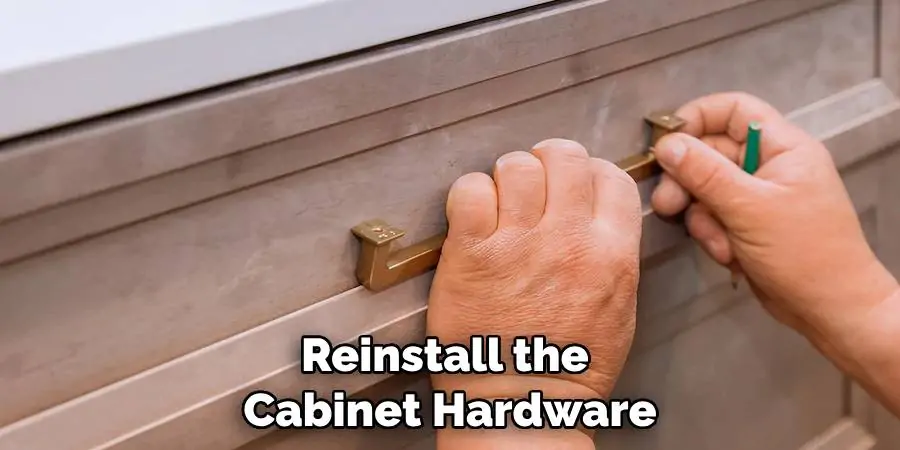
Once everything is dry, reinstall the cabinet hardware. Take your time to ensure that everything is aligned and the hardware is secure. Stand back and admire your newly painted cabinets – you’ve just given your kitchen or bathroom a fantastic facelift!
By following these steps, you’ll avoid common pitfalls and be well on your way to enjoying the new, refreshed ambiance that your freshly painted cabinets bring to your living space. Remember, patience and attention to detail are your allies in this project, which rewards you with a stylish upgrade at a fraction of the cost of replacements.
Additional Tips and Tricks
- Choosing the Right Paint: Consider using a paint sprayer for a smoother, more professional finish. If you’re not confident in your painting skills, opt for a semi-gloss or gloss finish instead of matte, as they are less forgiving when it comes to imperfections.
- Don’t Rush the Drying Process: It’s tempting to try and speed up the project by rushing the drying process. However, this can lead to uneven or cracked paint. Allow each coat to dry completely before moving on to the next one.
- Be Mindful of Brush Strokes: When using a brush, be aware of your brushstrokes and try to keep them consistent throughout the entire surface for a more professional look.
- Experiment with Colors: Don’t be afraid to play around and experiment with different colors on your cabinets. This is an easy way to add a pop of color to your kitchen or bathroom. You can also opt for two-tone cabinets by painting the upper and lower cabinets in different shades.
- Use Quality Materials: Invest in good quality paint, primer, and brushes for a better end result. Cheap materials can lead to a subpar finish and require more touch-ups in the long run.
- Take Breaks: Painting cabinets can be a time-consuming task, so make sure to take breaks to avoid fatigue and ensure that you’re able to maintain focus and attention to detail throughout the project.
With these additional tips, you’ll be well-equipped to tackle your cabinet painting project with confidence and achieve beautiful, long-lasting results.
Frequently Asked Questions
Can You Paint Over Already Painted Cabinets Without Sanding?
Transforming your kitchen doesn’t have to mean hours of prep work and sanding. Discover how to paint already painted cabinets with ease, giving your space a fresh, new look without the dusty, time-consuming process of sanding. Whether you’re going for a modern update or a cozy, traditional feel, the key to success lies in selecting the right paint and following specific steps for a smooth and durable finish.
With careful preparation and the proper techniques, you can achieve professional-looking results that revitalize your kitchen’s aesthetic. Give your cabinets a makeover and bring new life to your home with this simple yet effective DIY project.
Do I Need to Use Primer on Already Painted Cabinets?
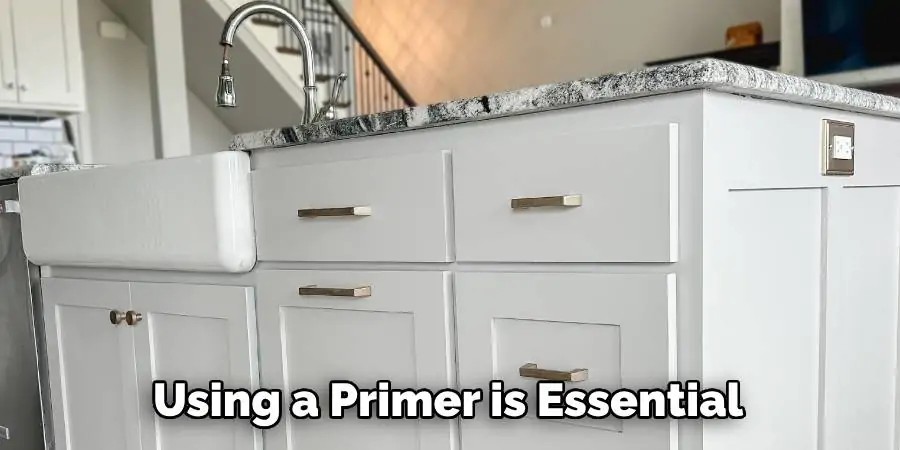
Yes, using a primer is essential when painting over already painted cabinets. The primer ensures proper adhesion of the new paint and helps to create an even finish. It also prevents any old stains or discoloration from showing through the new paint.
Should I Sand Painted Cabinets Before Painting?
If the existing finish on your cabinets is in good condition, you can lightly sand the surface before painting to create a better bond for the new paint. However, if the finish is peeling or chipping, it’s best to remove it entirely through sanding or stripping before proceeding with painting. Overall, sanding will help achieve a smoother and more durable finish.
Conclusion
In this guide, we’ve covered the step-by-step process of how to paint already painted cabinets. From proper surface preparation to choosing the right paint and applying topcoats, following these recommendations can help you achieve a professional-looking finish that revitalizes your kitchen or bathroom. Remember to take your time, be patient, and pay attention to detail for the best results. With these tips and tricks in mind, you’ll have beautifully painted cabinets in no time.
So, go ahead and give your kitchen or bathroom a budget-friendly makeover by painting those already painted cabinets! Just follow these tips and tricks for a professional-looking finish that will refresh the entire look of your living space. With patience and attention to detail, you can achieve beautiful results that will bring new life to your cabinets and home. Happy painting!
