Are you tired of seeing a worn-out kitchen table every time you sit down for a meal? Or perhaps, you’ve been dreaming of giving your old table a brand new look to match your updated kitchen decor. Whatever the reason may be, painting your kitchen table is an excellent and cost-effective way to spruce up its appearance. However, many people dread this DIY project because sanding can be messy and time-consuming.
But what if we told you that there’s a way to paint your kitchen table without having to sand it first? Yes, it’s possible! In this blog post, we’ll show you how to paint a kitchen table without sanding. So grab some coffee or tea and let’s get started on revamping your kitchen table!
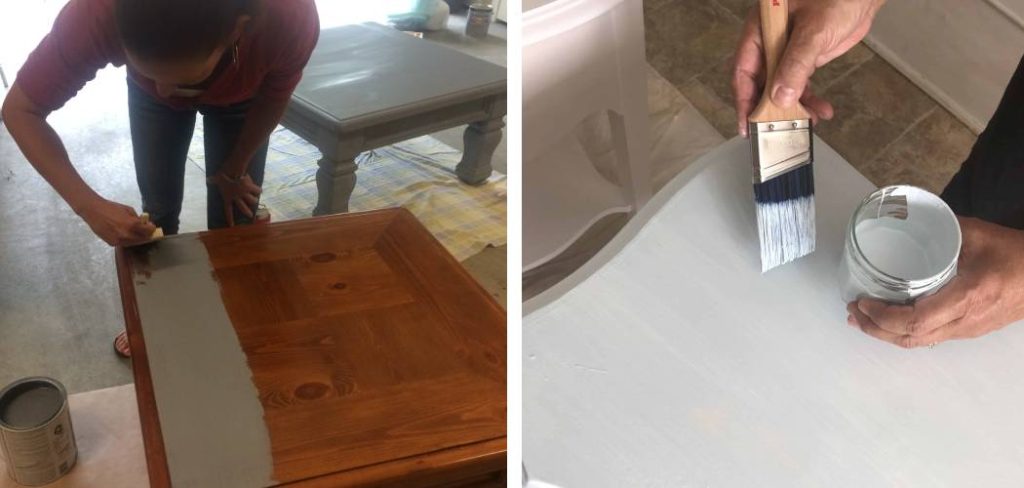
How to Prepare a Kitchen Table for Painting Without Sanding
Before we jump into the painting process, it’s essential to properly prepare your kitchen table. This step is crucial because it ensures that the paint will adhere correctly and give you a smooth and long-lasting finish. Without further ado, here are the steps on how to prepare a kitchen table for painting without sanding:
- Clean the Table: The first step is to clean your kitchen table thoroughly. Use a mild detergent and warm water to remove any dirt, grime, or grease buildup on the surface. You can also use a degreaser for tougher stains.
- Rinse and Dry: After cleaning the table, rinse it with clean water and dry it completely using a cloth or towel.
- Repair Any Damage: Check the table for any scratches, dents, or chips. If you find any, use wood filler to fill them in and let it dry according to the manufacturer’s instructions.
- Sand Only the Imperfections: In this method, you only need to sand the areas where you applied wood filler. Use fine-grit sandpaper and lightly sand the filled-in spots until they are smooth and level with the rest of the table.
- Vacuum or Wipe Down: Finally, use a vacuum cleaner or damp cloth to remove any dust or debris from sanding. Your kitchen table is now ready for painting!
Step-by-step Guide on How to Paint a Kitchen Table Without Sanding
Now that your kitchen table is properly prepped, it’s time to move on to the fun part – painting! Here’s how to paint a kitchen table without sanding:
Step 1: Gather Supplies
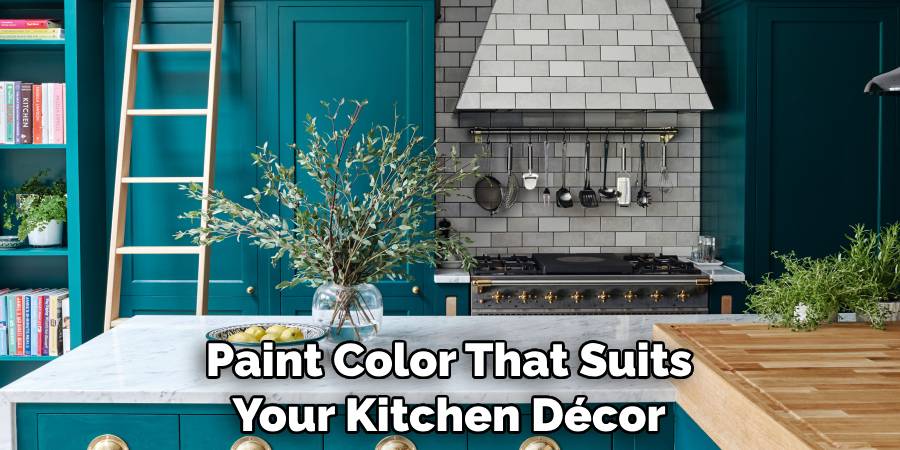
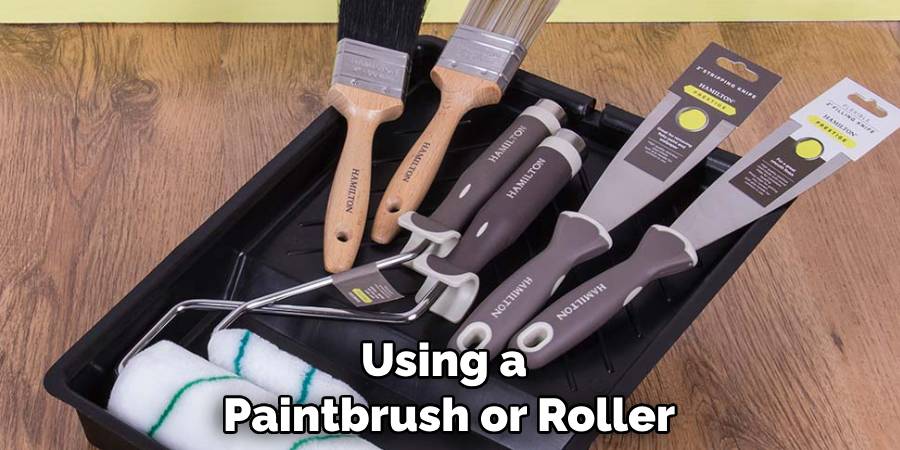
Before starting the painting process, gather all necessary supplies. This includes a drop cloth, painter’s tape, degreaser or TSP cleaner, a primer, paint (preferably a high-quality latex or oil-based paint), paintbrushes or rollers, and a clear topcoat for added protection. Ensure that you’ve selected the paint color that suits your kitchen décor. If you’re unsure, neutral colors like white, gray, or beige are safe bets. Make sure your paintbrushes or rollers are of good quality to ensure a smooth application and finish.
Step 2: Clean and Prep the Table
In order for the paint to adhere properly, it is important to thoroughly clean and prep the table. Use a degreaser or TSP cleaner to remove any dirt, grime, or grease from the surface of the table. Rinse with water and let it dry completely. It’s important not to rush this process; painting over a damp surface can lead to a splotchy finish and longer drying times. Consider using a fan or opening windows to speed up the drying process, if necessary. Once the table is completely dry, you’re ready to move onto the next step.
Step 3: Tape Off Areas
If there are any areas on the table that you do not want to be painted, use painter’s tape to cover them up. This could include table legs or any decorative trim. Applying the tape in a straight line will help ensure a clean edge when you remove it post-painting. Remember, the tape must be pressed down firmly to prevent the paint from seeping underneath.
Step 4: Apply Primer
Using a high-quality primer specifically designed for use on wood surfaces, apply an even coat over the entire table using a paintbrush or roller. The primer acts as a foundation for your paint, enhancing its adhesion to the surface of the table. It also helps to create a smoother finish and allows the true color of your paint to shine through. Ensure that the primer is applied evenly across the surface and don’t forget areas like the edges and underside. Allow the primer to dry completely, as per the manufacturer’s instructions, before proceeding to the next step. A completely dried primer ensures the best possible surface for your paint to adhere effectively.
Step 5: Paint
Once the primer has dried completely (usually 24 hours), it is time to paint! Use a high-quality latex or oil-based paint in your desired color and apply an even coat over the entire table using a paintbrush or roller. Make sure you brush in the direction of the wood grain for a seamless finish. Remember to paint the edges and underside of the table as well. Let the paint dry thoroughly according to the manufacturer’s instructions. Depending on how dark your desired color is, you may need to apply multiple coats. For a more vibrant and opaque finish, allow the first coat to dry completely before applying the next. Repeat this process until you achieve your desired color depth. Always allow each coat to dry fully before adding another to prevent any streaks or uneven color.
Step 6: Let Dry
Allow the first coat of paint to dry completely before applying a second coat if needed. Once all coats have been applied, let the table dry for at “least 24 hours before moving onto the next step. This drying period is crucial for the paint to set and achieve a flawless finish. Painting or adding a topcoat too soon can cause smudging or make the surface tacky, hindering the final look. So, patience is key in this step. You can use a fan to expedite the drying process, but ensure it is on a low setting to avoid dust particles from sticking to the fresh paint.”
Step 7: Apply Clear Topcoat
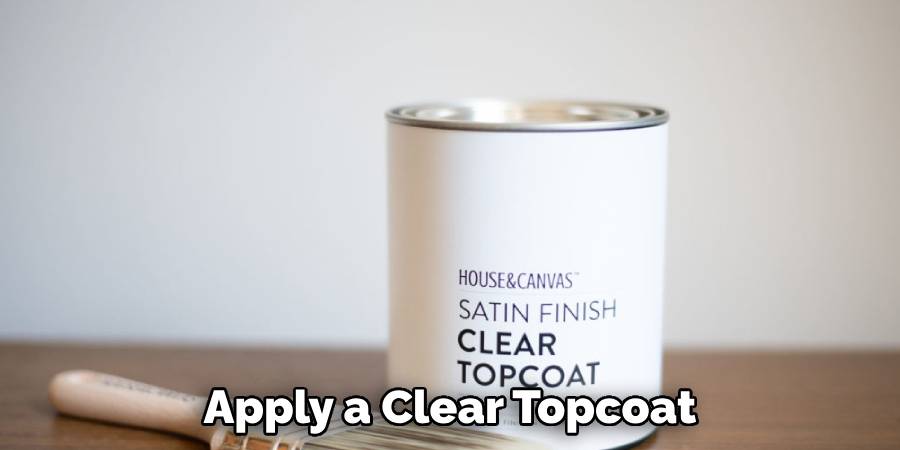
For added protection and durability, apply a clear topcoat over the painted surface using a brush or roller. This will help prevent scratches or scuffs, preserving the fresh look of your newly painted kitchen table. Make sure to apply an even layer and let it dry completely per the manufacturer’s instructions. The topcoat will give your table a glossy finish and make it easy to clean. Remember, proper maintenance will extend the life of your painted table. With this final step, your kitchen table transformation is complete – a beautiful update without the need for sanding!
Step 8: Let Cure
The final step is to let the table cure for at least 7 to 10 days before using it. This will ensure that the paint has fully dried and hardened, providing a long-lasting finish. During this time, it’s best not to place any objects on the table to prevent dents or scratches on the fresh paint. Curing time could vary based on the paint and topcoat used, so refer to the manufacturer’s instructions for the best results. After this period, you can start using your newly refreshed kitchen table! Enjoy the new ambiance it brings to your kitchen space.
Step 9: Enjoy Your Newly Painted Kitchen Table!
Congratulations, you have successfully painted your kitchen table without sanding! The fresh, revitalized look of your table will certainly add a new charm to your kitchen, creating an inviting and cozy atmosphere. This project goes to show that with a little creativity and effort, you can give your furniture a new life without the time-consuming and strenuous process of sanding and stripping. So, sit back, relax, and enjoy your new kitchen ambiance, all thanks to your hard work and dedication.
Frequently Asked Questions
What Kind of Primer for Painting Furniture Without Sanding?
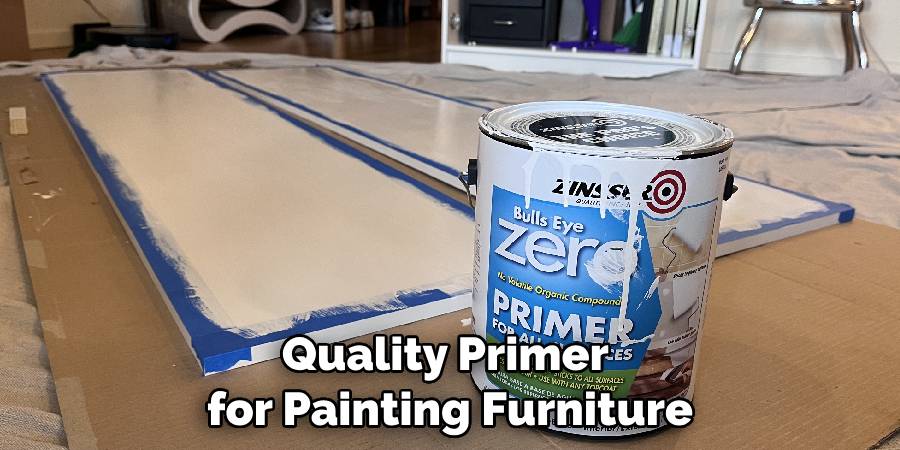
If you’re wondering how to paint a kitchen table without sanding, you’re in luck! Using a primer can be a game-changer when it comes to painting furniture without having to sand it down first. The best kind of primer you should use is one that is specifically formulated for painting furniture. These primers will stick to almost any surface, including wood, laminate, and previously painted surfaces. A quality primer for painting furniture without sanding will also provide good coverage and adhesion, which is essential for making sure your new paint job will last.
Keep in mind that while primer helps cover up imperfections, it won’t help much if there are deep scratches or dents in the piece of furniture you want to paint. So before diving in, assess the condition of your kitchen table, and if it’s in fairly good shape, then a primer should do the trick!
Do I Need to Sand a Table Before I Paint It?
Sanding a piece of furniture before painting it can be a time-consuming and labor-intensive process. However, it is an essential step for ensuring the paint adheres well to the surface and creates a smooth finish. That said, if your kitchen table is in good condition with no visible scratches or dents, you may be able to get away without sanding it beforehand by using a high-quality primer and paint designed for furniture. Keep in mind that sanding is still recommended for the best results, but it can be skipped if you are willing to put in some extra effort with priming and painting.
Can I Paint Over Stained Wood Without Sanding?
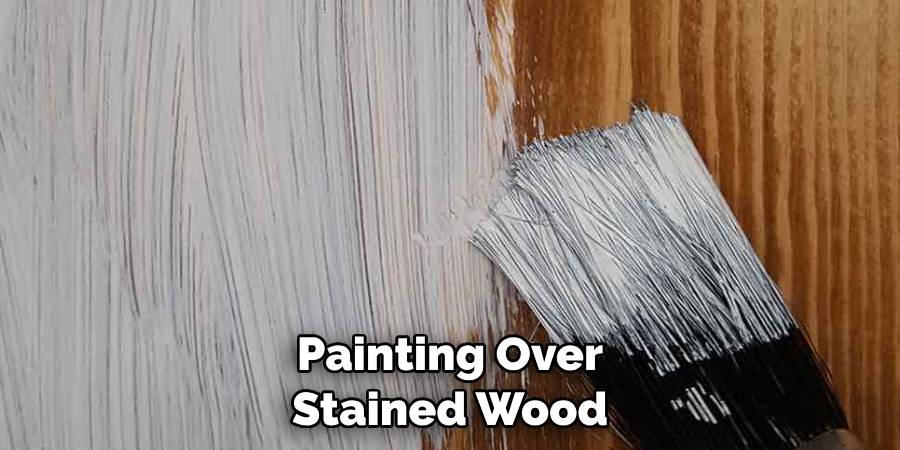
Yes, you can paint over stained wood without sanding! The same principle applies as painting over any surface – using a good quality primer and paint designed for furniture will help the new color adhere to the stained wood. Make sure to clean and degrease the surface thoroughly before applying the primer. Keep in mind that using a high-adhesion bonding primer is recommended for painting over stained wood to ensure the new paint will stick properly. With these tips in mind, you can easily transform your stained kitchen table into a beautiful painted piece without the hassle of sanding.
Conclusion
In conclusion, painting a kitchen table without sanding may seem like a daunting task, but with the steps outlined in this guide, you can transform your worn-out table into a stunning piece of furniture. Not only is this method cost-effective and time-saving, but it also allows for more creativity and personalization in your project. Whether you want to give your table a rustic farmhouse look or add a pop of color to your kitchen, the possibilities are endless.
So grab your paintbrushes and get ready to take on this DIY project with confidence! Remember to follow the proper safety precautions and techniques discussed in this guide. And most importantly, have fun while transforming your kitchen table into a work of art. Don’t forget to share your finished piece on social media and tag us – we would love to see your creation. Now that you know how to paint a kitchen table without sanding, go ahead and give it a try! Who knows, this might just be the start of your new passion for repurposing furniture. Happy painting!
