Are you planning a move or perhaps just doing some decluttering? Whatever the case may be, packing and moving kitchen appliances can be a daunting task. These bulky items are not only heavy, but they also require special care to prevent damage during transit. Whether you’re a seasoned mover or new to the process, this blog post will provide helpful tips and tricks on how to pack kitchen appliances for hassle-free moving.
From small countertop gadgets to large refrigerators, we’ve got you covered with expert advice that will make your packing experience smooth and stress-free. So grab your packing supplies and let’s get started on making sure your beloved kitchen appliances arrive at their destination in perfect condition!
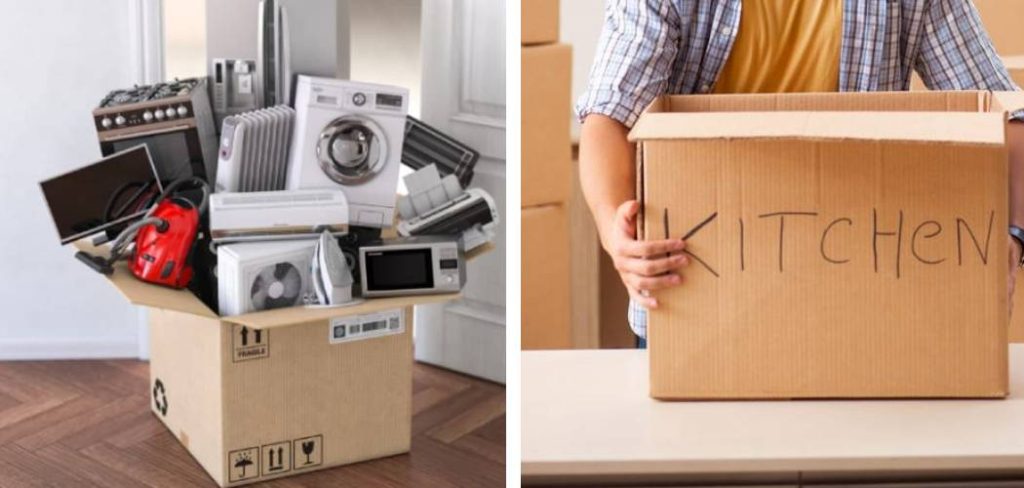
Step-by-Step Guide on How to Pack Kitchen Appliances
Now that you have all your materials ready, it’s time to start packing. Follow these steps for a successful and stress-free packing experience:
Step 1: Declutter and Clean
Before you start packing, it’s important to declutter your kitchen appliances and clean them thoroughly. Get rid of any items that you no longer use or need. This step will not only reduce the volume of stuff you have to pack, but also give you a fresh start in your new home with only the items you truly need. After decluttering, clean each appliance thoroughly. Wipe down all surfaces with a damp cloth to remove any dirt or grime. This is particularly important for cooking appliances that may have a buildup of grease or food particles. Cleaning your appliances before packing them will help prevent the spread of bacteria and unpleasant odors during the move.
Step 2: Gather Packing Materials
To pack your kitchen appliances, you will need sturdy boxes, packing paper or bubble wrap, tape, and markers for labeling. It’s also helpful to have a measuring tape on hand to ensure the boxes are the right size for your appliances. Measure your appliances and choose boxes accordingly, allowing enough space for packing materials. Remember, it’s better to have a slightly larger box to accommodate cushioning materials, rather than stuffing your appliances into boxes that are too small.

Step 3: Disassemble if Possible
If your appliance has detachable parts, such as shelves or trays, it’s best to remove them before packing. This will make the appliance easier to handle and minimize the risk of damage in transit. For appliances like mixers or food processors, detach any blades and wrap them individually before packing. For larger items like refrigerators, remove any removable shelves and secure the doors to prevent them from opening during the move. Using bubble wrap or foam sheets, wrap each part separately, paying special attention to fragile or sharp pieces. Once everything is disassembled and wrapped, you’re ready to move on to the next step.
Step 4: Wrap with Bubble Wrap or Paper
Begin by wrapping each appliance thoroughly with bubble wrap or packing paper. It’s crucial to ensure that every inch of the appliance is covered and cushioned to safeguard against potential impacts or accidental drops during transit. Make sure to use enough wrap or paper to provide an ample layer of protection. Particular care should be given to delicate regions such as handles, knobs or any protruding parts. These areas are more prone to damage and could easily break or dent if not properly protected. Use additional layers of bubble wrap or packing paper for these delicate areas to ensure they are well-insulated from any potential collisions.
Step 5: Pack in Appropriate Boxes
Choose boxes that are robust enough to support the weight of your appliances and can accommodate cushioning materials. For smaller appliances like toasters, coffee makers, or mixers, utilize smaller boxes that will snugly fit the item with enough room for padding. Larger appliances, such as microwave ovens or mini-fridges, will require bigger boxes. Always ensure there is enough space for packing materials without overfilling the box. Overpacked boxes may bulge or rip, posing a risk to your appliances during transit. Label each box clearly with the contents and the room it belongs to, which will make the process of unpacking and setting up in your new home much easier.

Step 6: Fill Empty Spaces
After placing your wrapped appliance in the box, check for any empty spaces. These gaps can cause the appliance to shift during transit, which could lead to damage. To prevent this, fill the voids with crumpled packing paper, towels, or other soft materials. This added padding will keep your appliance stable and secure throughout the journey. Make sure that the box is packed tightly, with no room for movement, but not overfilled. Once you’re satisfied that your appliance is protected and snugly fit, close the box and seal it with packing tape, ensuring it’s ready for the move.
Step 7: Label Boxes Clearly
Utilize a permanent marker to write legibly on each box. Include the name of the appliance and a brief description of its contents if necessary. For instance, you might write “Toaster – includes crumb tray” or “Microwave – includes rotating plate”. Make sure to label on the side of the box for easy visibility, rather than the top, as other boxes may be stacked upon it. If there are any special instructions such as “Fragile”, “This side up”, or “Handle with care”, add these to the box in clear, bold letters. This will not only make the unpacking process in your new home significantly smoother, but it will also assist movers in handling your items appropriately, minimizing the risk of any accidental damage.
Step 8: Securely Seal Boxes with Tape
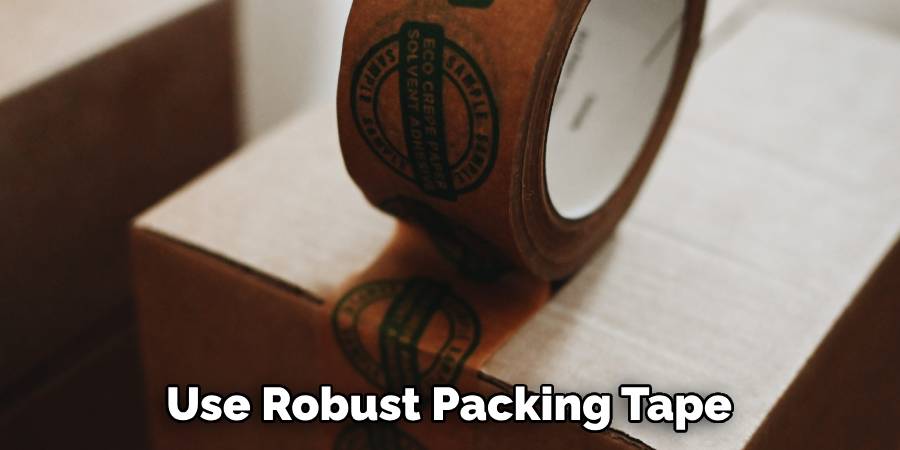
To ensure your appliances are safely secured for the move, use robust packing tape to seal all openings of the box. Starting at one end, run the tape along the middle of the box, continuing to the other side to create a strong seal. Repeat this process on the box flaps, ensuring there are no loose edges that could potentially open during transit. It’s advisable to use a tape dispenser for this task, as it can provide a clean, straight line and make the taping process much easier.
Once all sides and openings of the box are firmly taped, give the box a gentle shake to check for any movement inside. If you hear or feel any shifting, add more padding material and reseal the box. This will guarantee that during the move, your kitchen appliances remain in place and arrive in the same condition as they were packed.
Step 9: Load Carefully into Moving Vehicle
When loading your packed kitchen appliances into a moving vehicle, pay close attention to their weight and fragility. Heavier items, like microwaves or mini-fridges, should be placed on the bottom of the stack to prevent them from crushing lighter boxes. Ensure that they are secure and will not slide or topple during transit. Lighter appliances, such as toasters or mixers, can be stacked on top of heavier items, but make sure they are stable and won’t fall over as the vehicle moves. Use straps or bungee cords if necessary to secure items in place. Remember to maximize the use of space, but do not overstock items as it could compromise the structural integrity of the boxes or cause damage to the appliances.
Step 10: Unpack and Set Up
Once you have reached your new home, carefully unpack your kitchen appliances and set them up in their designated places. Start by carefully removing the appliances from their boxes, using a box cutter if necessary to avoid any inadvertent damage. Unwrap each appliance, inspecting for any damage that may have occurred during the move. After ensuring the appliances are intact, proceed to set them up in their designated spots, following the manufacturer’s guidelines where necessary.
Connect each appliance to the appropriate power source or install any batteries, if required. Before using any appliance, test it first to ensure it’s functioning as expected. This might involve brewing a test pot of coffee, toasting a slice of bread, or running a cycle on the dishwasher. Taking the time for these checks will help ensure that your kitchen appliances are ready for use in your new home.

Frequently Asked Questions
What is the Best Way to Pack Appliances for Moving?
The best way to pack appliances for moving is to wrap them in protective materials, such as bubble wrap or packing paper, and place them in appropriate boxes. Fill any empty spaces with padding materials and label the boxes clearly with the appliance name and contents. Securely seal all openings of the box with tape before loading into a moving vehicle.
How Do You Pack Kitchen Equipment?
If you’re planning on moving soon or simply putting away some kitchen equipment in storage, you’re probably wondering how to pack kitchen appliances properly. The first step is to gather all of your appliances and assess which ones can be disassembled and which ones cannot. For those that can be taken apart, it’s crucial to keep all of the pieces together either by securing them with tape or placing them in a labeled plastic bag. For larger appliances that can’t be taken apart, such as a refrigerator or stove, make sure to secure them with properly-fitted moving blankets and ropes to prevent any damage. Remember, packing your kitchen equipment requires careful attention to detail to ensure that your appliances safely make it to their destination.
What is the Best Way to Pack Kitchenware?
To pack kitchenware, start by organizing items into categories and wrapping each item in protective material, such as packing paper or bubble wrap. Place heavier items at the bottom of the box and fill any empty spaces with lighter items or padding materials. Label boxes clearly with the contents and any special instructions, such as “Fragile” or “This side up”. Seal all openings of the box with tape and load carefully into a moving vehicle. Upon arrival at your new home, unpack and set up your kitchenware in their designated spots. Remember to use caution when handling fragile items and take extra care when packing delicate or valuable kitchenware.
Conclusion
In conclusion, packing kitchen appliances may seem like a daunting task, but with the right approach and some helpful tips, it can be a smooth and stress-free process. As we have discussed, make sure to start by decluttering and organizing your items, then properly wrapping and packing each appliance with care. Remember to keep fragile items like glassware and small appliances safe by using extra padding and labeling boxes accordingly. And most importantly, don’t forget to take your time and ask for help if needed.
With these steps in mind, you’ll be able to safely transport all of your kitchen appliances to your new home without any mishaps. Now that you have a step-by-step guide on how to pack kitchen appliances, put this knowledge into practice and see how much easier your moving process becomes. Trust us when we say that a well-packed kitchen is crucial for a smooth transition into your new space. Happy packing!
