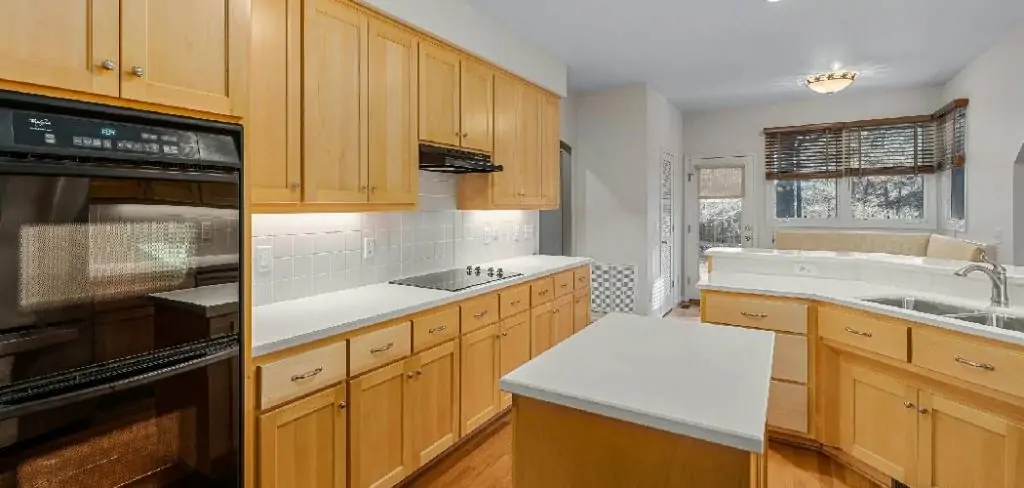
Cabinets are an essential part of any kitchen, providing both storage space and aesthetic appeal. Over time, wood cabinets can lose their shine due to factors such as grease buildup, fingerprints, or general wear and tear. Luckily, there are simple ways to restore the shine to your cabinets and make them look like new again.
Whether you have brand new cabinets that you want to keep looking shiny or older cabinets that need some TLC, this guide will provide you with step-by-step instructions on how to make wood cabinets shine.
Essential Tools and Materials
Before diving into the process of shining your wood cabinets, you will need to gather a few essential tools and materials. These include:
- Soft cloths or microfiber towels
- Dish soap or wood cleaner
- White vinegar
- Water
- Olive oil or beeswax-based furniture polish
- Lemon juice (optional)
- Baking soda (optional)
- Toothpaste (optional)
8 Brilliant Tips on How to Make Wood Cabinets Shine Like New
Now that you have all the necessary tools and materials, it’s time to get started on making your wood cabinets shine. Here are 10 tips to help you achieve a gleaming finish:
1. Start with a Deep Clean
Remove all items from your cabinets and give them a thorough wipe-down using a soft cloth and a gentle, non-abrasive cleaner. Dilute a small amount of dish soap or wood cleaner with warm water to create a mild cleaning solution. Carefully wipe the exterior surfaces of the cabinets, paying special attention to handles and corners where grease and dirt tend to accumulate.
For interior cleaning, adjust the solution strength as needed to avoid damaging sensitive surfaces. After cleaning, use a dry microfiber cloth to remove any remaining moisture and prevent streaks. This initial step ensures that your wood cabinets are free from dust, grime, and anything else that might impede their shine.
2. Use a Wood-Specific Cleaner
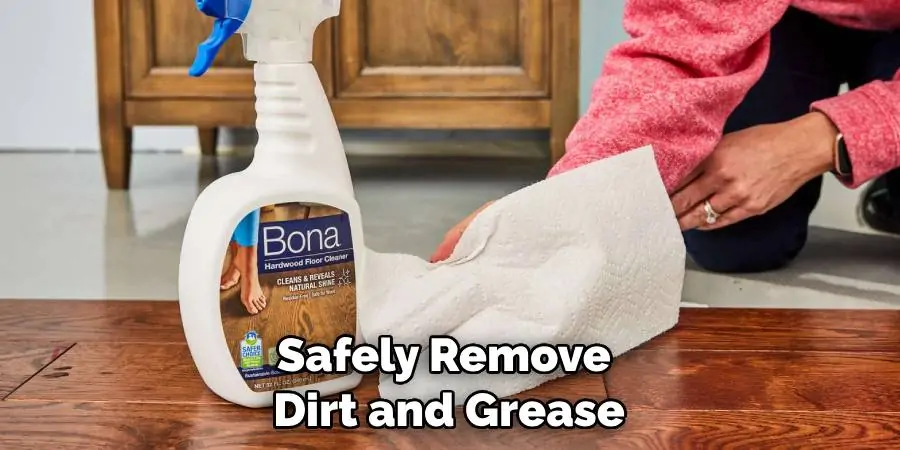
After the initial deep clean, invest in a cleaner specifically designed for wood surfaces. These cleaners are formulated to safely remove dirt and grease without damaging the wood. Using a wood-specific cleaner not only ensures that you don’t strip the natural oils from the wood but also helps in maintaining its shine and luster over time.
Apply the cleaner according to the manufacturer’s instructions, typically with a soft cloth or microfiber towel, and gently wipe the surface of your cabinets. Be sure to follow any rinsing or drying recommendations to avoid leaving any residue that could attract more dirt.
3. Don’t Forget the Corners
Use an old toothbrush or a soft-bristled brush to get into the nooks and crannies where dirt and grime tend to accumulate. These areas are often overlooked during regular cleaning, but they can harbor a significant amount of buildup that detracts from the overall shine of your cabinets. Gently scrub these spots with your diluted cleaning solution, being careful not to scratch or damage the wood’s surface. This attention to detail will ensure a more comprehensive clean and contribute significantly to making your cabinets look their best.
4. Tackle Tough Stains
For stubborn stains that refuse to budge with regular cleaning methods, create a paste using equal parts baking soda and water. Baking soda is a mild abrasive that can effectively remove tough stains without damaging the wood. Apply the paste directly to the stained area and allow it to sit for a few minutes. This gives the baking soda time to penetrate the stain and lift it from the wood surface.
After allowing the paste to sit, use a soft cloth or sponge to gently scrub the area. Be sure to scrub lightly to avoid scratching the wood. Once the stain has been removed, wipe the area clean with a damp cloth to remove any residue, and then dry it thoroughly with a microfiber towel. This method is particularly useful for removing water rings, grease spots, and other difficult stains, helping to restore the natural beauty of your wood cabinets.
5. Buff Out Scratches:
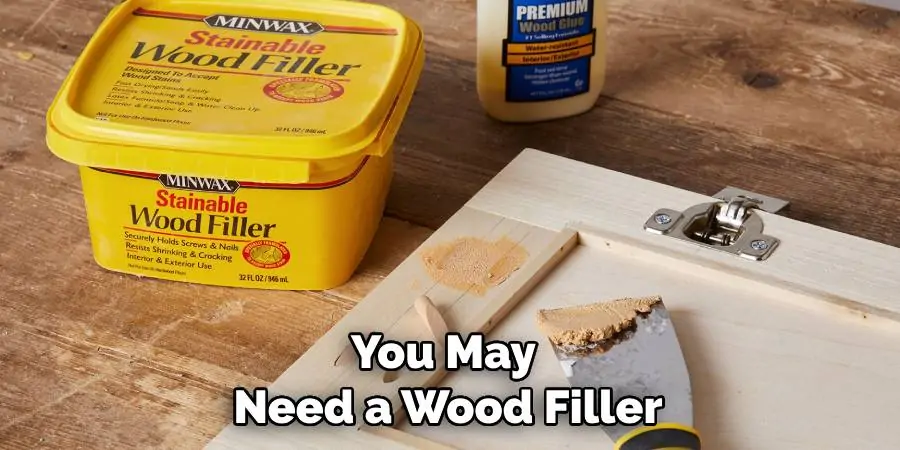
Shallow scratches can often be minimized using a mixture of equal parts olive oil and vinegar. Simply apply the mixture using a soft cloth and gently buff the scratches in a circular motion. This solution works by swelling the wood slightly and filling in the scratch, making it less noticeable. For deeper scratches, you may need a wood filler or consult a professional for repair. However, for minor blemishes, this homemade remedy can significantly improve the appearance of your wood cabinets. After buffing, wipe away any excess oil with a clean, dry cloth to leave your cabinets looking rejuvenated and shining.
6. Make Hardware Shine
Remove cabinet hardware and soak it in a mixture of warm water and mild dish soap. Scrub with an old toothbrush, rinse, and dry before reattaching. This simple step can make a surprising difference in the overall appearance of your wood cabinets. Often, the hardware can accumulate grime and tarnish over time, diminishing the beauty of your cabinets. By cleaning and polishing the hardware, you restore its shine and ensure it complements your freshly polished wood surfaces. Plus, reattaching clean hardware gives you a chance to tighten any loose handles or knobs, ensuring everything feels as good as it looks.
7. Condition the Wood
After cleaning, apply a wood conditioner or mineral oil to help prevent drying and cracking, and to bring out the wood’s natural beauty. A well-chosen wood conditioner seeps into the wood, replenishing its natural oils and ensuring it stays supple and gleaming for longer. Choose a product compatible with your cabinet’s wood type and finish. Apply it sparingly with a soft cloth, working in the direction of the grain to ensure even coverage.
This not only enhances the aesthetic appeal of your cabinets but also adds a protective layer that can extend their lifespan by warding off dryness and cracking. After applying, buff gently with a clean cloth to bring out the wood’s natural luster. Regular conditioning every few months can keep your wood cabinets looking rich and vibrant, highlighting the unique patterns and colors inherent to the wood.
8. Add a Protective Layer:
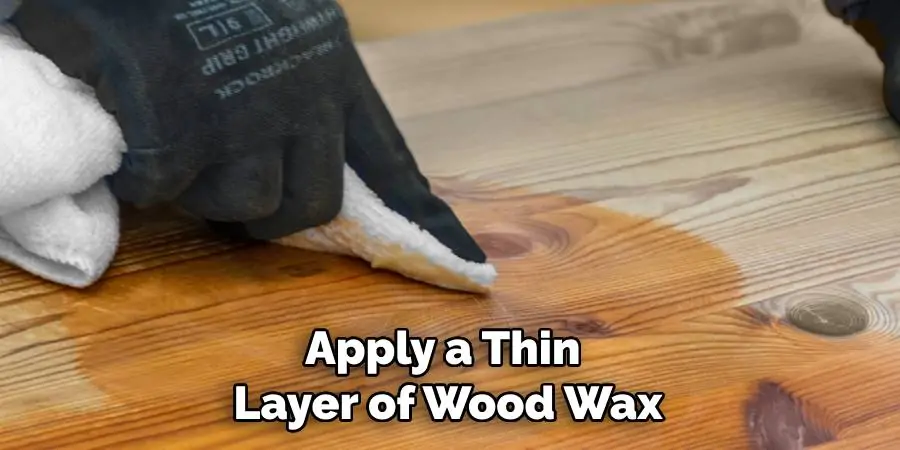
Apply a thin layer of wood wax or furniture polish to create a protective barrier against dirt, moisture, and everyday wear. This final step seals in the beauty of your polished wood cabinets, helping them retain their shine and repel future stains. Be sure to choose a product that is compatible with your cabinet’s wood type and finish, and always follow the manufacturer’s instructions for best results.
Apply a small amount of wax or polish onto a soft cloth and work it into the wood in circular motions, taking care not to apply too much or leave any streaks. Once the product has been evenly distributed, use a clean cloth to buff and bring out the shine. This added layer of protection can keep your wood cabinets looking pristine for years to come.
With these tips, your wood cabinets will not only look amazing but also stay in great condition for years to come. A little TLC goes a long way in maintaining the beauty and durability of your cabinetry.
Frequently Asked Questions
How Can I Make My Wood Shine?
To make your wood shine, you can use a homemade cleaning solution made of equal parts white vinegar and water. Simply apply the solution to a soft cloth and gently wipe down your wood surfaces. You can also use a commercial wood cleaner or polish for an extra boost of shine. Buffing with a clean cloth after cleaning can also help enhance the luster of your wood.
What is the Best Way to Make Wood Shine?
The best way to make wood shine is by regularly cleaning and maintaining it. This includes dusting, using a gentle cleaning solution, and occasionally applying a wood conditioner or polish. By keeping your wood clean and conditioned, you can maintain its natural shine for years to come. It’s also beneficial to limit direct sunlight on the wood surfaces, as UV rays can fade and damage the wood over time.
In addition to these care steps, make sure to address spills and stains quickly to prevent permanent damage. Proper care and maintenance not only keep the wood looking its best but also preserve its strength and integrity. By following these simple but effective tips, your wood furniture and cabinets can retain their beautiful shine and remain a valued part of your home décor for many years.
Can I Use Olive Oil on Wood Cabinets?
Yes, olive oil can be used on wood cabinets to help minimize scratches. However, be sure to use it sparingly and buff away any excess oil to prevent a greasy or sticky finish on your cabinets. It is also important to note that olive oil should not be used as a cleaning solution for wood, as it can attract dirt and grime over time.

Conclusion
In this guide, we have discussed some simple yet effective ways on how to make wood cabinets shine. By following these tips, you can restore the natural beauty of your wood surfaces and keep them looking shiny and new for years to come. Remember to always test any cleaning or polishing products on a small, inconspicuous area before using them on the entire surface. With regular maintenance and care, your wood cabinets can continue to be a stunning focal point in your home. So, go ahead and give your cabinets the TLC they deserve! Happy cleaning!
