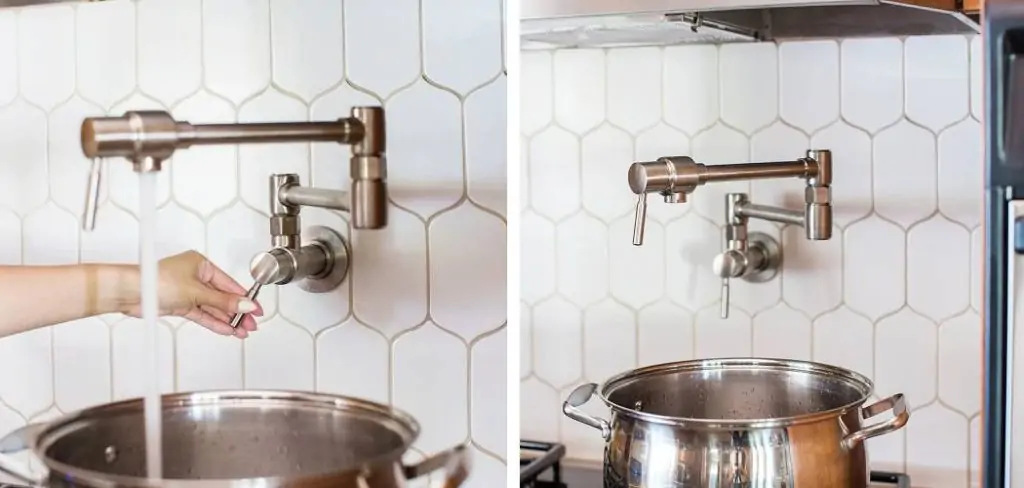
Installing a pot filler in an existing wall is a great way to add convenience and functionality to your kitchen. A pot filler is a faucet that is installed near your stove so you can easily fill large pots with water without having to carry them from the sink. In this guide, we will walk you through the step-by-step process of how to install a pot filler in an existing wall.
Materials Needed
- Pot filler faucet
- Shutoff valves
- Copper tubing or flexible hose
- Adjustable wrench
- Drill and drill bits
- Wall plates and screws
- Plumber’s tape
- Pipe cutter or hacksaw
How to Determine the Location for a Pot Filler
Before beginning the installation process, you need to determine the location for your pot filler. Ideally, it should be installed above or near your stove so you can easily fill large pots without having to walk across the kitchen. You also want to make sure there is enough space between the stove and backsplash for the pot filler to extend and retract without obstruction.
Additionally, consider the plumbing access within the wall. The ideal location should have easy access to your kitchen’s water supply lines to make installation smoother. Once the location is identified, mark the spot where the pot filler will be mounted. Remember to take into account the height of the pots you commonly use as well as the arm reach of the primary users to ensure convenience and functionality.
10 Steps on How to Install a Pot Filler in an Existing Wall
Pot fillers are a wonderful addition to any kitchen, offering convenience and style. But what happens when you want to install one in a wall that’s already been built? It’s a bit more complex, but achievable. Here are 10 clear steps for installing a pot filler in your existing kitchen wall.
1. Assess the Wall Space
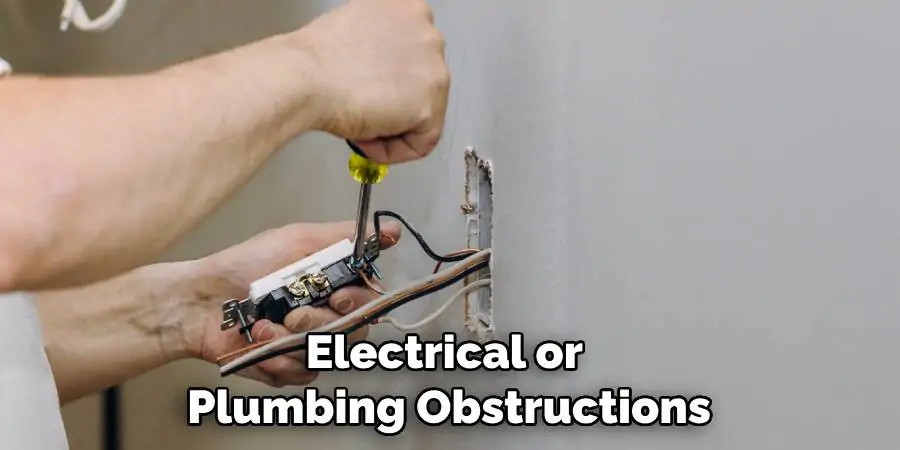
The first step is to assess the wall where you intend to install the pot filler. Ensure that there are no electrical or plumbing obstructions in the wall. It’s a good idea to turn off the power before cutting into the wall to avoid any accidents. Use a stud finder to locate the wall studs, and determine if the wall is capable of supporting the fixture.
2. Turn Off Water Supply
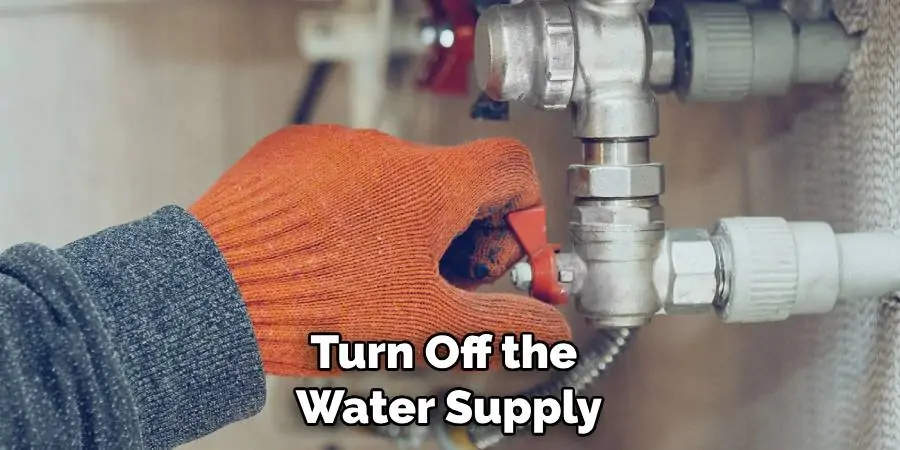
Before any work begins, it’s crucial to turn off the water supply to your kitchen. Locate the shut-off valve, typically under the sink, and close it to ensure water doesn’t leak out when you disconnect the pipes.
3. Cut the Wall Opening
Take measurements to ensure the right height and horizontal placement of the pot filler. Use a level to draw out the cut lines using a pencil. Then carefully cut through the drywall with a drywall saw, applying steady pressure to avoid over-cutting. Take this step slowly and precisely as any misstep can lead to uneven edges and unnecessary repairs.
4. Prepare the Wall and Pipes
Once the opening is cut, you will need to prepare the wall. If there are any wall studs that interfere with the new fixture, you will either need to notch the stud or use a temporary support brace. Next, you need to extend the water lines from the existing plumbing to the location of the pot filler. This typically involves cutting and soldering copper pipes, or using additional materials such as PEX for the water supply.
5. Install a Backer Board
To provide support and reduce the risk of water damage, install a backer board inside the opening before adding the pot filler. A custom-fit backer board made from a waterproof material such as cement board will protect the wall space around the fixture from potential leaks.
6. Position the Pot Filler
Place the pot filler’s mounting plate over the opening and screw it into the backer board. This plate provides a secure area for the fixture’s main body. Once in position, double-check the level to ensure it’s straight and adjust as necessary.
7. Connect the Pot Filler
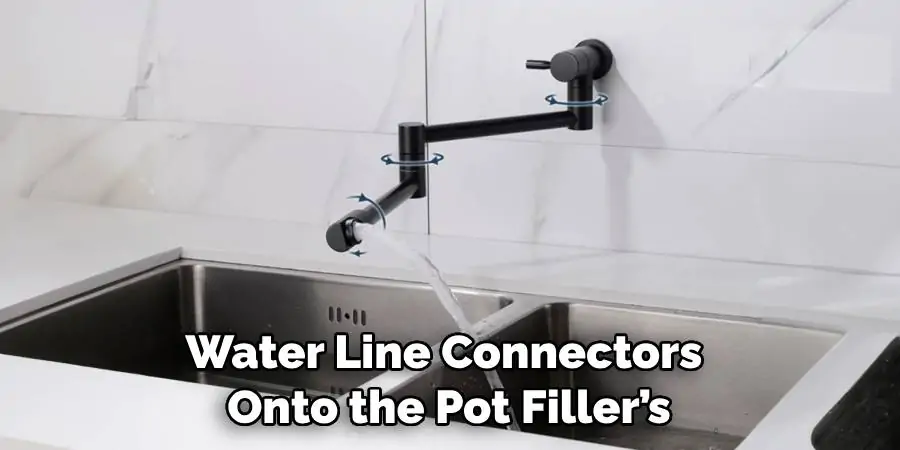
Thread the water line connectors onto the pot filler’s water supply elbows, and fit the pot filler into the mounting plate. Tighten all connections and use Teflon tape to seal any threaded joints. Be careful not to over-tighten, as this can damage the connections.
8. Secure the Pot Filler
With the pot filler in place, secure it by tightening the set-screws on the mounting plate. This ensures the fixture doesn’t move and remains flush with the wall. Check for any wobbling or instability and make adjustments as needed.
9. Test for Leaks
With the pot filler securely in place, turn on the water supply and check for leaks. It’s common to experience minor leaks at first, so keep a close eye on the connections. Once you’re sure there are no leaks, test the fixture by swinging the spout and turning it on and off to make sure everything is operating as it should.
10. Patch the Opening
Finally, patch the opening in the wall with joint compound, sand it down, and repaint to match the rest of your kitchen. Take your time to blend the patch as seamlessly as possible with the existing wall.
Installing a pot filler in an existing wall is a significant DIY project. Ensuring that you have the necessary tools, knowledge, and time to complete each step is vital. If you’re not comfortable with plumbing, it’s always best to consult a professional. Nonetheless, with the proper preparations and care, you can enjoy the convenience and elegance of a pot filler in your kitchen.
Common Mistakes to Avoid When Installing a Pot Filler
While installing a pot filler may seem like a straightforward task, there are some common mistakes that can occur during the process. Here are a few to watch out for to ensure a successful installation:
- Not Measuring Accurately: This is crucial in determining the right location and height for your pot filler.
- Forgetting to Turn Off Water Supply: Make sure to turn off the water supply before cutting into the wall to avoid any accidents.
- Not Using a Level: A level is essential for ensuring that your pot filler is straight and sturdy on the wall.
- Over-tightening Connections: This can cause damage to the fixture and lead to leaks.
- Rushing Through the Process: Take your time and carefully follow each step to ensure a successful installation.
By avoiding these mistakes and carefully following the steps, you can have a functional and stylish pot filler in your kitchen. So go ahead and give it a try – with some patience and attention to detail, you’ll be able to enjoy the convenience of a pot filler in no time!
Additional Tips for Installing a Pot Filler
- Make sure to use the right tools and materials for the job, such as a drywall saw, stud finder, and Teflon tape.
- It’s always a good idea to have an extra set of hands to help with the installation process.
- If you’re not confident in your plumbing skills, consider hiring a professional for the job.
- Regularly check and maintain your pot filler to ensure it continues to function properly and avoid any potential leaks or issues.
Installing a pot filler may seem like a daunting task, but with some careful planning and attention to detail, it can be a rewarding DIY project. Just remember to take your time, follow the steps carefully, and don’t hesitate to seek professional help if needed. Enjoy the convenience and elegance of a pot filler in your kitchen!
Frequently Asked Questions
How Do You Install a Pot Filler?
The allure of convenience in modern kitchens has found a new pinnacle with the installation of a pot filler, and integrating one into an existing wall is the refinement your culinary space craves. Imagine never having to lug heavy pots full of water to and from your range—this is the elegant solution that awaits. The process begins with pinpointing the perfect location, ideally within arm’s reach of your stove, to install the pot filler’s pivotal arm.
Precision is key as you plan the pipeline extension, ensuring a seamless fit behind the drywall and securing it within the stud space. Each turn of the valve will remind you of the day when you decided to infuse practicality with a dash of luxury, simply by asking, “How to install a pot filler in an existing wall?” Now, boil and bubble without trouble, your kitchen transformed by the spell of enhanced functionality and style.
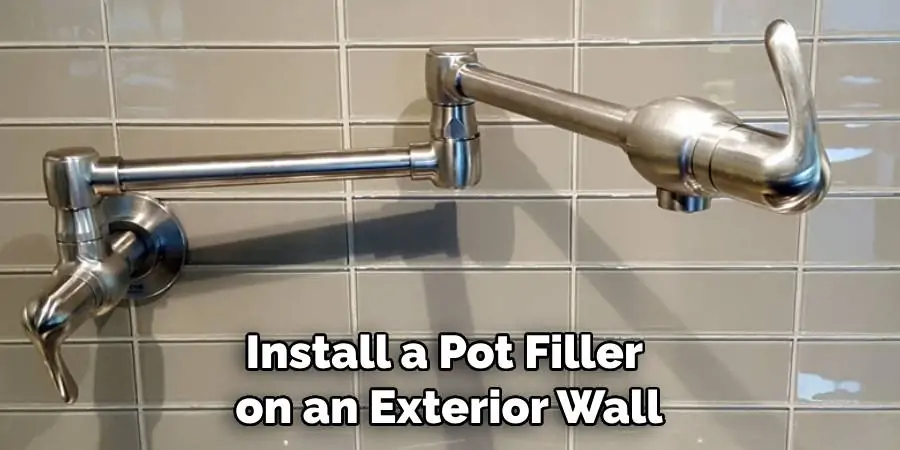
Can I Install Pot Filler on an Exterior Wall?
Yes, you can install a pot filler on an exterior wall. However, it’s essential to take extra precautions to protect the fixture from harsh weather conditions. Consider installing an insulated backer board on the exterior side of the wall to prevent water damage and freezing in cold climates.
Does a Pot Filler Need a Drain?
No, a pot filler does not require a drain as it only supplies water and does not collect any waste or debris. However, installing a pot filler near a sink can make it easier to access and fill pots if you need to drain them after use. It is also important to note that some local building codes may require a dedicated drain for the installation of a pot filler. Check with your local authorities before beginning the installation process.
Conclusion
In this guide, we’ve discussed the step-by-step process of how to install a pot filler in an existing wall. From turning off the water supply to patching up the wall after installation, each step is essential in ensuring a successful and functional installation.
Remember to take your time and follow all safety precautions when working with plumbing tools and materials. And if you’re not confident in your DIY skills, it’s always best to seek the help of a professional. With proper installation and care, a pot filler can add both convenience and elegance to your kitchen space. So why not give it a try? Happy cooking!
