Bathroom sink stoppers are essential components in maintaining a clean and functional bathroom. They are responsible for preventing water from draining out of the sink, allowing you to wash your face, brush your teeth, or shave without any hassle. However, there may come a time when your bathroom sink stopper gets stuck shut, making it impossible to use the sink properly. This can be frustrating, but don’t worry – this guide will provide you with simple steps on how to fix bathroom sink stopper stuck shut.
Step-by-Step Process on How to Fix Bathroom Sink Stopper Stuck Shut
A stuck bathroom sink stopper can be a minor inconvenience that disrupts your daily routine or an outright plumbing nuisance. Before you call in the professionals, consider these easy-to-follow steps to DIY your way out of this sticky situation.
Step 1: Identify the Type of Stopper
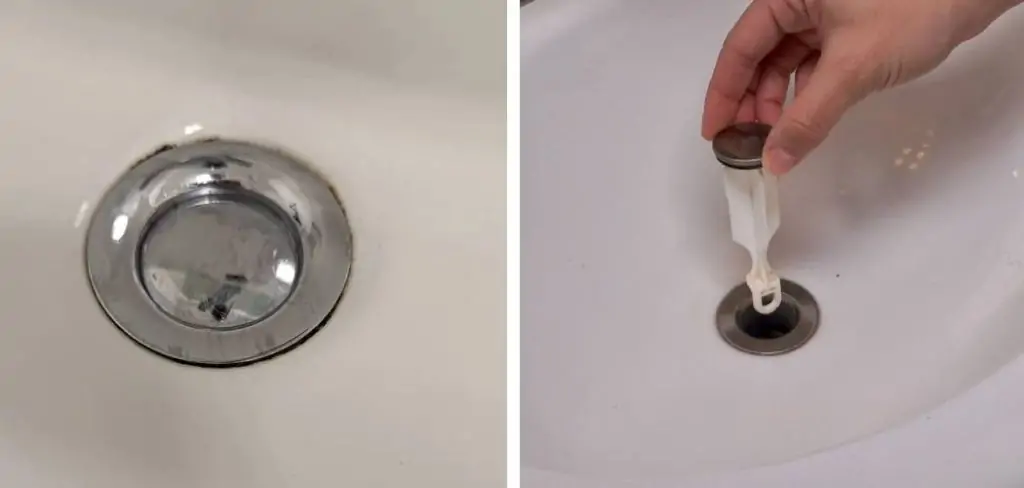
Most sink stoppers are either a push-and-pull model, a lift-and-turn, a trip lever, or a pop-up variant. Determine which type your sink uses, as this will dictate the specific approach you need to take. If you have a push-and-pull stopper, you’ll often need to unscrew it by turning it counterclockwise while holding the base. In the case of a lift-and-turn, look for a small set screw beneath the stopper’s cap and loosen it with a screwdriver to release the stopper. A trip lever may require you to remove the overflow plate, while a pop-up stopper is typically engaged by a lever mechanism beneath the sink and may need you to inspect the connecting rod and clevis.
Step 2: Clean the Stopper
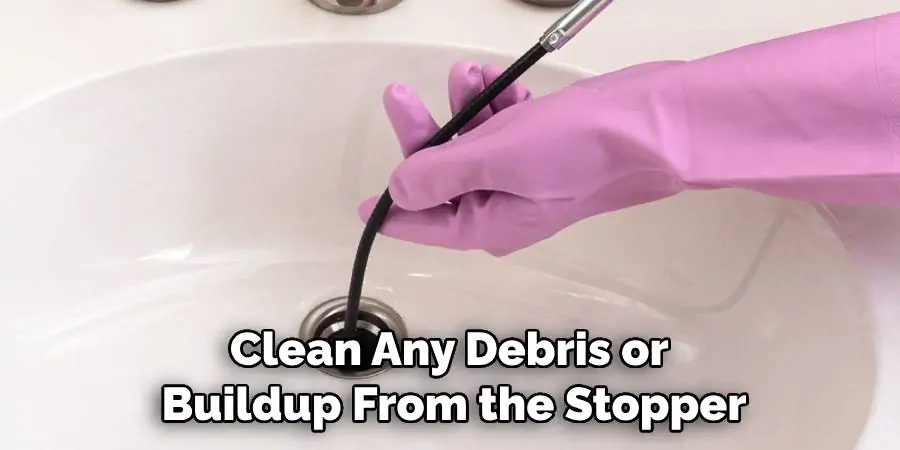
After identifying the type of stopper and gaining access to it, the next step is to clean it thoroughly. Often, a stopper gets stuck due to a buildup of soap scum, hair, and other debris. Remove the stopper according to the instructions in Step 1 and examine it for any gunk or foreign objects.
Using a pair of gloves, clean off the buildup from the stopper and the drain where it sits. Hot water and a gentle cleaning solution can help dissolve soap scum. A soft-bristled brush is effective for scrubbing without causing damage. Once completely clean, reassemble the stopper and test to see if this solves the problem. If the stopper operates smoothly, your issue is likely resolved; if not, proceed to the next step.

Step 3: Check the Pivot Rod
If cleaning the stopper doesn’t alleviate the issue, the next step is to inspect the pivot rod. This rod connects the stopper to the drainpipe beneath the sink and is a common culprit when it comes to malfunctioning sink stoppers. To access the pivot rod, look under the sink for the horizontal rod connected to the vertical strap.
You may need to unscrew the retaining nut that holds the rod in place. Once removed, check if the rod is bent or damaged, and ensure that it is properly connected to the sink stopper above. If the pivot rod is compromised, replacing it should restore functionality to your sink’s drainage system. If the rod appears intact and properly attached, the issue might lie deeper in the sink’s assembly.
Step 4: Adjust the Clevis Strap
The clevis strap serves as a critical component in coordinating the movement of your stopper. If your inspection of the pivot rod didn’t reveal any issues, adjusting the clevis strap may be the necessary step to resolve a stuck stopper. The strap is usually connected to the pivot rod with a small clip. To adjust it, loosen the clip and slide the strap up or down to the appropriate height which allows the pivot rod to move the stopper freely.
Once you find the right position that permits full movement of the stopper, firmly retighten the clip to secure the strap in place. After the adjustment, operate the lift rod to ensure that the stopper moves up and down smoothly. If the stopper functions properly, your adjustment was successful. If problems persist, further investigation into the sink mechanism may be required.
Step 5: Examine the Spring Clip and Pivot Ball
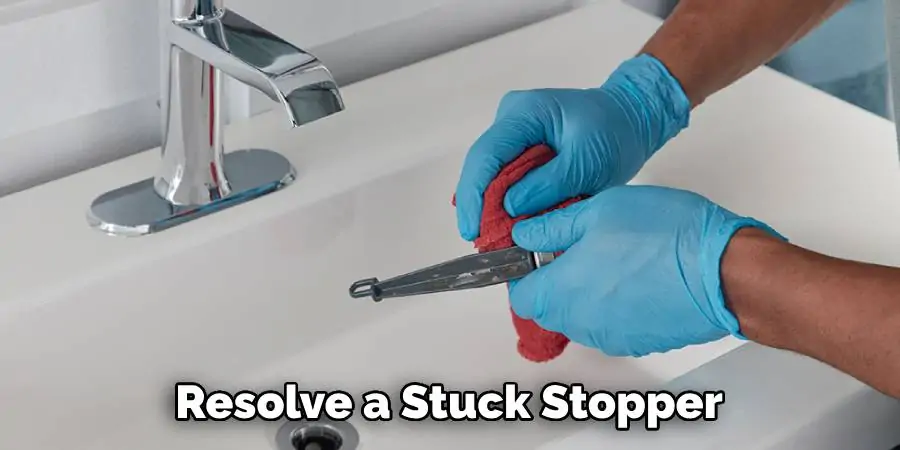
The spring clip and pivot ball are also integral to the proper functioning of your sink stopper mechanism. The spring clip is responsible for maintaining the position of both the pivot rod and the clevis strap. If this clip is loose or broken, it can lead to a malfunctioning stopper. Inspect the clip for damage or wear and replace it if necessary.
In addition to the spring clip, the pivot ball can be the source of sink stopper issues. Over time, the pivot ball can wear out or corrode, impeding smooth operation. A worn-out pivot ball will affect the watertight seal of the stopper and needs to be replaced to restore full functionality to your sink. To check for wear, remove the pivot ball and examine it for any signs of deterioration or irregularities. If any defects are found, installing a new pivot ball should fix the problem.
Step 6: Lubricate Moving Parts
Regular lubrication of mechanical parts is crucial for ensuring smooth operation. Apply a silicone-based lubricant to the pivot rod, pivot ball, and spring clip to prevent them from sticking or corroding over time. Silicone lubricant is particularly effective because it is waterproof and less likely to attract dirt, which can cause further blockages or wear. A few drops should suffice; after application, move the components to distribute the lubricant evenly, then test the sink stopper again to ensure its motion is fluid and effortless.
Step 7: Test the Stopper
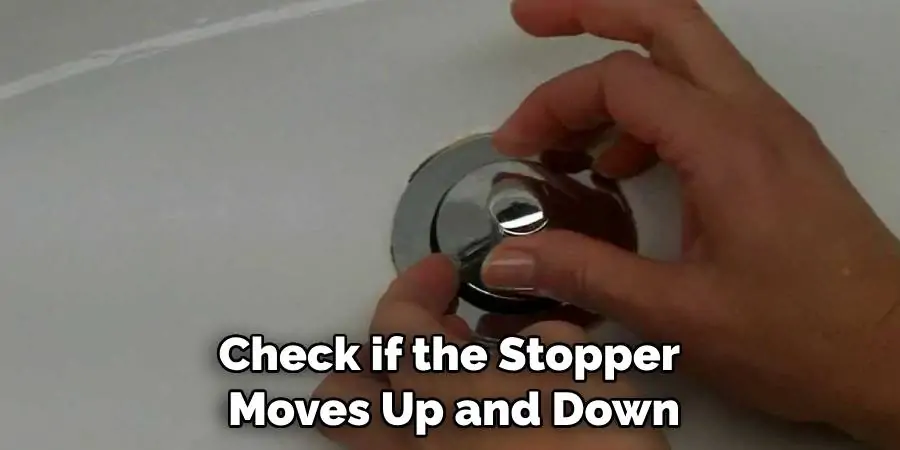
Once you’ve made necessary adjustments, cleaned, replaced, or lubricated parts, it’s time to test your stopper. Begin by lifting and lowering the lift rod to check if the stopper moves up and down smoothly. If it does not, you may need to re-adjust the clevis, spring clip, or pivot rod. Subsequently, fill the sink with water, then observe whether the stopper maintains a watertight seal. If the water drains out, re-examine the pivot ball and the fit of the stopper itself. A successful test will show a sink that holds water when the stopper is engaged and drains without issue when it is not.
Step 8: Routine Maintenance
To prevent recurring problems and ensure the longevity of your sink stopper, regular maintenance should not be overlooked. Every few months, take the time to clean the stopper and remove any debris that may accumulate around the components. This routine maintenance is simple but effective in preventing the buildup of grime and mineral deposits which can lead to sticking or malfunction.
Additionally, it’s wise to schedule a periodic review of all the moving parts, ensuring they are lubricated and operating smoothly to avoid future issues. Proper care not only extends the life of your stopper but also guarantees it performs its job reliably.
Frequently Asked Questions
What to Do if the Sink Plug is Stuck?
If you find that the sink plug is stuck, first try to determine whether the issue is with the plug itself or the mechanism controlling it. Begin by checking the lift rod; if it does not lift the stopper effectively, the problem may lie with the connecting linkage. You can remove the pivot rod from the tailpipe to release the stopper.
Often, simply cleaning any built-up gunk or adjusting the mechanism resolves the issue. For stubborn cases, apply a penetrating lubricant to the moving parts to loosen them. If the problem persists after these steps, you may need to replace the drain assembly or consult a professional plumber.
How Do You Fix a Bathroom Sink Stopper?
To fix a bathroom sink stopper, start by identifying what type of stopper you have. The most common types include the push-and-pull, the lift-and-turn, and the pop-up mechanisms. Begin the repair process by removing the stopper according to its specific instructions, often by unscrewing or twisting and lifting. Clean any debris or buildup from the stopper and drain.
Inspect the stopper’s O-ring and replace it if it’s damaged. For a pop-up stopper, adjust the lift rod and the linkage in the drain to ensure proper operation. If issues persist, the entire assembly may need replacement. Always ensure that after each adjustment, the stopper moves up and down freely and creates a watertight seal when closed.
How Do You Take Apart a Bathroom Sink Drain?
If you need to take apart a bathroom sink drain for repair or replacement, begin by removing the stopper. Next, turn off the water supply and remove any remaining water from the sink. Use a wrench to loosen and remove the nut that holds the tailpipe in place. Once this is removed, simply pull the tailpipe out of the drain. If the drain assembly is still connected to the sink, use a screwdriver to loosen any retaining screws or clips and carefully separate it from the sink. If necessary, consult your owner’s manual for specific instructions on removing your particular drain assembly.
Conclusion
In this guide, we have discussed how to fix bathroom sink stopper stuck shut. We have also covered the steps for taking apart a bathroom sink drain for repair or replacement. Remember to always follow safety precautions when working with plumbing and if needed, seek the assistance of a professional plumber.
By following these steps and properly maintaining your stopper and drain assembly, you can ensure proper functioning and avoid costly plumbing repairs in the future. So go ahead, check your bathroom sink stopper and drain for any issues and make necessary adjustments for a smooth flow of water in your sink. Happy fixing!
