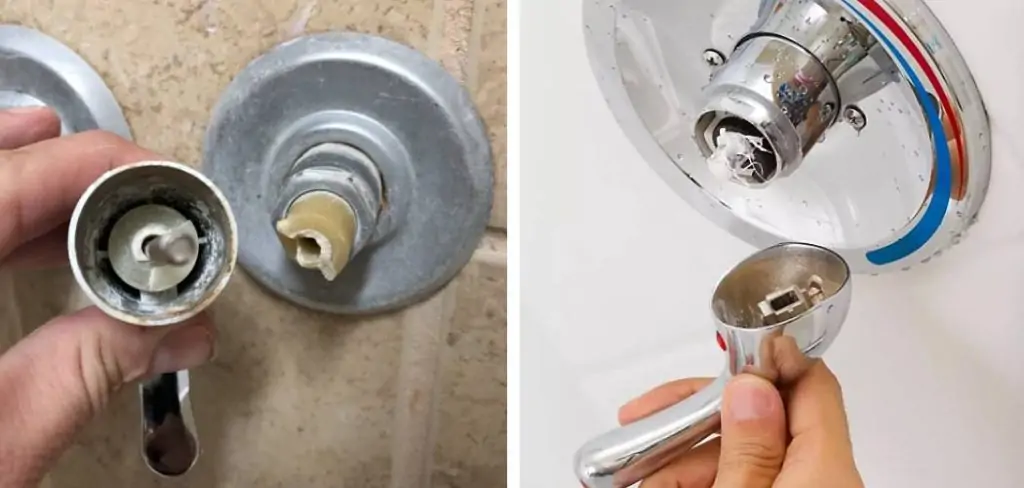
A broken shower handle stem can be a frustrating problem to deal with, especially if you rely on your shower for daily grooming and hygiene. The good news is that fixing a broken shower handle stem is usually a simple and straightforward process that can be done by anyone with basic tools and some DIY knowledge. In this guide, we will discuss the steps of how to fix a broken shower handle stem and get your shower back up and running in no time.

What Tools Are Needed to Fix a Broken Shower Handle Stem
Before you begin fixing the broken shower handle stem, it’s important to gather all the necessary tools. This will save you time and make the process much easier.
Here are some of the essential tools you will need:
- Screwdriver (usually Phillips or flathead)
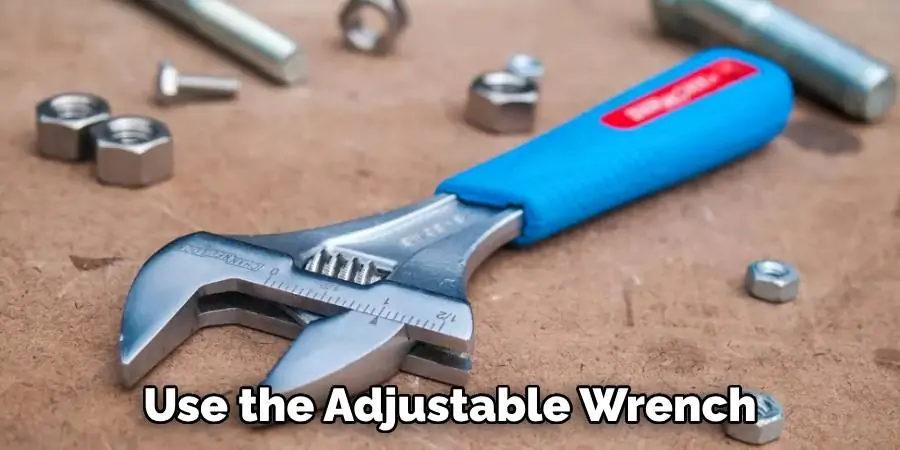
- Adjustable wrench
- Replacement shower handle stem
- Plumbers’ tape (also known as Teflon tape)
- Scissors or utility knife
Step-by-Step Guide on How to Fix a Broken Shower Handle Stem
Dealing with a broken shower handle stem can be a frustrating experience, but with the right tools and a bit of know-how, you can tackle the problem on your own. Here’s an easy-to-follow listicle to guide you through the process:
Step 1: Turn Off Water Supply
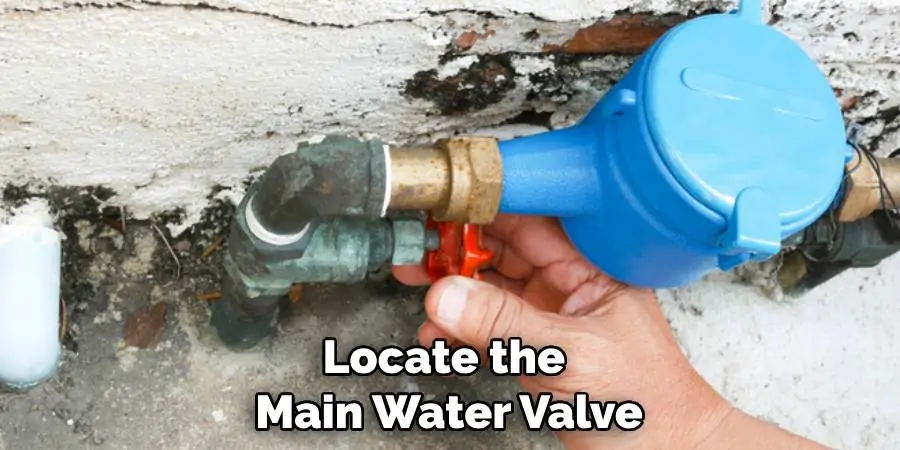
Before you start any repairs, it’s crucial to ensure your safety and prevent any potential water damage. Locate the main water valve in your home and turn it off to halt the supply of water to your shower. This step is vital as it stops water from gushing out when you remove the broken stem. After shutting off the water, turn on the shower to release any remaining water and pressure in the pipes. This will create a safer work environment and a cleaner repair process.

Step 2: Remove Shower Handle
Once the water supply is fully turned off and pressure in the pipes is relieved, you can proceed to remove the handle. If there’s a decorative cap on the handle, carefully pry it off using a flathead screwdriver to expose the hidden screw. This cap often conceals the mounting screw to maintain the handle’s aesthetic appeal. After removing the cap, use a Phillips or flathead screwdriver, depending on the screw head, to unscrew the handle from the wall mount. Keep the screw and the cap in a safe place where they won’t get lost or damaged, as you will need them when reassembling the handle after the repair.
Step 3: Take Out the Broken Stem
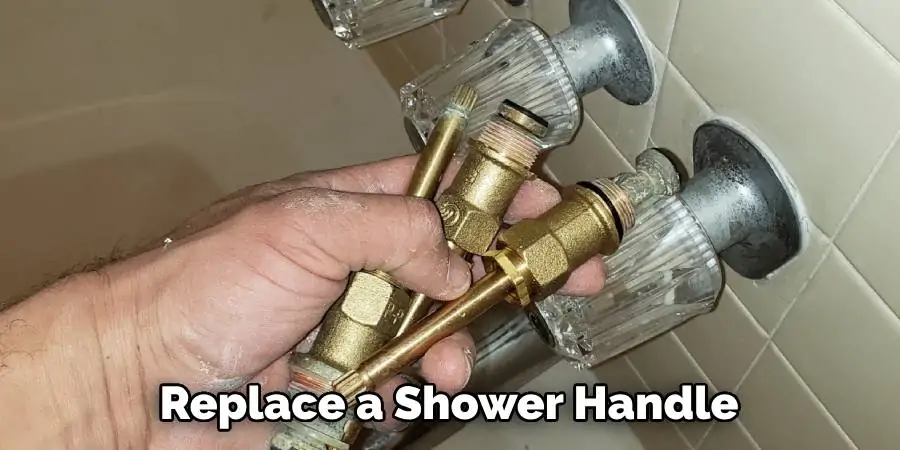
With the handle now off, you will be able to see the stem which extends from the wall where the handle was attached. Take an adjustable wrench and adjust it to fit the size of the stem. Carefully unscrew the stem by turning the wrench counterclockwise. Be gentle to avoid damaging any surrounding plumbing. Once it’s loose, finish unscrewing by hand if possible and gently pull the broken stem out of the wall. It’s essential to keep track of any additional components such as washers or O-rings as these may need to be reused or replaced depending on their condition.
Step 4: Prepare the Replacement Stem
Before installing the new stem, prepare it by wrapping the threads with Teflon tape. This helps to ensure a water-tight seal and prevent future leaks. Carefully wrap the tape around the threads in a clockwise direction for about three to four layers, making sure it’s snug but not too tight. If necessary, apply a small amount of plumbing lubricant to ease the installation process. The lubricant will help the new stem turn smoothly into place without causing strain on the threads or the material.
Step 5: Install the New Stem
Take the new stem and align it with the opening where the old stem was removed. Begin threading the new stem by hand to ensure that it is not cross-threaded. Once you’ve confirmed the stem is correctly positioned and screwing in straight, continue to gently tighten it by hand until you meet resistance. At this point, use the adjustable wrench to finish tightening the stem securely in place. Take care not to over-tighten, as this can strip the threads or damage the stem itself. Your goal is a firm fix that doesn’t compromise the integrity of your plumbing.

Step 6: Reattach the Handle
Once the new stem is securely in place, proceed to reattach the shower handle. Slide the handle onto the stem, aligning it with any notches or slots to ensure a proper fit. Hold the handle in position and insert the retaining screw. Using the appropriate screwdriver, tighten the screw until the handle is firm and secure. Be cautious not to over-tighten the screw as it may strip the threads or crack the handle. With the handle reattached, your shower faucet should now be ready for operation. Test the handle to make sure it turns smoothly without any leaks or resistance.
Step 7: Test Your Work
Turn the main water supply back on and allow the water to run through the faucet. Observe the shower handle as you test for proper operation, making sure the handle turns smoothly and without undue resistance. Keep an eye out for any leaks around the handle or the faucet. If leaks are present, turn off the water supply and tighten any connections as necessary. Once any adjustments are made, turn the water back on and retest to ensure a leak-free operation. Your careful attention during this step will confirm the success of your DIY plumbing repair.
Step 8: Tidy Up
After confirming that your repair has been successful and there are no leaks, begin the cleanup process. Wipe up any water that may have spilled during the repair to prevent water damage or slipping hazards. Collect all tools and materials used and remove them from the work area. Dispose of the old faucet parts responsibly, and store your tools properly for future use. Cleaning up not only leaves your work area tidy but also ensures that your tools are ready for the next project. With everything back in order, you can enjoy the satisfaction of completing a plumbing repair on your own.

And there you have it—a broken shower handle stem fixed without the need for a costly plumber visit! Remember, when sourcing replacement parts, ensure they’re compatible with your specific shower model for the best fit and performance.
Frequently Asked Questions
Can a Shower Valve Be Repaired?
Amid the relentless rush of our daily routines, the sanctity of a perfect shower is inviolable—until it’s marred by a broken handle, turning a haven into a harrowing inconvenience. But hope is not lost; understanding how to fix a broken shower handle stem can reclaim your serenity. With a modicum of patience and the right tools, even the least handy homeowners can master this essential repair. Initiating with the shutting off of the water supply and removing the obstinate handle, you’ll delve into the heart of the shower valve.
Along the way, you’ll encounter O-rings that whisper secrets of leaks past and cartridges that bear the brunt of relentless usage. Replace these stalwarts of your plumbing system, and you could resurrect the full flowing grace of your shower, proving that, indeed, a shower valve can be repaired—restoring the embrace of warm water just when you need it most.
What Are the Three Types of Shower Valves?
In the realm of plumbing, shower valves are the unsung heroes regulating water flow and temperature, ensuring each shower is a bespoke experience. There exist three main types of valves, each with unique mechanisms and advantages. The first, the pressure balance valve, is the guardian against sudden temperature fluctuations, maintaining a steady flow despite the whims of other water use in the house.
Second, we have the thermostatic valve, a connoisseur’s choice, allowing precise control over water temperature for an indulgent shower experience. Lastly, the diverter valve, often found in bathtubs with shower attachments, directs water from the tub spout to the showerhead with a simple manipulation. Each type of valve caters to different preferences and requirements, providing versatility and comfort in our daily cleansing rituals.
Can you replace shower handle without replacing valve?
Yes, it is often possible to replace a shower handle without the need to replace the entire valve. The handle is typically attached to the valve’s stem and can be removed separately. Homeowners looking for a quick refresh of their bathroom’s aesthetics or needing to replace a broken handle can do so with basic tools and a new handle that matches the valve’s brand and model. However, it’s important to ensure the underlying valve is in good working order to prevent leaks or further damage. Simple handle replacements can be both cost-effective and time-saving, providing a straightforward solution to improve the functionality and look of your shower.

Conclusion
In this article we discuss the most important guide on how to fix a broken shower handle stem. We learned about the important role of shower valves in maintaining water flow and temperature, as well as the different types of valves available on the market. We also discovered that it is possible to replace a shower handle without replacing the entire valve, making it a feasible option for those looking to update their bathroom’s appearance or dealing with a broken handle.
Remember to always take necessary precautions and seek professional help if needed when working with plumbing fixtures. With proper knowledge and the right tools, fixing a broken shower handle can be a simple task that improves the functionality and aesthetics of your bathroom. So, don’t hesitate to tackle this DIY project and enjoy a refreshing shower experience once again.Happy fixing!
