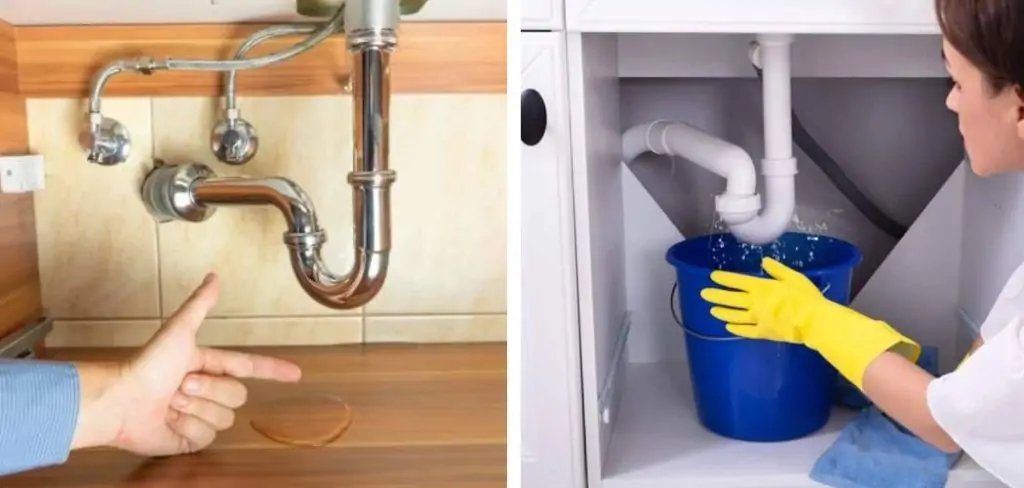
Discovering a leak under your kitchen sink can be quite alarming, but finding the source of the leak is the first step toward addressing the issue. This guide will walk you through a step-by-step process of how to find a leak under kitchen sink. Whether it’s a minor drip or a major flood, understanding the potential causes can help you solve the problem effectively and prevent further damage to your home.
What Tools Are Needed to Find a Leak Under the Kitchen Sink
Before you begin, it’s important to gather all the necessary tools and materials. Here are some of the essential items you’ll need:
- Flashlight: This will help you see in dark, tight spaces.
- Towels or Rags: You’ll need these to dry up any water that may be present.
- Bucket: A bucket can collect water from a leak and prevent it from spreading.
- Screwdriver: This will be useful for removing any panels or fixtures to access the pipes.
- Wrench: You may need this to tighten loose fittings or remove them entirely.
- White Vinegar: This can be used as a natural cleaner to help identify the source of the leak.
Step-by-step Process of How to Find a Leak Under Kitchen Sink
Step 1: Identify the Source of the Leak
Start by carefully inspecting the pipes and connections under the sink for any visible signs of water or moisture. Ensure your flashlight is handy to help illuminate the darker parts. Pay special attention to joints and the points where the pipes connect to the sink. Also, observe the bottom of the sink where it attaches to the countertop, as leaks can sometimes originate from these areas. To stimulate a leak, run some water through the sink and watch carefully for any droplets or trickles appearing on the pipes or connections. Remember, not all leaks are immediately visible, so take your time and be thorough in your inspection.
Step 2: Check the Garbage Disposal
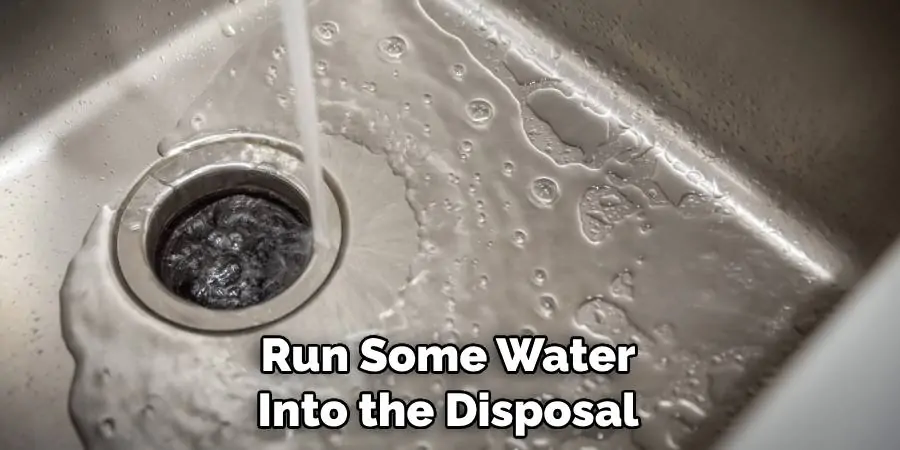
For Step 2, if you have a garbage disposal unit attached to your sink, it’s crucial to check this as well. Examine the area where the disposal unit connects to the sink and the drainage pipes. If you see any moisture, it could indicate that there is a problem with the seals or connections between the disposal and the sink. Run some water into the disposal and watch for any leaks. If you notice water seeping out, it’s likely the seals or connections need to be replaced or tightened. As always, shut off the garbage disposal’s power supply before beginning your investigations to ensure safety.
Step 3: Look for Cracks or Damage
If you can’t find any visible leaks, the pipes themselves may be damaged. Look for any cracks or signs of corrosion on the pipes and connections. You may need to remove panels or fixtures to access all areas of the pipes. If you do discover damage, take note of its location and severity before proceeding.
Step 4: Use Food Coloring
For Step 4, the use of food coloring can assist in identifying less obvious leaks. Pick a food coloring of your choice and add a few drops to a glass of water. Pour this colored water into the sink drain and wait for a few minutes. If there is a leak in your pipes, the colored water should seep out from the leak’s source, making it easy to identify. This method is particularly useful in detecting smaller leaks that may not be immediately noticeable.
Step 5: Tighten Connections
If you suspect that a connection under your sink is loose, try to tighten it using your wrench or pliers. Ensure you proceed with caution to avoid causing any further damage. By gently tightening the connections, you may be able to stop a leak without needing professional intervention. This simple solution can often fix minor leaks that result from loose fittings or connections. Nonetheless, if the leak persists after this step, it’s wise to consult with a professional plumber to avoid further complications.
Step 6: Replace Damaged Parts
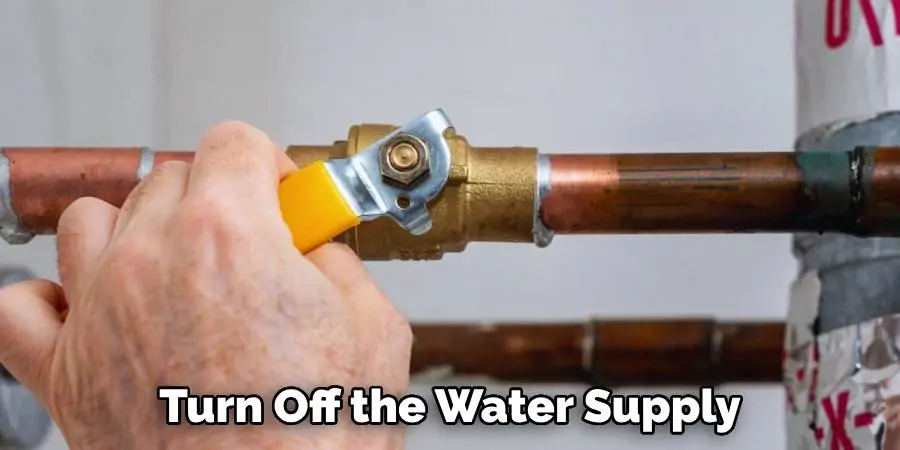
If you have identified damaged or corroded pipes, fittings, or seals as the source of the leak, you will need to replace them. Turn off the water supply and carefully remove the damaged parts before replacing them with new ones. Be sure to use the correct tools for the job and follow any instructions that come with your replacement parts. If you are unsure how to proceed
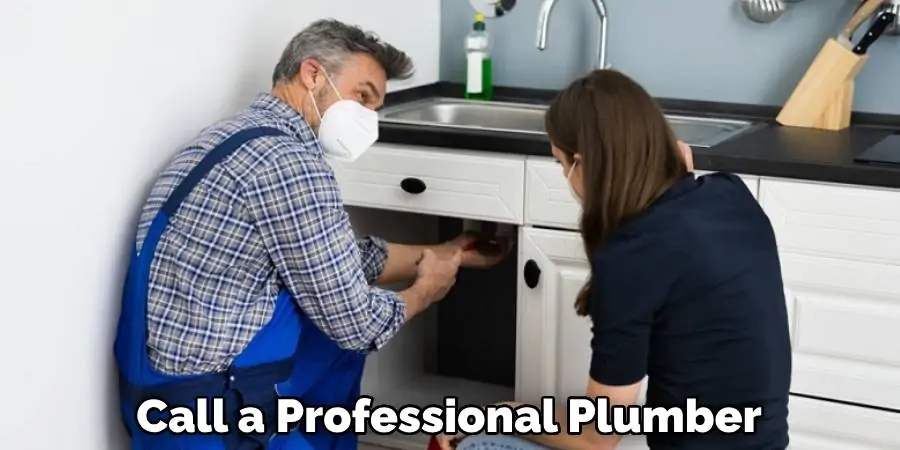
Step 7: Call a Professional
If, despite your best efforts, the leak persists or you’re unsure how to proceed, do not hesitate to call a professional plumber. They possess the requisite expertise and tools necessary to identify and rectify leaks efficiently and effectively. While it might seem like an extra expense, hiring a professional can save you from potentially costly repairs down the line caused by incomplete or incorrect DIY fixes. Remember, it’s important to address plumbing leaks promptly to mitigate the risk of water damage to your home.
What Are Some Common Causes of Leaks Under the Kitchen Sink
Now that you know how to find and address leaks under your kitchen sink let’s discuss some of the common causes. Some of the most frequent sources of leaks under the kitchen sink include:
- Loose Fittings or Connections: Over time, fittings and connections can become loose, leading to leaks.
- Damaged Seals: Seals around pipes or connections can also deteriorate and cause leaks.
- Cracked or Corroded Pipes: As with any plumbing, pipes can crack or become corroded, resulting in leaks.
- Clogs in the Drainage System: Clogs can put pressure on pipes and cause them to leak.
How to Prevent Leaks Under the Kitchen Sink
While it’s impossible to completely prevent all plumbing issues, there are some steps you can take to minimize the likelihood of leaks under your kitchen sink. These include:
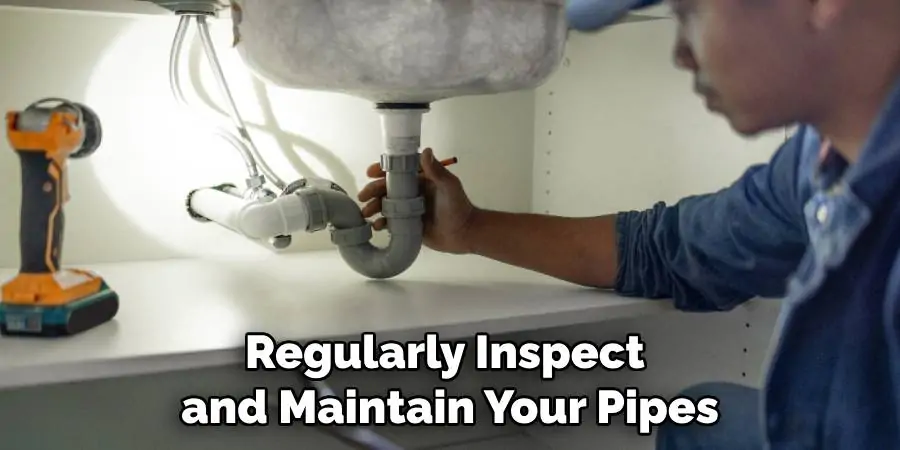
- Regular Maintenance: Regularly inspect and maintain your pipes, fittings, and connections to identify and address any potential issues before they become major problems.
- Avoid Putting Grease or Oil Down the Drain: Grease and oil can build up in drainage pipes, leading to clogs and potential leaks.
- Be Mindful of What You Put in Your Garbage Disposal:Avoid putting large or hard objects into your garbage disposal, as these can damage the unit and cause leaks.
- Call a Professional for Repairs: If you notice any signs of a leak, such as mold or water damage, do not delay in calling a professional plumber to address the issue.
- Consider Upgrading to Newer, More Durable Materials: If you’re renovating your kitchen or experiencing frequent leaks, it may be worth considering using more modern and durable materials for your plumbing. This can help prevent future leaks and save you money in the long run.
By following these tips and regularly inspecting your kitchen sink’s plumbing, you can minimize the risk of leaks and potential water damage to your home. Remember, taking preventative measures is always better than dealing with a major plumbing issue down the line. So don’t neglect your kitchen sink’s plumbing – it’s an essential part of keeping your home safe and functional. So take care of it and address any leaks promptly to avoid larger problems in the future.
Frequently Ask Question
Q: How Do I Know if There is a Leak Under My Kitchen Sink?
A: Some common signs of a leak under your kitchen sink include visible water stains or mold, wetness around the pipes or connections, and noticeable dripping sounds. You may also notice a musty smell coming from the area.
Q: Can I Fix a Leak Under My Kitchen Sink Myself?
A: Yes, you may be able to fix minor leaks by tightening connections or replacing damaged parts. However, for more significant leaks or if you’re unsure how to proceed, it’s best to consult with a professional plumber.
Q: What Should I Do if I Notice a Leak Under My Kitchen Sink?
A: The first step is to turn off the water supply and assess the source of the leak. If you are confident in your abilities, you can attempt to fix it yourself by tightening connections or replacing damaged parts. However, if you’re unsure or the leak persists, it’s best to call a professional plumber for assistance. Remember to address leaks promptly to prevent further damage and potentially costly repairs down the line.
Conclusion
Leaks under the kitchen sink can be a common household issue, but they should not be ignored. By following simple steps such as inspecting and maintaining your plumbing, avoiding putting certain materials down the drain, and promptly addressing any leaks, you can minimize the risk of water damage to your home. Remember, if you’re unsure how to find a leak under kitchen sink, do not hesitate to call a professional plumber for assistance. Taking care of your kitchen sink’s plumbing is essential for keeping your home safe and functional. So don’t neglect it – address any leaks promptly to prevent potential problems in the future. Happy fixing!
