Quartz countertops are one of the most popular choices for kitchen and bathroom countertops due to their durability, low maintenance, and aesthetic appeal. However, installing quartz countertops typically involves drilling holes for sinks, faucets, and other fixtures. Drilling a hole in a hard material like quartz may seem intimidating at first, but with the right tools and techniques, it can be done easily and accurately. In this guide, we will discuss the steps and tips on how to drill hole in quartz countertop.
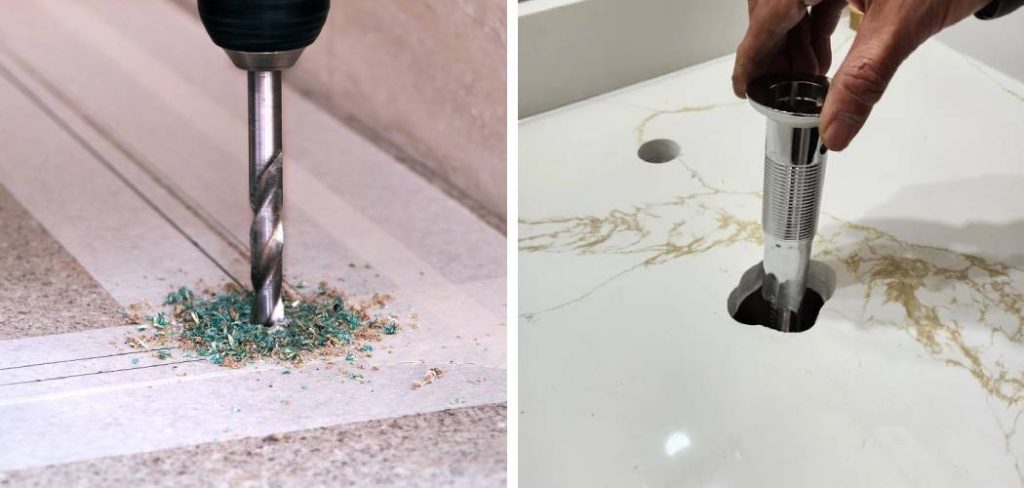
Step-by-Step Process on How to Drill Hole in Quartz Countertop
Quartz countertops add elegance and value to your home, but sometimes you need to customize them for fixtures or decorations. Drilling a hole in quartz can seem intimidating, but with the right tools and techniques, it can be a smooth process. Follow these steps to ensure you do it carefully and safely.
Step 1: Prepare Your Tools and Work Area
Before you start, gather the necessary tools:
- A high-quality diamond drill bit suitable for quartz
- An electric drill with a variable speed setting
- Masking tape
- A spray bottle with water for cooling the drill bit
- Safety goggles and gloves
- A dust mask
Clear the area and make sure it’s dry and stable. Put on your safety gear to protect against quartz dust and debris.
Step 2: Mark the Spot
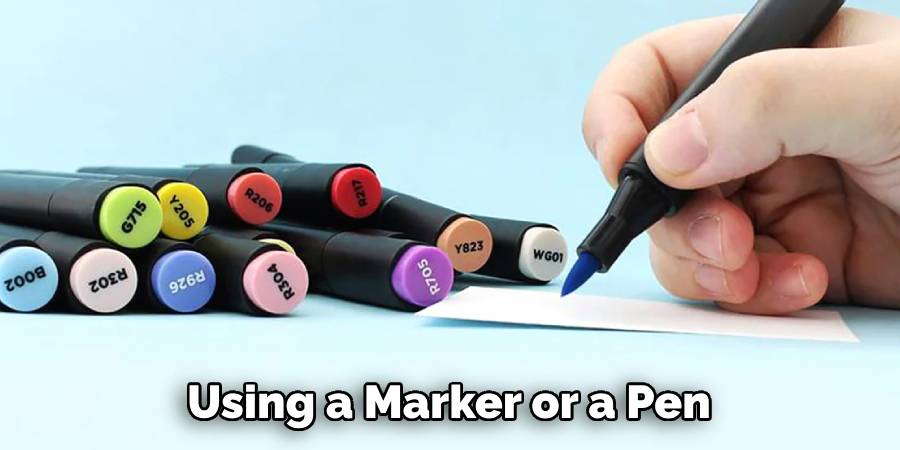
Using a marker or a pen, precisely mark where you want to drill the hole on the quartz surface. Place a piece of masking tape over the mark to help prevent the drill bit from slipping when you start drilling. The tape also helps in reducing chipping of the quartz surface around the hole. Ensure that the tape is firmly in place and the mark is clearly visible.
Step 3: Start Drilling at a Low Speed
Attach the diamond drill bit to your drill, and align it over your marked spot. Begin drilling at the lowest speed to create a dimple; this will guide the drill and prevent it from wandering off the mark. Maintain a steady, gentle pressure and do not force the drill. Drilling at a slow speed is essential to prevent overheating of the drill bit and potential damage to the quartz. Keep spraying water intermittently to cool the drill bit and minimize dust creation. Once the initial dimple is made, you can gradually increase the speed, ensuring steady cooling and pressure throughout the drilling process.
Step 4: Use Water for Cooling
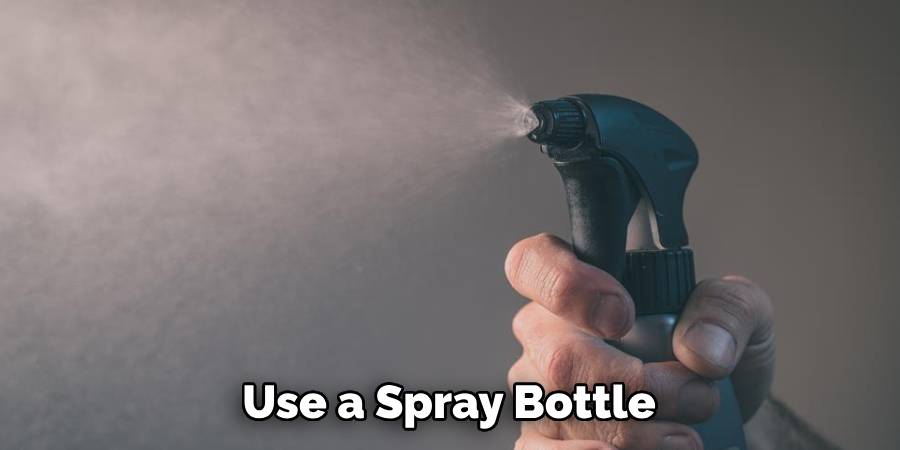
Quartz can heat up quickly from the friction of drilling which can damage both the countertop and the drill bit. Use a spray bottle to periodically spritz water on the drill bit and the quartz surface to keep the temperature down. This acts as a coolant, reducing the risk of thermal shock that can crack the quartz or wear out the drill bit. Ensure that you’re applying a fine mist and not dousing the area, as excessive water can cause complications. Continue to add water as needed throughout the drilling process to maintain a safe working temperature.
Step 5: Increase Speed Gradually
Once you have a shallow cavity, you can gradually increase the drill speed. Apply steady, but not excessive, pressure as you drill. Let the bit work at its own pace to avoid cracking the quartz. Continue monitoring the drilling speed and water application to ensure the bit remains cool and effective. Remember, patience is key in achieving a clean drill without damage to your quartz surface.
Step 6: Maintain Consistent Pressure and Cooling
Maintain a consistent pressure and maintain spray frequency to keep the drill bit wet throughout the drilling process. Balanced pressure and steady movements are crucial — rushing the drilling can lead to cracks or even breaks. The key to success lies in a methodical approach, allowing the bit to penetrate the quartz with minimal resistance and heat accumulation. Continue this process until the hole is completed to the desired depth. Remember, the combination of consistent pressure and regular cooling will yield the best results when working with quartz.
Step 7: Complete the Hole
As you near the end, reduce the pressure to prevent chipping the quartz on the underside as the drill bit emerges. It can be helpful to place a support block, such as a piece of scrap wood, directly underneath the drilling area. This practice helps to distribute the force of drilling and minimizes the risk of stress fractures on the quartz’s underside as the bit exits. The support also provides an additional layer of protection for the countertop and the work surface beneath.
Step 8: Clean and Finish
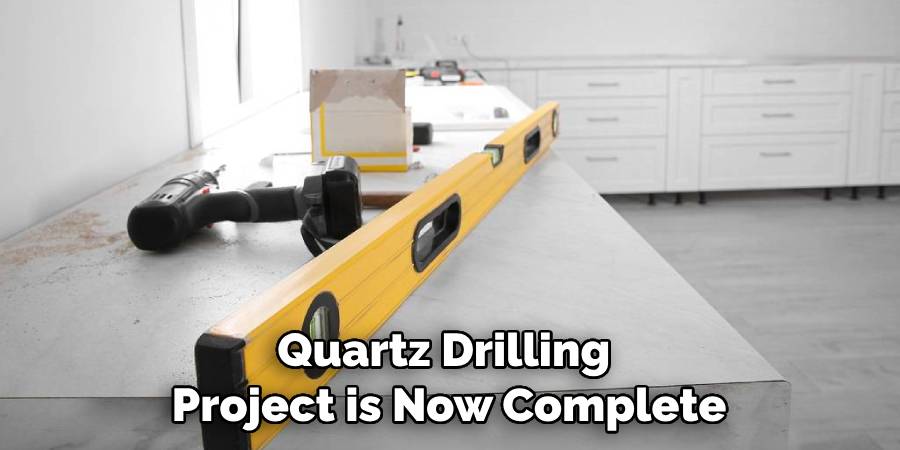
Once the hole is drilled, remove the tape, clean the area with a damp cloth to remove any quartz dust, and inspect your handiwork. If you have any rough edges, you can smooth them out with a file designed for stone. Use a fine-grade file and gently round the edges of the hole. Remember to file in one direction to achieve the smoothest finish. It’s essential to wear protective eyewear during this step to guard against any flying debris. Once satisfied with the smoothness of the edges, clean the surface once more to ensure all filings are removed. Your quartz drilling project is now complete, and the finished product should look polished and professional.
Step 9: Install the Fixture or Decoration
Now that your hole is drilled, you’re ready to insert the fixture or piece that required the hole. Begin by checking the fit; the component should sit snugly within the new opening without forcing it, yet not so loose that it wobbles or is insecure. If your fixture comes with specific installation instructions, be sure to follow them carefully. If no specific instructions are provided, take the extra step of applying a thin layer of silicone adhesive around the edge of the hole before inserting the fixture. This will create an additional seal and provide added stability for your new addition.
Remember, patience is paramount in any DIY project involving hard materials like quartz. Take your time, and your quartz countertop will come out looking as pristine as before, with the perfect hole where you need it.
Tips for Drilling Holes in Quartz
- Always use a diamond-tipped core drill bit specifically designed for quartz countertops.
- Use a coolant, such as water or cutting oil, to keep the drill bit cool and prevent damage to both the quartz and the drill.
- Start with a small diameter pilot hole before increasing the size for better precision and control.
- Maintain low pressure and a slow speed while drilling to avoid cracks or chips in the quartz.
- Clean up any debris from the drilling process to prevent scratching or damaging the surface.
- If possible, practice on a spare piece of quartz before attempting to drill into your countertop.
- Consider hiring a professional if you are not confident in your ability to drill holes in quartz yourself.
Frequently Asked Questions
What is the Best Drill Bit for Quartz Countertops?
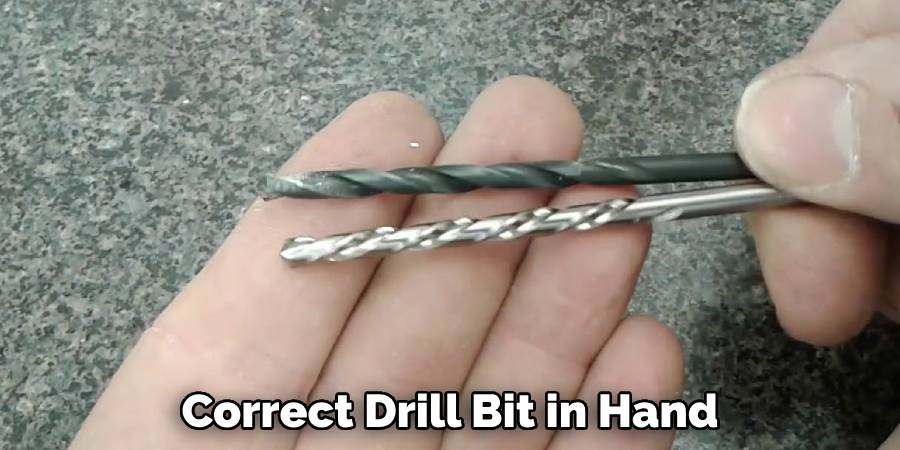
Drilling through the mesmerizing hues and unyielding surface of a quartz countertop requires precision and the right tool. When aiming to pierce this elegant stone without damage, one must ask, “What is the best drill bit for quartz countertops?” The answer lies in a diamond-tipped core drill bit, designed specifically for the tough, crystalline structure of quartz. Its robust tip allows for a smooth perforation, ensuring your sleek countertop remains impeccable even after crafting a hole for that sleek, modern faucet or sophisticated soap dispenser. With the correct drill bit in hand, knowing how to drill hole in quartz countertop becomes effortless, transforming an intimidating task into a satisfying DIY accomplishment.
What Kind of Hole Saw for Quartz?
Having the correct hole saw for quartz is essential when working with this delicate stone. The key factor to consider when selecting a hole saw is its cutting material. For quartz, diamond-tipped blades are highly recommended due to their strength and resilience against the stone’s hardness. These durable blades make quick work of drilling holes through quartz without chipping or damaging the surface. Additionally,
How Do You Make a Small Hole in Quartz?
Making a small hole in quartz requires precision and the right tools. The first step is to mark the spot where you want to create the hole using a marker or tape. Next, drill a pilot hole using a diamond-tipped drill bit with a smaller diameter than your desired size. This will help guide the larger drill bit and prevent any cracks or damage to the surrounding area. Once the pilot hole is drilled, switch to a larger diamond-tipped drill bit and slowly increase the diameter of the hole until you reach your desired size. Remember to keep the drill speed low and apply consistent pressure for best results.
Conclusion
In this article, we have discussed the process of how to drill hole in quartz countertop. We learned that it requires precision and the right tools to successfully make a small hole in quartz without damaging the surface. We also provided some tips for drilling holes in quartz to help achieve the best results. Remember to always use diamond-tipped drill bits specifically designed for quartz and to keep the drill speed low while applying consistent pressure.
With these tips in mind, you can confidently drill holes in your quartz countertop for various purposes such as installing kitchen appliances or bathroom fixtures. However, if you are not confident in your ability to do so, it is always best to hire a professional to ensure the job is done correctly and without any damage to your quartz countertop. Happy drilling!
