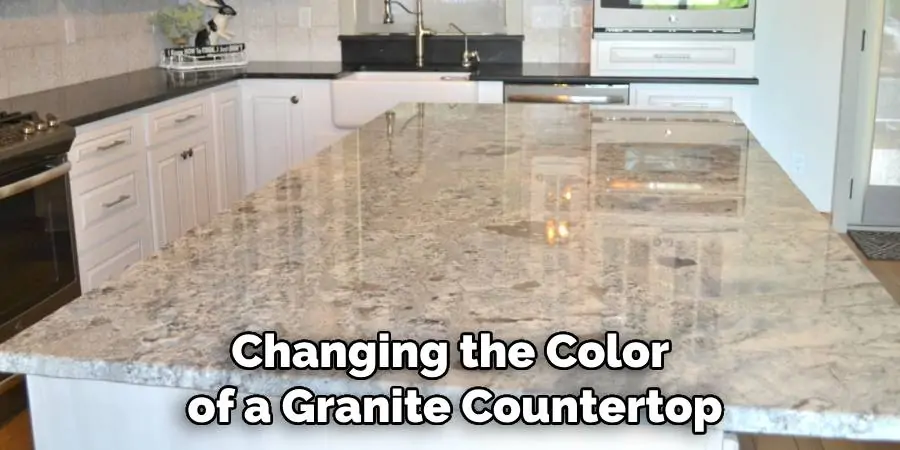
Granite countertops are a popular choice for kitchen and bathroom renovations. Not only are they durable and long-lasting, but they also add a touch of elegance to any space. However, one common concern with granite countertops is their color – what if it doesn’t match the rest of your home’s interior? In this guide, we will discuss how to change the color of granite countertop without having to replace it entirely.
One effective method is the use of tinted sealers or color-enhancing products designed for stone. These can penetrate the porous surface of the granite, giving it a refreshed hue while maintaining the natural beauty and grain of the stone. It’s a cost-effective solution that can dramatically change the appearance of your countertops to better align with your current aesthetic preferences.
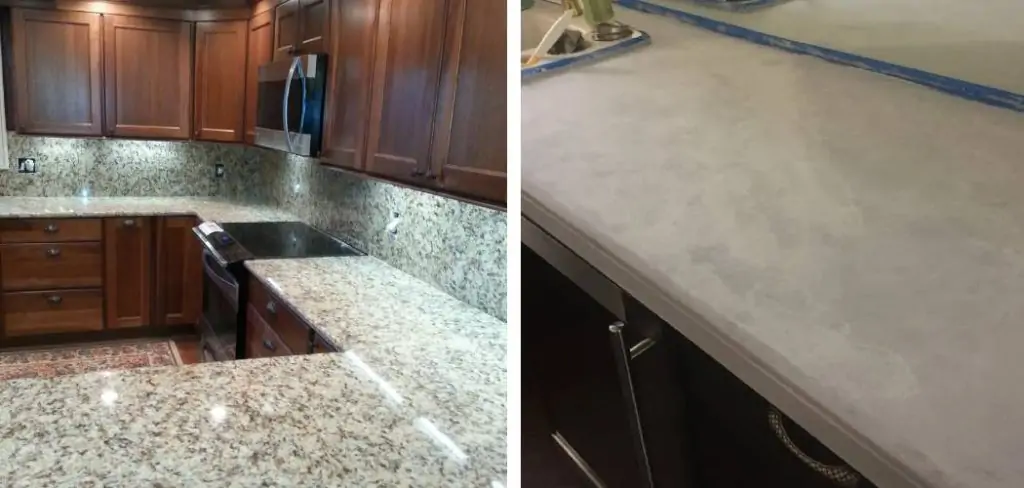
Factors to Consider
Before diving into the process of changing the color of your granite countertop, there are a few important factors to consider:
- Type of Granite: The type of granite you have will determine how easily it can be colored. Some types may be more porous or absorbent than others, making them more difficult to change.
- Current Color: The current color of your granite will also play a role in the difficulty level of changing it. Darker colors may require more coats and effort compared to lighter colors.
- Desired Color: It’s important to have a clear idea of the color you want for your granite countertop. This will help guide you in choosing the right products and techniques for the job.
How to Change the Color of Granite Countertop: A Step-by-Step Guide
Granite countertops are known for their durability and beauty; however, homeowners sometimes wish to update their color without going through the expense and hassle of replacement. Whether you’re seeking a fresh new look or simply need to cover up wear and tear, changing the color of your granite countertop can be achieved with the right approach. Below is an instructive listicle outlining how you can change the color of your granite countertops.
Step 1: Clean the Surface
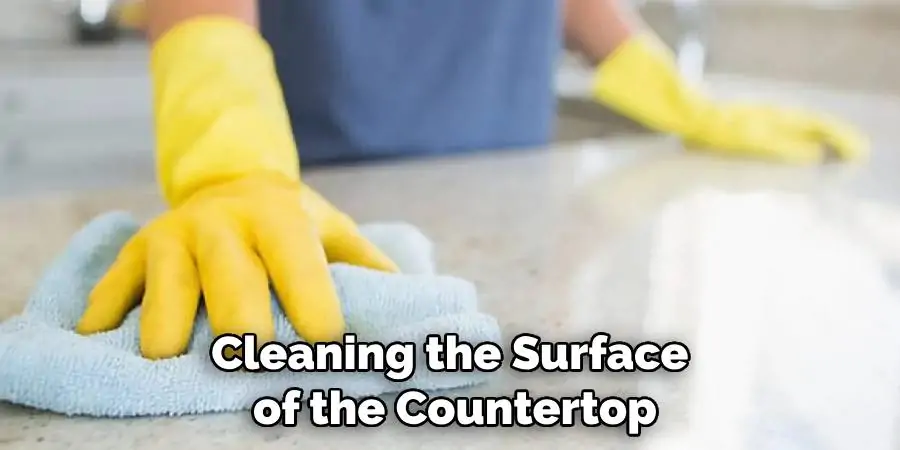
Start by cleaning the surface of the countertop thoroughly. Use a granite cleaner or a mild dish soap with warm water to remove any dirt, grease, and grime. Dry the surface completely with a soft cloth to ensure no moisture remains, as this could impact the absorption of the colorant.
Step 2: Sand the Countertop
Lightly sand the granite countertop with fine-grit sandpaper. This will remove the glossy finish and allow the new paint or stain to adhere properly. Be careful not to sand too hard as granite is delicate. You’ll want to achieve a rough surface without causing damage, so use gentle, circular motions. After sanding, wipe down the countertop with a damp cloth to remove any dust before moving on to the next step.
Step 3: Apply Primer
Once sanded, wipe down the countertop with a damp cloth to remove any dust. Then, apply a high-quality primer specifically designed for stone surfaces. Primer helps the color coat stick better and last longer, ensuring a durable and attractive finish. Be sure to use even strokes and cover the entire surface; then, allow the primer to dry completely according to the manufacturer’s recommendations before proceeding.
Step 4: Choose Your Colorant
Determine whether you want to use granite paint or a concrete overlay. Granite paint is a simpler Granite paint is a simpler solution while a concrete overlay can provide a completely new texture and color. If you opt for granite paint, select a color and finish that mimics the look of natural stone. These specialized paints contain stone particles to give the painted surface the appearance of actual granite. If a concrete overlay is your preference, it presents an opportunity for a full makeover. Not only can you change the color, but you can also add tints for varied effects and seal it for a polished or matte finish.
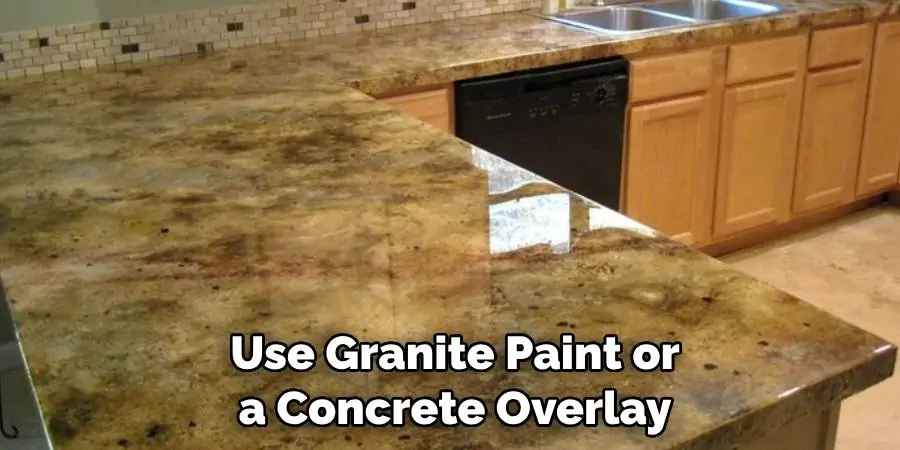
Step 5: Apply Granite Paint (Option 1)
If using granite paint, follow the manufacturer’s instructions carefully. Apply the paint with a sponge or an airbrush for a more natural stone look. Allow the first coat to dry before applying additional coats as needed. It’s essential to wait the recommended time between coats to ensure proper adhesion and to prevent any unsightly smudging. Often, multiple coats will be necessary to achieve the rich, textured look of genuine granite. Remember to gently sand between coats if the product requires it for the best finish. After the final coat, assess the countertop for any missed spots or potential improvements to ensure the surface is uniformly covered and meets your aesthetic expectations.
Step 6: Apply Concrete Overlay (Option 2)
For a concrete overlay, mix the product according to directions and spread it evenly over the countertop using a trowel. It’s possible to add custom color tints at this stage to achieve the specific hue or variegated look that you’re aiming for. Blend the tints thoroughly to ensure a consistent color throughout the mixture. Once applied, it is crucial to let the overlay cure as per the product’s instructions, which typically involves waiting a set amount of time for the overlay to harden and achieve maximum durability. During the curing process, keep the surface dry and avoid any contact that may mar the finish.
Step 7: Seal the Countertop
After the chosen material has dried and cured, it’s crucial to seal the countertop. Sealing protects your newly colored countertop from stains and extends its life. Use a sealant recommended for either painted surfaces or concrete overlays and apply as directed. Make sure to apply the sealant in even layers, and allow each layer to dry completely before applying the next. This will help avoid bubbling and streaking, ensuring a smooth, professional-quality finish. Most sealants require at least 24 hours to cure completely, so plan accordingly to avoid using the countertop during this period. Regular maintenance, including gentle cleaning and occasional resealing, can help preserve the integrity and beauty of your faux granite countertop for years to come.
Step 8: Maintain Properly
With your granite countertop now boasting a new color, maintain its appearance with regular cleaning, and re-seal the surface every one to two years.
Note: This process is more about “resurfacing” than simply changing the color and could result in a different texture and finish than your original granite countertop. Always consider the longevity and value of genuine granite before making significant changes. Changing the color of a granite countertop is a detailed but rewarding project. By following these steps, you can give your counters a beautiful, updated look without the need for a complete replacement.
Frequently Askes Questions
How Do You Update Granite Countertops Without Replacing Them?
Granite countertops have long been the stalwart of elegant kitchens, but what if your once-treasured surface no longer aligns with your evolving taste? The thought of replacement can seem daunting—both in effort and expense. However, a revolution in refurbishing techniques means that updating your sturdy granite doesn’t necessitate an upheaval.
With an innovative approach on how to change the color of granite countertops, homeowners can now transform their surfaces with a palette that resonates with the latest design trends or their personal aesthetic preferences. By utilizing new, durable coatings and sealants, you can infuse new life into your granite, crafting a fresh, modern look without the burden of replacing the entire countertop. This method is a game-changer for those looking to revitalize their space with subtlety and sophistication.
Can Granite Countertops Be Painted?
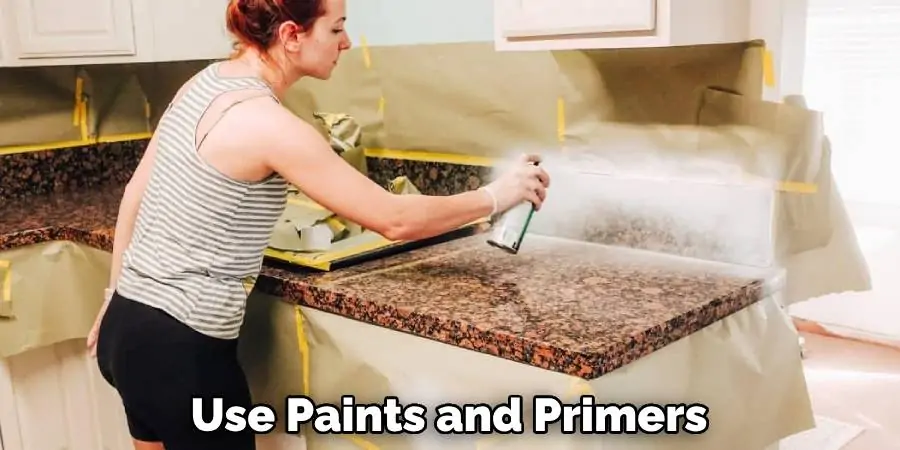
Granite countertops can indeed be painted, providing an avenue for homeowners to refresh their kitchen or bathroom without incurring the high costs associated with installing new countertops. However, to ensure the durability and aesthetic quality of the painted surface, it’s crucial to use paints and primers that are designed specifically for stone or laminate surfaces. Moreover, thorough preparation of the surface, including cleaning, sanding, and priming, is vital to achieve a smooth, lasting finish. Post-painting, applying a clear sealant can protect the paint from wear and tear, moisture, and stains, extending the lifespan of your updated countertops.
How Do You Seal Granite Countertops?
Sealing granite countertops is an essential step to protect the porous stone from staining, etching, and bacteria growth. To seal your countertops, you’ll need a good quality sealant designed for natural stone surfaces, a clean cloth or sponge, and some gloves. Start by thoroughly cleaning the surface with warm water and mild soap, then dry it completely. Next, apply the sealant evenly in a circular motion using a clean cloth or sponge. Allow the sealant to penetrate the stone for about 10 minutes, then wipe off any excess with a dry cloth. Finally, let the countertops air dry for at least 24 hours before using them again.
Conclusion
In this guide, we will discuss how to change the color of granite countertop and how to seal them. Painting granite countertops can be a cost-effective way to refresh your kitchen or bathroom, but it’s crucial to use the right materials and follow proper preparation steps for a durable finish. Sealing granite countertops is also essential in protecting the natural stone from damage and bacteria growth. By following these tips, you can keep your granite countertops looking their best for years to come. Remember, always consult a professional if you’re unsure about any step in the process to avoid damaging your countertops. Happy painting and sealing!
