We have all dreamed of having a beautifully designed and functional kitchen. A place where we can cook, entertain and spend quality time with our loved ones. However, sometimes space constraints can limit our kitchen design options. This is where a kitchen peninsula comes in – it’s a great way to add extra counter space and storage without sacrificing the flow of your kitchen.
In this guide, we will show you how to build a kitchen peninsula that not only looks great but also adds value to your home.
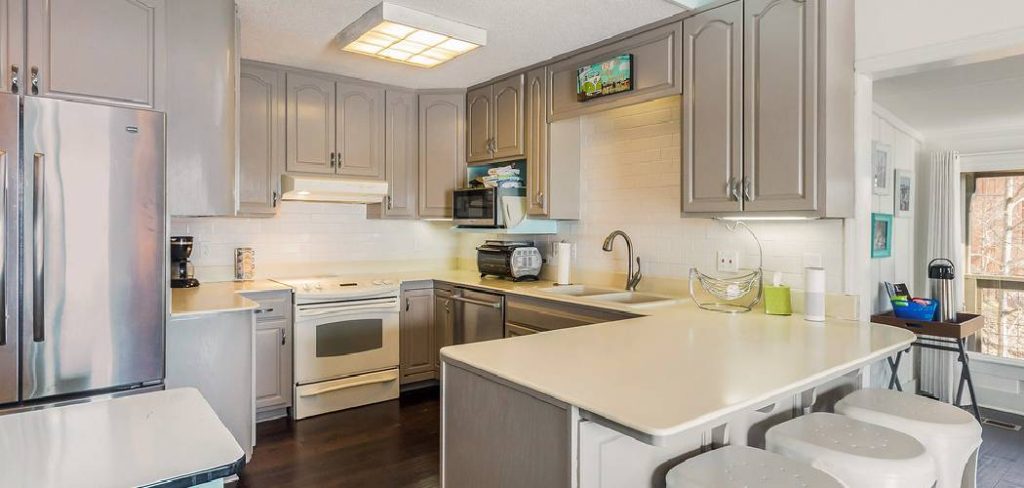
What Tools Are Needed to Build a Kitchen Peninsula
Before we get started, let’s make sure you have all the necessary tools for this project. You will need:
- Measuring tape – to measure the area where you want to build the peninsula.
- Stud finder – to locate and mark the studs in your wall.
- Level – to ensure everything is straight and level.
- Circular saw – to cut the countertop and base cabinets.
- Drill – for attaching the base cabinets to the wall and each other.
- Screws – to secure the cabinets in place.
- Countertop material of your choice – make sure to measure and purchase enough for your project.
- Cabinet screws – to attach the countertop to the base cabinets.
- Finishing nails – for any trim work around the peninsula.
Now that you have all your tools ready, let’s get started on building your kitchen peninsula!
10 Steps on How to Build a Kitchen Peninsula
Embarking on a home improvement project is both thrilling and daunting, none more so than the journey to build your very own kitchen peninsula. A kitchen peninsula doesn’t just provide additional storage and prep space; it opens up your kitchen, acting as a welcoming centerpiece for your household. In this guide, we provide you with a comprehensive 10-step plan to build the perfect kitchen peninsula, a project that brilliantly blends functionality with aesthetics.
1. Plan with Precision
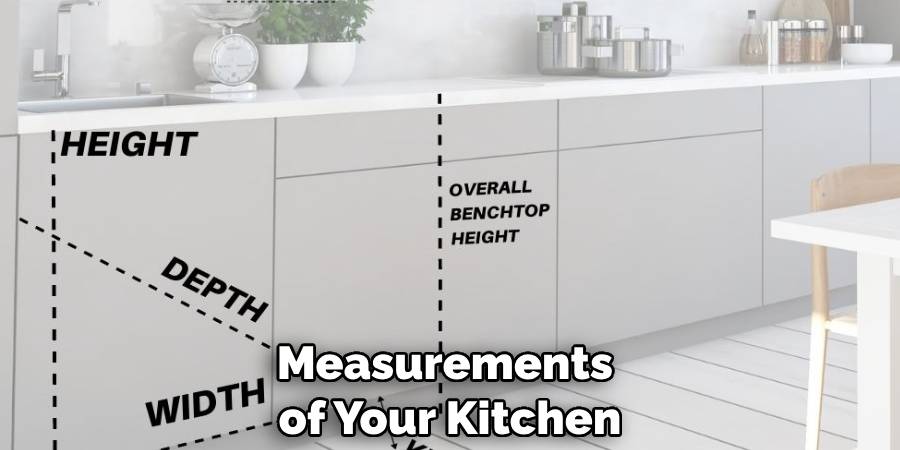
The first step to any successful project is the plan. Take meticulous measurements of your kitchen to determine the size and layout of your peninsula. Ensure it doesn’t impede traffic flow, and remember to account for the depth of your cabinets and overhang for seating. This stage is critical; it’s where design meets practicality. Sketch out multiple ideas and finalize a plan that complements your kitchen’s style and your family’s needs.
2. Gather Materials Mindfully
With your design in hand, it’s time to make a list of all the materials you’ll require. This varies depending on the complexity of your peninsula but could include plywood, lumber, cabinet screws, countertop brackets, and paint or stain for finishing touches. Quality is key here. Choose materials that combine durability with your desired aesthetic. This is an investment in your home, after all.
3. Build Your Base
Your peninsula’s base will form the foundation of your project. This typically involves constructing a wooden frame using sturdy, pressure-treated lumber. The frame’s design should mirror the bottom portion of the peninsula, ensuring it can support the weight of the countertop and anything on top of it. The frame should be firmly affixed to the floor for stability.
4. Cabinet Installation
As the base begins to take shape, it’s now time to install the cabinets. Depending on your design, you may need to cut holes for electrical outlets or plumbing. Cabinets are the workhorses of your peninsula, so affix them securely to your base and to each other. If your peninsula is to be used for dining, consider taller base cabinets to provide more legroom for your chairs.

5. The Peninsula’s Back Wall
The back of your peninsula, where it meets the existing wall, not only supports the countertop but also provides a finished look. Consider using a water-resistant material such as tile, breadboard, or shiplap, as this area may encounter spills and splashes. Take care to ensure the back wall is level and that any gaps are expertly filled to prevent moisture damage.
6. Electrical and Lighting
A well-lit kitchen is enjoyable to work in. Ensure you’ve made provision for lighting over your peninsula. This could be pendant lights, track lighting, or recessed fixtures, but they must be installed by a certified electrician to meet safety codes. Additionally, if you plan on housing appliances such as a microwave or an appliance charging station, make sure you have the necessary outlets installed.
7. Countertop Considerations
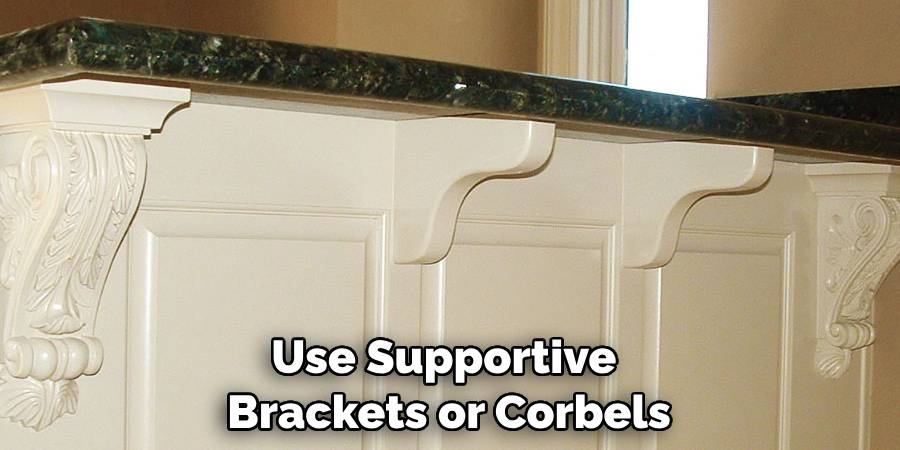
The shape and material of your countertop are as crucial to your kitchen’s look as they are to its functionality. Granite, quartz, or butcher block are popular choices, each with its distinct look and feel. The countertop should be overhung on the seating side of your peninsula to allow room for knees. Depending on the material and weight, you may need to use supportive brackets or corbels.
8. Finishing Touches
At this stage, your peninsula is mostly functional but far from complete. It’s time for the final details. Stain or paint your wood to match the rest of your kitchen cabinetry. This is also an excellent opportunity to update your kitchen’s hardware. Knobs and handles not only accessorize but also enhance usability.
9. Seating Solutions
One of the most inviting features of a peninsula is the potential for seating. Whether you opt for stools that slide underneath the overhang or a continuous raised counter, ensure your seating solution is sturdy and comfortable. It should be an extension of your kitchen’s design, blending in or standing out as much as you desire.
10. Maintenance Musts
Your kitchen peninsula is finally taking shape, but to keep it in top condition, you must perform regular maintenance. Clean your countertop according to its specifications and check for any areas of wear on a monthly basis. For wooden parts, reseal or re-stain as required to prevent water damage or discoloration. Remember, your peninsula is a beautiful addition that, with proper care, will last for decades.
Building a kitchen peninsula is a labor of love—marking an exciting, transformative step in your home’s journey. While there are many steps and decisions along the way, this list serves to guide your build with clarity and expertise. Embrace the craft and enjoy the process, knowing that each step is a purposeful move towards a more functional, stylish, and enjoyable kitchen space. Happy building!

Frequently Asked Questions
Can You Add Peninsula to Existing Kitchen?
Embarking on the culinary adventure of adding a kitchen peninsula not only promises to elevate the heart of your home but introduces a dynamic new chapter in functionality and style. With the confident strokes of strategic planning and design proficiency, incorporating a peninsula into an existing kitchen layout transforms mere meal preparation into an experience worthy of celebration. Picture this: a seamless addition that serves as your prep station, your casual dining spot, and the stage for your most memorable gatherings.
Our expertise in crafting bespoke kitchen peninsulas ensures that each element of design harmonizes with your space and culinary needs. Leverage our robust portfolio, compelling client success stories, and practical insights on how to build a kitchen peninsula that will inspire both the novice cook and the seasoned chef alike. Engage with a universe where elegance meets utility—let us guide you towards making your kitchen the epitome of innovation and inclusivity.
What is Peninsula Kitchen Layout?
Absolutely, adding a peninsula to an existing kitchen layout is not only possible, but it’s a decision that many homeowners make to increase functionality and create a more sociable kitchen environment. When approaching this addition, it starts with a thorough evaluation of your current space to ensure a seamless integration that feels like it was always meant to be there. Our team has curated countless kitchens, transforming them from closed-off spaces into welcoming hubs where life’s best moments unfold. One client, Sarah from Austin, excitedly shared how her peninsula addition became the new heart of her home where her family gathers for everything from quick breakfasts to homework sessions.
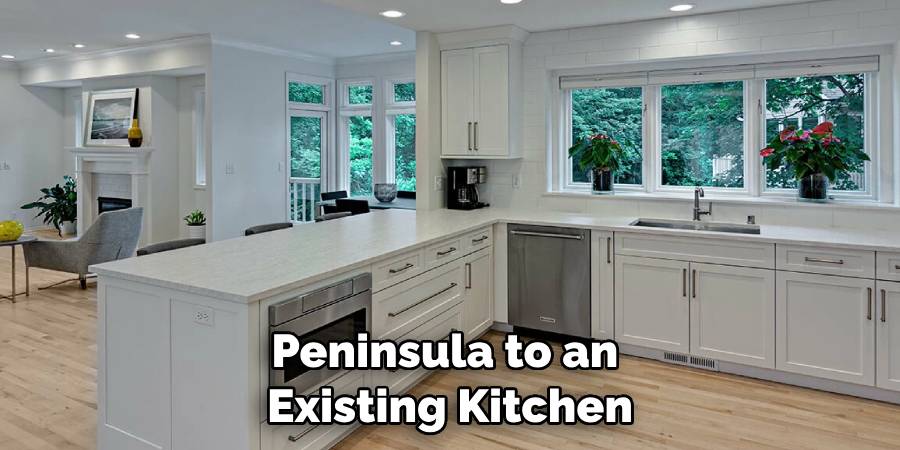
What is a Good Size for a Kitchen Peninsula?
The ideal size for a kitchen peninsula depends on the layout and dimensions of your existing space. In general, a good starting point is to have at least 42 inches of clearance between the peninsula and any adjacent wall or cabinetry. This allows for enough room to comfortably move around and work in the kitchen without feeling cramped. However, our team of experts can provide personalized recommendations based on your specific needs and space. We pride ourselves on creating custom solutions that perfectly fit our clients’ lifestyles and preferences.
Conclusion
In conclusion, we discuss how to build a kitchen peninsula and its importance in creating a functional and sociable kitchen space. Adding a peninsula to an existing layout is possible and can greatly enhance the overall design of your kitchen. We specialize in creating custom solutions that fit seamlessly into your current space, keeping in mind functionality, style, and budget. With our expertise and passion for innovative designs, we can transform your kitchen into a hub where life’s best moments unfold. Get in touch with our team today to see how we can help elevate your kitchen design! So don’t wait, contact us now and let’s create the perfect kitchen for you!
