Faucet handle stops are the small plastic or metal pieces that limit how far a faucet handle can turn. They help regulate water flow and temperature, preventing the handle from being turned too far and potentially damaging the faucet or causing injury.
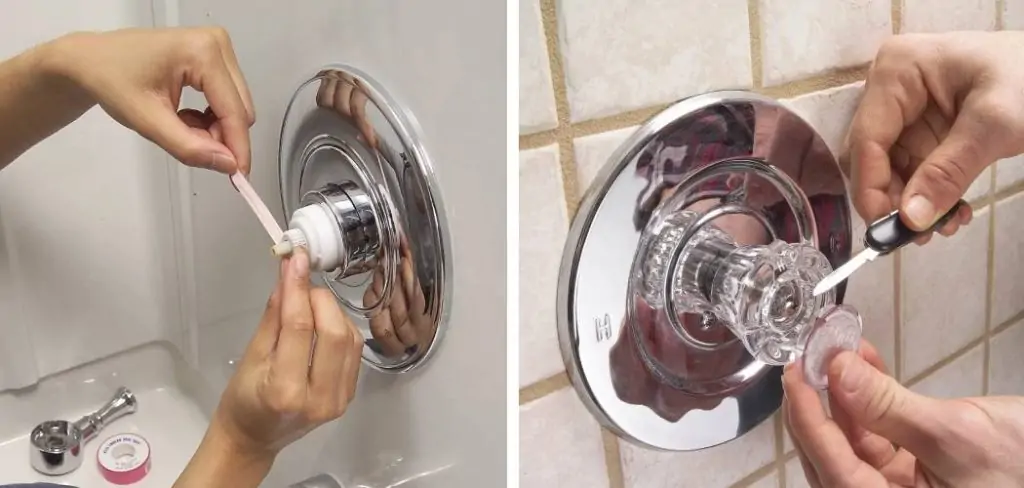
Adjusting the faucet handle stops is an important maintenance task that can prolong the life of your faucet and ensure proper water flow and temperature control. In this guide, we will discuss the steps for how to adjust faucet handle stops in a few simple and easy-to-follow steps.
What are Faucet Handle Stops?
Faucet handle stops, also known as temperature limiters or anti-scald valves, are small mechanisms that control the maximum temperature of water coming through your faucet. They are typically found in single-handle faucets and function by limiting how far you can turn the handle to adjust the water temperature. This prevents the handle from accidentally turning too far and resulting in dangerously hot water.
Why Adjust Faucet Handle Stops?
Adjusting faucet handle stops is crucial for maintaining a safe and comfortable water temperature in your home. Without proper adjustment, the water from your faucet may be too hot to use, posing a risk of scalding or burns. Furthermore, if the temperature limiters are not functioning correctly, it can affect the overall performance of your faucet, potentially leading to leaks or other issues. Regularly adjusting and maintaining your faucet handle stops will ensure that you have full control over the water temperature and prevent any potential accidents or damages.
7 Steps on How to Adjust Faucet Handle Stops
Adjusting faucet handle stops typically involves adjusting the internal components of the faucet to control water flow and temperature. Here’s a general guide on how to do it:
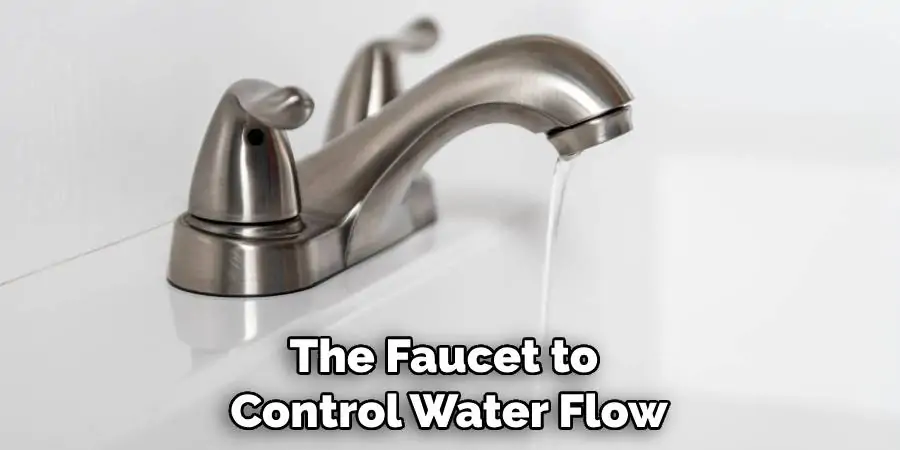
Step 1: Turn Off Water Supply
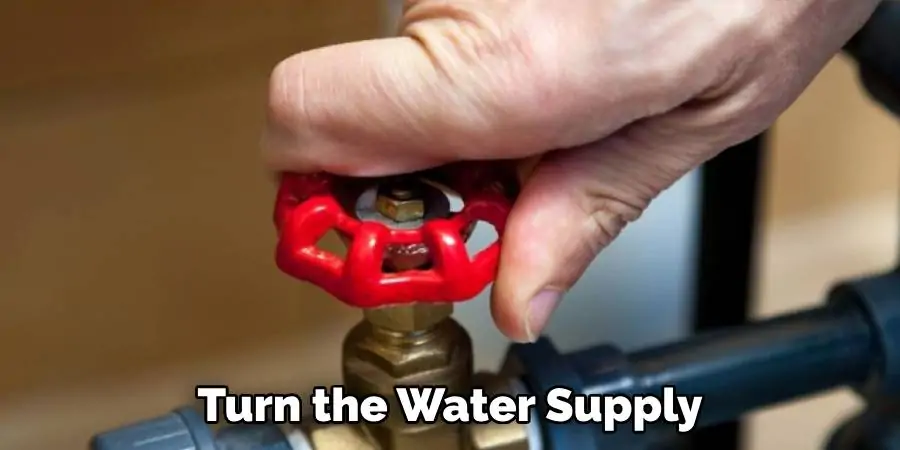
Before you start adjusting the faucet handle stops, turn off the water supply to the faucet. This is usually done by turning off the shutoff valves located under the sink. You can typically find these valves by looking beneath the sink for two knobs or levers attached to the plumbing. Turn these valves clockwise until tight to ensure the water is completely shut off to your faucet. This step is crucial to prevent any accidental water flow or leaks while you are making adjustments.
Step 2: Remove Handle
Use a screwdriver to remove the handle of the faucet. Depending on the type of faucet, you may need to pry off a decorative cap or cover to access the screw that holds the handle in place. The screw is often located under the cap or cover you just removed. It might be a flathead or Phillips-head screw, so ensure you use the correct screwdriver.
Once you locate the screw, gently turn it counterclockwise until the handle can be lifted off the faucet’s stem. Be careful to keep all parts together and note their arrangement for easier reassembly later.
Step 3: Access Cartridge or Valve
Once the handle is removed, you will see the cartridge or valve that needs adjusting to set the faucet handle stops correctly. The cartridge or valve can be recognized by its cylindrical shape, and it’s usually made of plastic or metal. If your faucet has a cartridge system, you might see a single unit that moves up and down or rotates to control water flow and temperature.
For faucets with a valve system, look for a separate hot and cold valve. To adjust the faucet handle stops, you may need to rotate or reposition the cartridge or adjust the screws on the valve to limit the handle’s range of motion. Remember, the goal is to modify the extent to which you can turn the handle, thereby controlling the maximum temperature of the water that flows out.
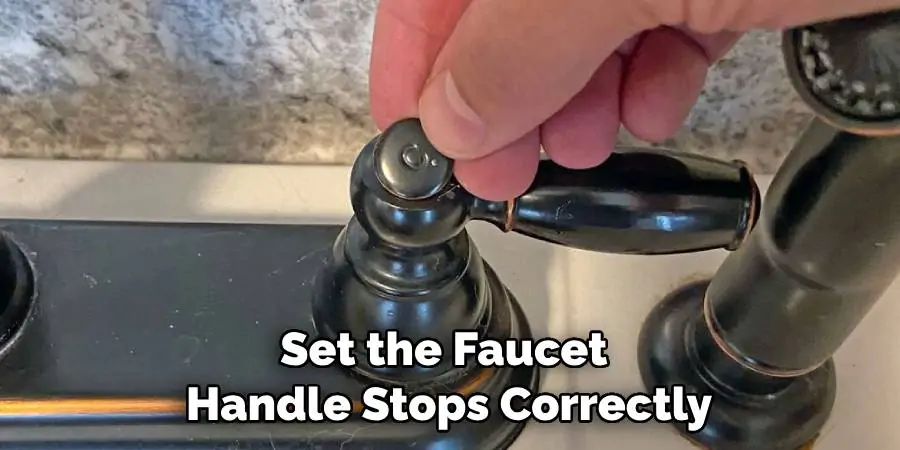
Step 4: Adjust Temperature Limit Stop
Many faucets have a temperature limit stop that can be adjusted to control the maximum hot water temperature. This is usually a plastic or metal piece that can be rotated or moved to increase or decrease the temperature limit. Adjust it according to your preference, but be cautious not to set it too high to avoid scalding.
Step 5: Reassemble
After making adjustments, reassemble the faucet by placing the handle back in position and securing it with the screw. Make sure everything is tightly secured. Carefully align the handle with the stem and slide it back into place. Once the handle is properly positioned, replace the screw and tighten it with your screwdriver. If there was a decorative cap or cover, snap or screw it back over the handle to complete the look of your faucet.
Step 6: Turn On Water Supply
Once everything is reassembled, turn the water supply back on by turning the shutoff valves under the sink counterclockwise. Carefully open the faucet to allow water to flow. Test the adjustment by turning the handle to its fullest extent to check the water temperature.
It’s important to do this gradually to avoid any sudden release of too hot or too cold water. If the water temperature meets your expectations and the range of motion feels right, the adjustment is successful. If not, you may need to repeat the adjustment process until the desired temperature and handle motion are achieved.
Step 7: Fine-Tuning
If the temperature or flow still isn’t to your liking, you may need to make further adjustments to the temperature limit stop or other internal components of the faucet. This might involve repeating the steps of accessing the cartridge or valve and fine-tuning the position of the temperature limit stop or adjusting the screws on the valve for more precise control over the water temperature.
Remember, safety is paramount, so it’s important to ensure that the hot water temperature is set at a level that prevents scalding. Regular maintenance and adjustments of your faucet handle stops not only extend the life of your faucet but also promote a safer, more comfortable water use experience in your home.
5 Things You Should Consider Before Adjusting Faucet Handle Stops
- Familiarize yourself with your faucet’s design and components before attempting to adjust the handle stops.
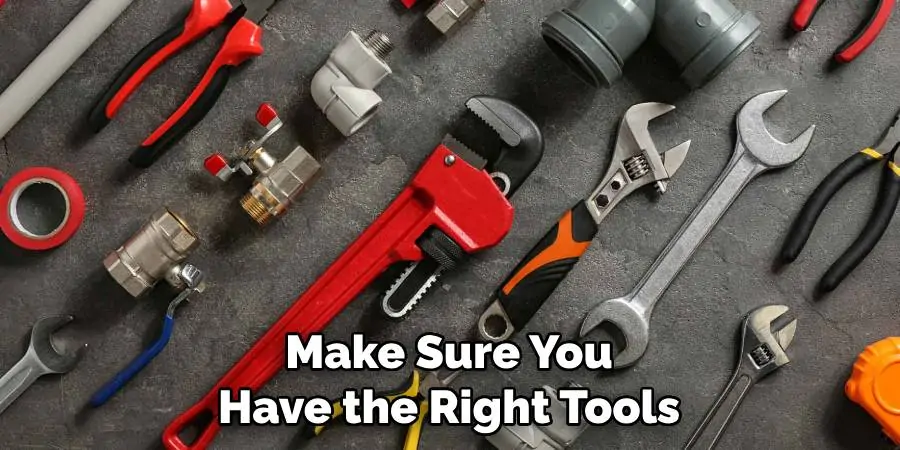
- Make sure you have the right tools, including a screwdriver, to remove the handle and access internal components.
- Ensure the water supply is completely shut off before making any adjustments to avoid accidents or leaks.
- Take note of the original position and arrangement of internal components before making adjustments for easier reassembly later.
- Be cautious not to set the temperature limit stop too high, which could lead to scalding hot water. Always test the water temperature gradually after making adjustments. By following these steps and considerations, you can successfully adjust your faucet handle stops and maintain a safe and comfortable water temperature for your use.
- Remember to regularly check and fine-tune the handle stops as needed to ensure optimal functionality and safety of your faucet. So, whenever you feel like your water is too hot or cold, don’t hesitate to adjust the faucet handle stops for a better water experience!
Frequently Asked Questions
Why Does My Faucet Handle Turn Too Far?
When you witness the unwarranted dance of a faucet handle, turning far beyond its expected limit, it’s a silent cry for attention—an all-too-common domestic quirk with a simple yet elusive solution. The mystery of “Why Does My Faucet Handle Turn Too Far?” unfolds not in the peculiar charm of over-rotation but in the overlooked mechanics of faucet handle stops. Behind the scenes, these tiny components play the role of unsung heroes, dictating the range of motion for your faucet with silent precision.
For the keen homeowner, a foray into learning ‘How to Adjust Faucet Handle Stops’ can transform a seemingly intricate task into an effortless act of domestic finesse. With the right guidance, a screwdriver, and some patience, you’ll find that a few careful turns can achieve the ballet of perfect plumbing—where every dip and sway of the handle is elegantly confined to its designated arc of functionality.
Can You Adjust Faucet Handle?
Yes, you can adjust the faucet handle stops to control the maximum temperature of the water flow. This allows for a more comfortable and safe water temperature. Just make sure to follow the proper steps and precautions outlined in this guide to avoid any accidents or damage during the adjustment process.
Regular maintenance and occasional fine-tuning of the handle stops can also help prolong the lifespan of your faucet. If you are unsure about making adjustments yourself, it is always best to consult a professional plumber for assistance.
How Do You Adjust the Valve on a Faucet?
To adjust the valve on a faucet, you will need to access the internal components of the faucet. This typically involves removing the handle and possibly other parts depending on the design of your faucet. Once you have access, locate the temperature limit stop and adjust it according to your desired water temperature range.
You may also need to fine-tune other components such as screws on the valve for more precise control. Remember to test the water temperature gradually and make adjustments as needed until you achieve your desired temperature and handle motion. Always be cautious and follow safety precautions while making any adjustments to your faucet’s valves.
Conclusion
In this guide, we have discussed the importance of how to adjust faucet handle stops for a better water experience in your home. Remember to always prioritize safety and refer to the manufacturer’s instructions before making any adjustments. With regular maintenance and occasional fine-tuning, you can keep your faucet functioning smoothly and safely for years to come. So go ahead and confidently make those adjustments, knowing that you now have the knowledge and tools to handle any faucet handle stop dilemma. Happy adjusting!
