A loose kitchen faucet is a common problem that many homeowners face. It can be frustrating to deal with and can also lead to water leakage or other issues if not fixed promptly. Fortunately, repairing a loose kitchen faucet is relatively simple and can be done by anyone with basic tools and some DIY knowledge. In this guide, we will walk you through the steps of how to repair a loose kitchen faucet.

Tools and Materials
Before starting the repair process, make sure you have the following tools and materials ready:
- Adjustable wrench
- Screwdriver (Phillips or flathead)
- Plumbers tape
- Replacement O-rings or washers (if needed)
10 Steps Guide on How to Repair a Loose Kitchen Faucet
A loose kitchen faucet can be more than a minor inconvenience. Not only does it affect the functionality of your sink, but it can also lead to water wastage and increased wear and tear. Luckily, tightening a wobbly faucet is usually a straightforward DIY task you can accomplish without needing to call in a plumber. Here’s a handy guide broken down into simple steps:
Step 1: Prepare Your Workspace
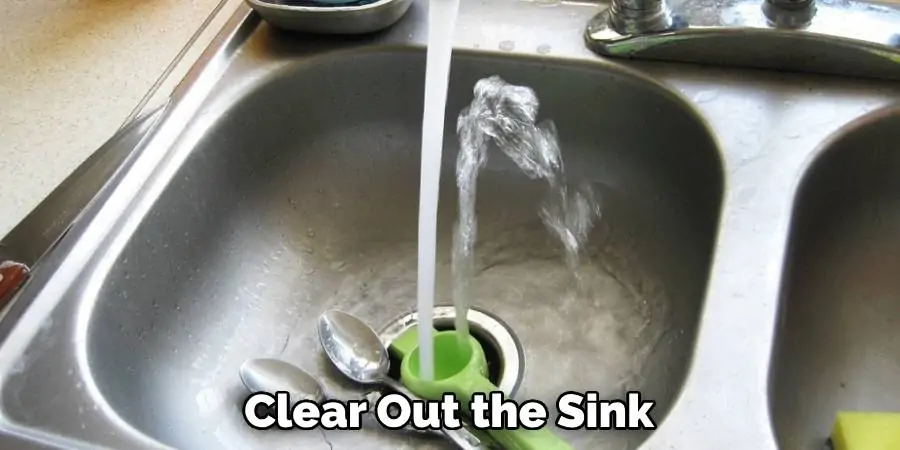
Before you dive in, clear out the sink and the cabinet space underneath it. This will give you enough room to work comfortably and locate the hardware you need to tighten. It’s important to have sufficient space to maneuver your tools and ensure that you can easily access the faucet’s components. Also, make sure to have a flashlight or sufficient lighting to see under the sink, where visibility might be limited.

Step 2: Shut Off the Water Supply
To avoid a potential water mishap, turn off the water supply to your kitchen faucet. Look for the water supply valves under the sink and rotate them clockwise until they stop. It’s crucial to ensure that the water is completely turned off; otherwise, you might be greeted with an unexpected spray of water when you start working on the faucet. Once the water is off, open the faucet to drain any remaining water in the pipes and relieve water pressure.
Step 3: Gather Your Tools
Once you have successfully turned off the water supply and drained the remaining water, it’s time to gather the necessary tools. Assemble your adjustable wrench, screwdriver, plumber’s tape, and any replacement O-rings or washers you have on hand. Having everything organized before you proceed will make your task easier and quicker, as you won’t need to pause your work to search for tools. Make sure your tools are in good condition and the correct size for your faucet to avoid any damage to the faucet’s components.
Step 4: Locate the Loose Area
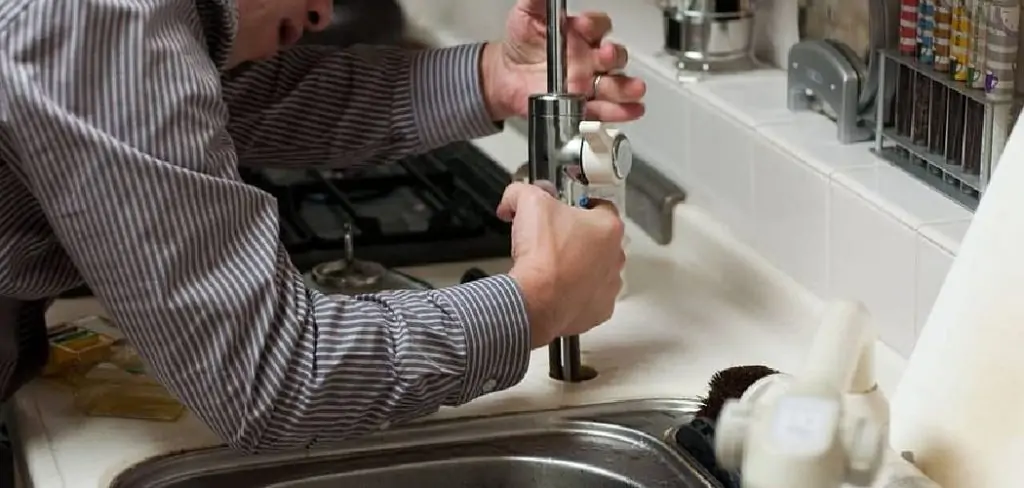
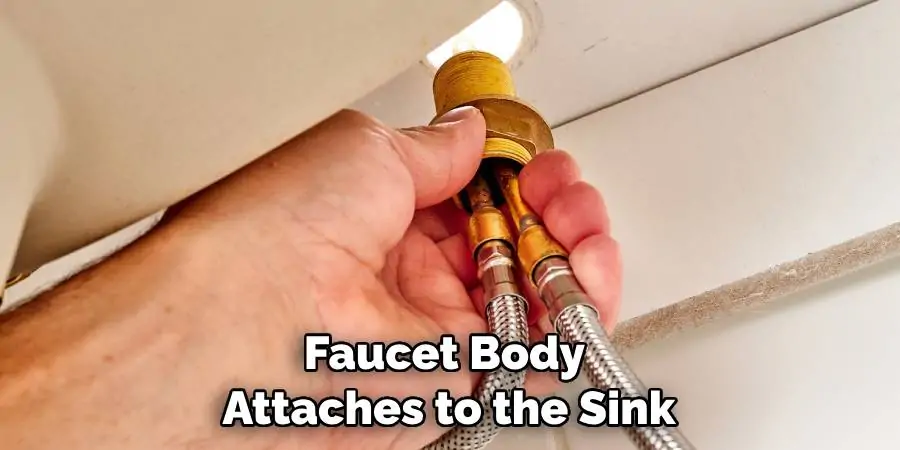
After gathering the necessary tools, use the flashlight to determine where the faucet is loose. The most common area needing adjustment is the base of the faucet or where the faucet body attaches to the sink itself. Feel around for any movement to identify the specific parts that require tightening.

Step 5: Tighten the Base
With your adjustable wrench, gently tighten the nuts located at the base of the faucet. Be careful not to over-tighten, as this can damage the nuts or the faucet itself. If your faucet design includes a decorative plate covering the faucet’s base, you may need to remove it to access the nuts. In many cases, tightening these will solve the issue.
Step 6: Check for a Loose Handle
If the faucet base feels secure but the handle is loose, locate the set screw on the handle. It’s often hidden under a decorative cap you can pry off with a flathead screwdriver. Use an Allen wrench to tighten the set screw. If you find that the screw won’t tighten or keeps spinning, there may be an issue with the threads inside the handle or on the set screw itself. In this case, you might need to replace the set screw or the handle. Remember, when dealing with screws, turn them clockwise to tighten and counterclockwise to loosen.
Step 7: Confirm Stability
After all the hardware has been tightened, gently wiggle the faucet side to side and check for any remaining movement. It should now be stable with no notable give. If all feels secure, it’s time to restore the water supply. Twist the water supply valves counterclockwise to their original position and watch for any signs of leaks or drips. Once the water is on, operate the faucet through its full range of motion and check both hot and cold water functionality. The absence of leaks or movement will confirm that you have successfully repaired your loose kitchen faucet.
Step 8: Inspect for Leaks
With the water running, carefully inspect the faucet and all the connections for leaks. Pay special attention to the areas around the nuts and the base of the faucet. Should you find a leak, turn off the water supply again and attempt to re-tighten the nuts with the adjustable wrench, ensuring not to apply excessive force. If the issue persists, you might need to examine the faucet for worn-out O-rings, gaskets, or washers that may require replacement. Once you’ve made the necessary adjustments or replacements, restore the water supply and check again to ensure the leak has been effectively fixed.
Step 9: Test Over Time
Use the faucet as normal, but keep a watchful eye on it over the next few days. Make sure it remains tight and does not develop any leaks. If you notice any drippings or the faucet becoming loose again, it may be an indication that there is a more substantial issue at play, such as worn-out internal parts that require replacement. Regular monitoring will help you catch any small problems before they escalate into bigger, potentially costly repairs.

Step 10: Know When to Call a Professional
If the faucet continues to loosen or if you spot a significant leakage problem, it might be time to call a plumber. Sometimes a recurring issue can indicate a bigger problem that requires professional attention. By following these steps, you’ll not only fix a nagging problem but also gain some home improvement skills along the way. Don’t forget to celebrate your DIY success!
Remember, regular maintenance can prevent loose faucets from becoming an issue in the first place. Incorporate checking the tightness of your kitchen faucet into your home maintenance routine, and you’ll keep everything in ship-shape!
Frequently Asked Questions
Why Does My Faucet Feel Loose?
Have you ever gone to wash your hands and been met with the unsettling wobble of a loose kitchen faucet? It’s a small yet pesky issue that many of us face, but the good news is, it’s often a simple fix. Understanding why your faucet feels loose is the key to a secure and stable solution. With the right tools and a bit of know-how, you can tackle this problem head-on and restore solidity to your sink setup.
In this essential guide on how to repair a loose kitchen faucet, we’ll navigate the common causes—from worn-out hardware to poor installation—and provide you with practical steps to ensure a steady flow in your daily routine. Say goodbye to the wiggle and hello to confidence each time you turn that knob.
How Do You Tighten a Kitchen Sink Base?
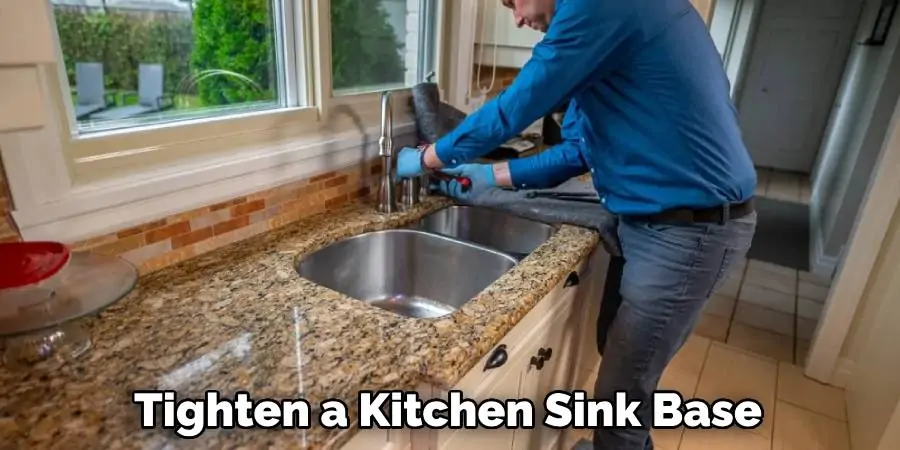
To tighten a kitchen sink base, locate the mounting nuts that secure the faucet base to the sink. These are typically located under the sink, where the faucet tailpiece meets the sink’s surface. Use an adjustable wrench or a basin wrench to turn the nuts clockwise, ensuring that you do not over-tighten them, which could damage the nuts or the sink material.
Check the stability of the faucet from above after each adjustment to make sure that it’s secure. If the base uses a mounting plate, make sure it’s aligned properly and that all screws are tight. Remember to keep the area well-lit and ensure that you have cleared any items that might get in the way during the process.

Is There a Tool to Tighten Kitchen Faucet?
Yes, there is a specialized tool called a basin wrench that is designed for tightening faucets in hard-to-reach places, such as under the sink. This wrench has a long handle and a swiveling jaw that can grip onto the mounting nuts of a faucet. Its extended reach and angled grip provide better leverage than a standard adjustable wrench, making it easier to tighten or loosen nuts in confined spaces.
Furthermore, for faucets with particularly difficult-to-access nuts, there are telescopic basin wrenches that can expand to give you even more reach. When using any tool under the sink, be sure to maintain a firm grip and move slowly to avoid slipping and potentially damaging your plumbing.
Conclusion
In this guide, we have covered the common causes of a loose kitchen faucet and provided you with practical steps on how to repair a loose kitchen faucet. By following these steps, you can easily fix this annoying problem and save yourself from costly repairs down the road. Remember to always use caution when working with plumbing and know when it’s time to call in a professional for help. With regular maintenance checks, you can prevent loose faucets from becoming an issue in the first place and keep your sink setup in top-notch condition. Happy fixing!
