Delta kitchen faucets are great additions to any kitchen. They come in various styles and finishes, making it easy to find one that matches your kitchen decor. However, like any other faucet, they may require replacement or removal after years of use. In this guide, we’ll detail a straightforward process on how to remove Delta kitchen faucet safely and efficiently. Whether you are a DIY enthusiast or attempting this for the first time, our step-by-step instructions will assist you in tackling this task with confidence. Let’s get your old faucet out and ready for an upgrade or repair.

Tools You Will Need
- Adjustable wrench
- Basin wrench
- Channel-lock pliers
- Screwdriver
- Towel or rag
- Penetrating oil (optional)
How to Remove Delta Kitchen Faucet: A Step-by-Step Guide
Removing a Delta kitchen faucet is a task that anyone with a little DIY spirit can tackle. Whether you’re replacing it with a new model for a kitchen update or simply making repairs, this guide will walk you through the process step-by-step. Gather your tools and let’s get started!
Step 1: Shut Off the Water Supply
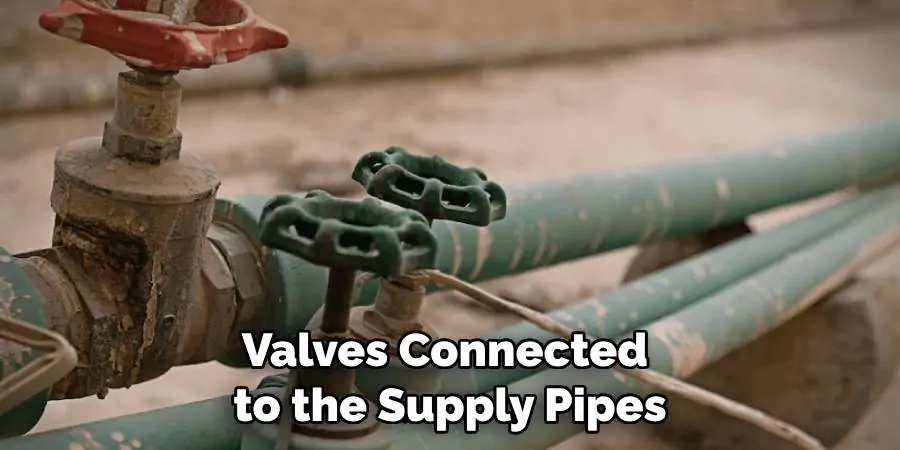
Before you begin the removal process, it’s crucial to shut off the water supply to your faucet. Locate the valves underneath your sink – these are typically found near the back of the cabinet. Turn each valve clockwise to close them completely and stop the flow of water to your faucet. After the valves are shut off, turn on the faucet to release any water and pressure left within the pipes. This will ensure that your workspace remains dry and helps to prevent any water-related accidents.
Step 2: Disconnect Water Lines
Once you’ve ensured that the water supply is safely turned off, place a towel or rag under the sink to catch any residual drips. Position yourself where you can comfortably reach the water supply lines, and using either an adjustable wrench or channel-lock pliers, gently but firmly grasp the nuts that connect the lines to the valves. Turn the nuts counter-clockwise to loosen them. If they’re tight, a few drops of penetrating oil can help ease the process. Once loosened, carefully disconnect the water lines from the valves. Be prepared for a small amount of water to escape as you do this.

Step 3: Remove the Mounting Nuts
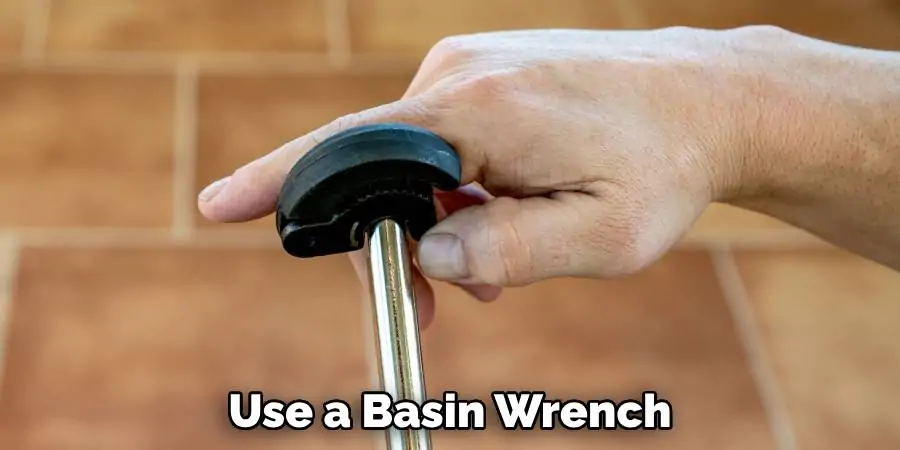
Locate the mounting nuts that secure the faucet to the sink. These are usually found under the sink, securing the faucet to the countertop or sink. Use your basin wrench to reach up behind the sink basin to loosen and remove these nuts. The basin wrench’s long handle and swiveling jaw can make this step easier, as it is designed to reach into tight spaces. Grip each nut with the wrench and turn it counter-clockwise to loosen. It may take some effort, but keep turning until the nuts can be unscrewed by hand. Once the mounting nuts are removed, the faucet should be free from the sink deck.
Step 4: Cut through Mineral Deposits
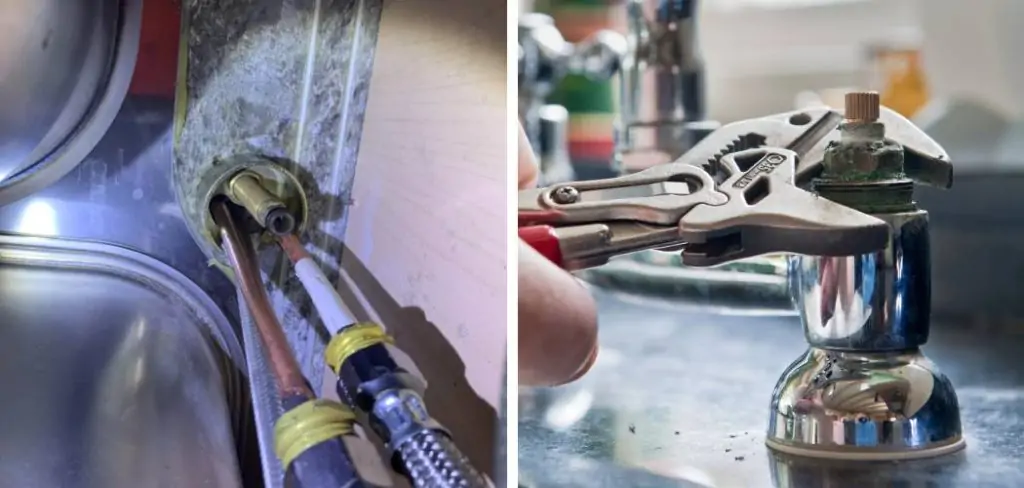
If the faucet seems stuck due to hard water or mineral deposits, apply a bit of penetrating oil around the base of the faucet and directly onto the mounting nuts. Allow the oil to sit for a few moments so that it can penetrate the build-up. This will help to break down the mineral deposits, making it easier to remove the nuts without causing damage to the faucet or sink. After letting the oil work its magic, gently attempt to twist the nuts again with the basin wrench. With persistence, the nuts should begin to loosen, enabling you to proceed with removing the faucet.
Step 5: Disconnect the Sprayer Hose (if applicable)
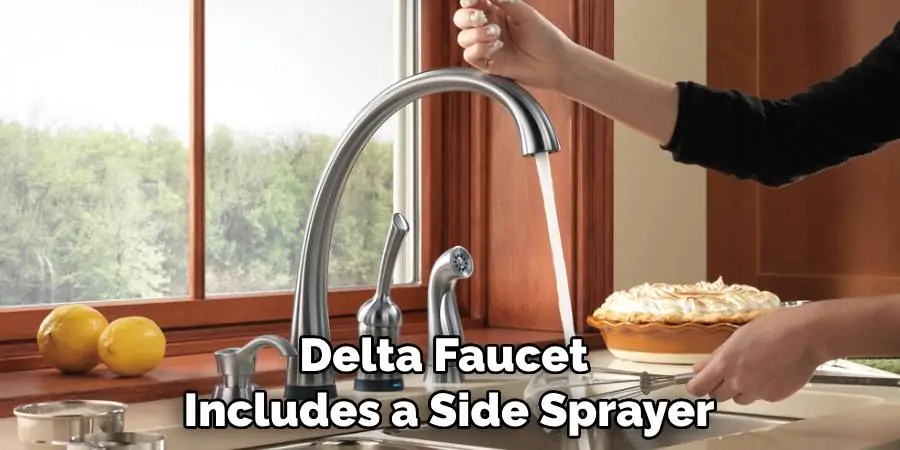
If your Delta faucet includes a side sprayer, take a moment to disconnect the hose linked to it before attempting to remove the faucet entirely. Typically, the side sprayer will be attached via a quick-connect fitting. To disconnect it, locate the fitting and press the ring inward while simultaneously pulling the hose downwards. This action should release the hose, allowing you to move it aside and continue with the faucet removal process.

Step 6: Remove the Faucet
Once all the mounting nuts are detached, you can gently lift the faucet away from the sink’s surface. If the faucet does not budge, it’s essential to double-check that all nuts and hoses have been completely disconnected. Ensure that there are no remaining nuts hidden beneath the sink’s deck and the sprayer hose (if present) has been fully released. Sometimes, a faucet can feel secured due to remaining mineral deposit adhesion. In such cases, gently wiggle the faucet to loosen the deposits and carefully remove the faucet without damaging the sink.
Step 7: Clean the Area
Once the faucet has been successfully removed, turn your attention to the sink’s surface. It’s important to clean the area thoroughly to ensure a pristine surface for the new faucet installation. Use a putty knife or a similar tool to gently scrape away any old plumber’s putty, mineral deposits, or built-up grime. For more stubborn residues, a mixture of vinegar and water can be applied to help dissolve mineral build-up. Wipe the area clean with a soft cloth or sponge, rinse with water, and then dry it to prepare the surface for the new faucet.
Additional Tips & Trick
- Keep a bucket or towels nearby to catch any excess water during the removal process.
- Use a basin wrench for hard-to-reach areas and to avoid damaging any pipes or connections.
- If you are unsure about any step, consult a professional plumber for assistance. And be sure to turn off the water supply before attempting any type of faucet removal or installation.
- Don’t forget to clean and inspect your new faucet for any defects or damages before beginning the installation process. This will save you time and frustration in the long run.
- Consider upgrading your supply lines for added peace of mind and reliability. It’s always better to be safe than sorry when it comes to plumbing components.
- Have all necessary tools and materials ready before beginning the removal process to save time and prevent causing any additional damage.

By following these tips, you can successfully remove a kitchen faucet and install a new one without any issues. Remember, always prioritize safety and caution when working with plumbing components. Good luck on your DIY project!
Frequently Asked Questions
Do I Need Special Tools to Remove a Delta Kitchen Faucet?
Tackling kitchen updates can lead to moments of uncertainty, especially when it comes to plumbing fixtures. If you’re pondering, “Do I need special tools to remove a Delta kitchen faucet?”, here’s some guidance that will clear the waters. In most cases, with the right know-how, removing a Delta kitchen faucet can be a straightforward DIY project. Establish your tool lineup with a few essentials like an adjustable wrench, a pair of channel-lock pliers, and perhaps a basin wrench for those hard-to-reach nuts.
While Delta faucets are designed with the home repair enthusiast in mind, you’ll want to arm yourself with patience and foresight. So, before you call the plumber, consider this your guide on how to remove Delta kitchen faucet with confidence and prowess. No special tools are required—just a dash of determination and a sprinkle of elbow grease will have you mastering the task like a pro.
How Do I Locate the Water Shut-off Valves for My Kitchen Sink?
The water shut-off valves for your kitchen sink are usually found under the sink itself. Look for two valves connected to the supply pipes, one for hot water and another for cold. These valves should be turned clockwise to shut off the water flow before beginning any faucet removal or replacement work. If these valves are not present or within reach, you may need to shut off the main water supply to the house, which is typically located in a basement, crawl space, or near the water meter.

Can I Reuse the Same Supply Lines for a New Faucet?
Whether you can reuse the same supply lines for a new faucet depends on the condition and compatibility of these lines. If your existing supply lines show no signs of corrosion, damage, and are compatible with your new faucet, then reusing them is a viable option. However, if you notice any wear and tear or if your new faucet comes with specific supply line requirements, it’s best to opt for new lines to ensure a secure and leak-free installation. Always consider the age of your supply lines as well; if they are several years old, replacing them during your new faucet installation might be the prudent choice for long-term reliability.
Conclusion
In this guide, we have discussed how to remove Delta kitchen faucet with ease and confidence. We’ve covered the basic steps and tips for locating and shutting off the water supply as well as determining whether you can reuse your existing supply lines for a new faucet. With this knowledge, you can confidently tackle any kitchen faucet removal or replacement project that comes your way. Remember, always read the manufacturer’s instructions for your specific faucet and use caution when handling any tools or plumbing components. Happy DIY-ing! So, you can now get started on installing your new Delta kitchen faucet with confidence and ease! Happy DIY-ing!
