Drilling a hole in a stainless steel sink may seem like a daunting task, but with the right tools and techniques, it can be done easily and efficiently. Whether you need an extra hole for a new faucet or to install a soap dispenser, this guide will provide you with step-by-step instructions on how to drill a hole in stainless steel sink. With careful planning and execution, you can achieve a clean, precise hole. Before you begin drilling, you must ensure that you have the appropriate drill bits for stainless steel, which is known for its hardness and resistance to traditional cutting methods.
Cobalt drill bits or carbide-tipped bits are highly recommended due to their ability to cut through tough metals without losing their edge. It’s also crucial to use cutting fluid or water to keep the drill bit cool during the process, as overheating can cause damage both to the bit and the sink surface. With the right preparation and steady hands, you can create a hole that meets your requirements without damaging your sink.
10 Essential Steps on How to Drill a Hole in Stainless Steel Sink
Stainless steel sinks combine durability with aesthetic appeal, but there may come a time when you need to customize your sink by drilling additional holes. Whether it’s for a new faucet, soap dispenser, or water filtration system, making alterations requires precision and the right tools. Follow these steps to drill a hole in your stainless steel sink without causing damage.
Step 1: Gather Your Tools
Before beginning, verify that you have all the necessary tools and materials listed. Ensure your drill bits are sharp and designed for stainless steel to avoid any damage to your sink surface. It’s also important to have your safety equipment, like safety glasses, at hand to protect your eyes from any metal shavings that may arise during the drilling process. Once you’ve gathered your equipment and prepared your workspace, you can proceed to the next step with confidence.
Step 2: Determine the Hole Placement
Decide where you want the hole to be placed. Measure carefully to ensure it fits the specifications of the fixture you plan to install. Use your marker or pencil to mark the desired location for the hole on the stainless steel surface. Then, place a piece of masking tape over the marked area to reduce drill bit slippage and to minimize any potential scratching of the stainless steel surface during the drilling process. The tape also allows you to redraw the mark if it gets removed in the drilling process.
Step 3: Mark the Spot
Use a center punch and a hammer to tap gently on the marked spot to create an indentation. This divot will serve as a guide for your drill bit, helping to keep it in place as you start the actual drilling. Apply just enough force to make a small indent without warping the surrounding metal. Once your center punch mark is made, you can begin the drilling process with greater accuracy.
Step 4: Don Masking and Safety Gear
Ensure that you are wearing safety glasses to protect your eyes from metal shavings. Ear protection is also important as metal drilling can be very loud. Consider wearing a dust mask to avoid inhaling any fine particles. Wear heavy-duty gloves to safeguard your hands from sharp edges and to maintain a firm grip on the tools. Once fully equipped with the appropriate gear, you’re ready to move on to the most critical phase of your project—drilling into the stainless steel.
Step 5: Start Drilling a Pilot Hole
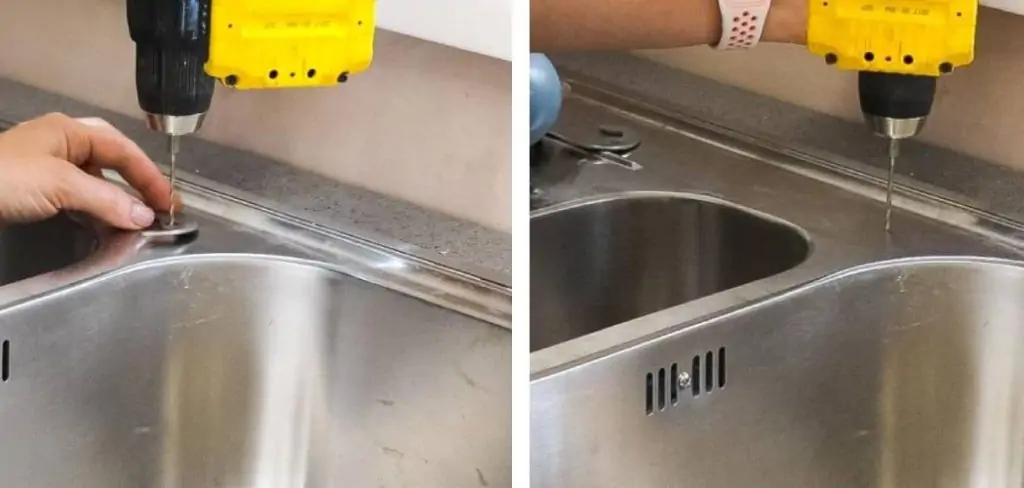
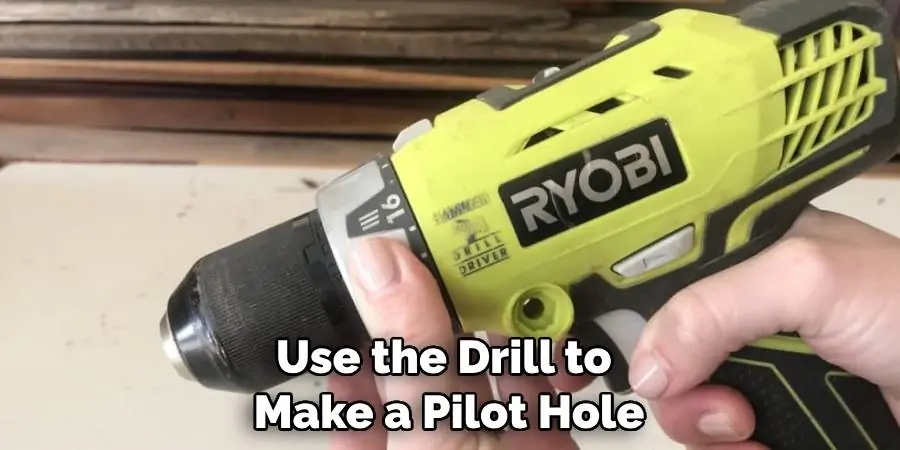
Attach a small HSS drill bit to your power drill. Apply a few drops of cutting fluid to the marked spot to lubricate. Use the drill to make a pilot hole at low speed, applying steady, moderate pressure to the back of the drill. Keep the drill perpendicular to the steel surface to ensure a straight hole. Allow the specially designed bit to cut through the metal gradually; do not rush this process as too much speed can overheat the bit and cause it to lose its hardness. Pause periodically to add more cutting fluid, which will help in keeping the drill bit cool and prolong its life. Once the pilot hole is complete, you’re set to proceed with a larger bit for your final hole size.
Step 6: Swap to a Larger Drill Bit or Hole Saw
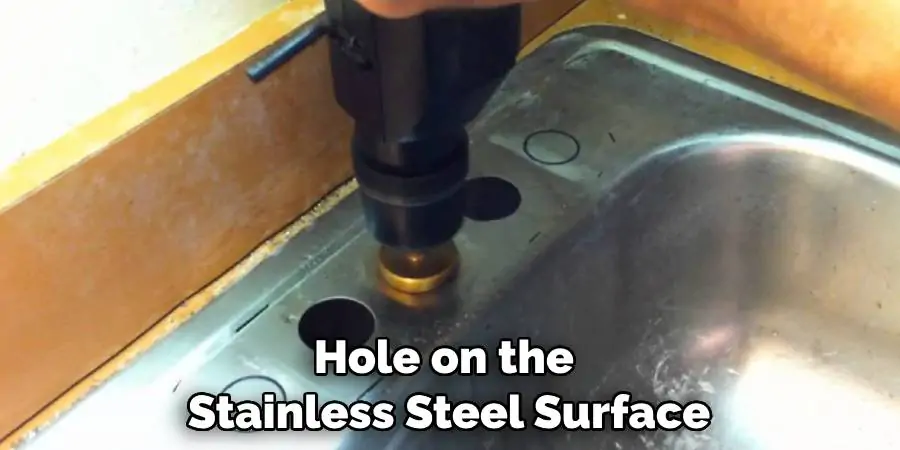
Once the pilot hole is drilled, it’s time to switch to a larger drill bit or opt for a hole saw attachment, depending on the size of the hole you need. If you’re employing a hole saw, ensure it is equipped with a pilot bit at its center to guide the cutting teeth into the correct position using the pilot hole. Carefully attach the larger drill bit or hole saw to your power drill, and once again apply cutting fluid to reduce friction and heat buildup. Resume the drilling process with a steady hand and moderate pressure, allowing the tool to do the work at a speed that will not compromise the integrity of the drill bit or hole saw.
Step 7: Apply Cutting Fluid and Start Drilling
Apply more cutting fluid to reduce heat from friction, which can cause the bit to become dull. Keep the drill at a low speed and steady pressure to cut through the steel without overheating the bit or burning the steel. Maintain a consistent speed, and be patient as the bit or hole saw carves into the metal. It’s important to occasionally withdraw the bit slightly to clear out any metal shavings and apply additional cutting fluid. This practice not only cools the bit but also ensures a cleaner cut and reduces the chance of the bit jamming. Continue this process until you achieve a breakthrough, then slowly remove the drill bit from the hole to avoid any jagged edges.
Step 8: Smooth the Edges
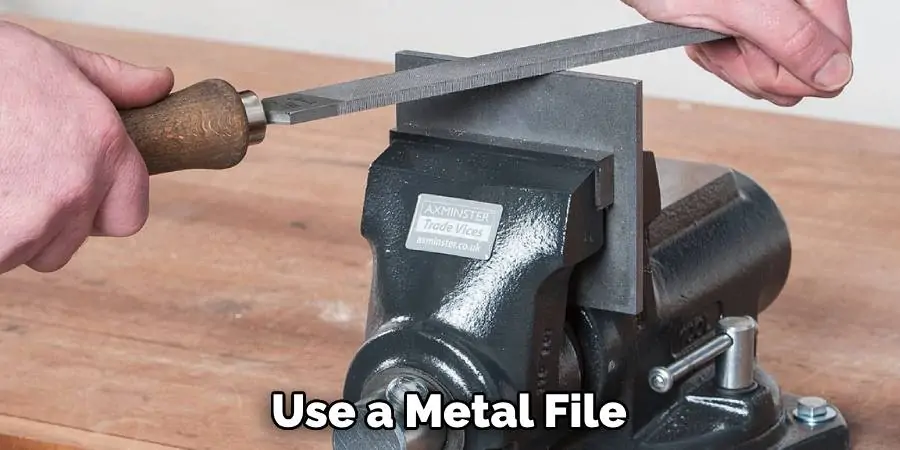
After successfully drilling your hole, you’ll likely find that burrs or sharp edges have formed around the circumference. To achieve a clean finish and prevent any potential cuts or snags, it’s essential to smooth these areas. Use a metal file with the appropriate coarseness for your material to gently file down the edges. Alternatively, a deburring tool is designed specifically for this purpose and can make the process more efficient. Whichever tool you choose, work around the edge carefully in a clockwise or counterclockwise direction, ensuring the entire edge is evenly smoothed to your satisfaction.
Step 9: Clean the Surface
Once the edges are smooth and free of burrs, it’s time to focus on cleaning the work area. Begin by wiping down the surface of the sink to remove any metal filings or residual cutting fluid. Be thorough, as metal shavings left behind can cause rust spots or embed into the sink’s surface. Carefully peel off the masking tape, ensuring not to scratch the finish of your sink. Then, give your sink a thorough washing with soapy water, rinse well, and dry it to reveal the pristine, newly drilled hole, ready for the next stage of your project.
Step 10: Install Your Fixture
With your newly drilled hole prepared, you are now in a position to install the fixture. Adhere closely to the manufacturer’s instructions to ensure a proper fit. It’s vital to make sure the fixture sits snugly to thwart any potential leaks or gradual loosening. If your fixture comes with gaskets or rubber seals, confirm they are properly seated to create a watertight barrier. When affixing any nuts or washers, hand-tighten them first, then finish with a wrench, but be mindful not to over-tighten as this can damage the fixture or sink material. With careful installation, your fixture should be set firmly in place, offering a reliable function for the foreseeable future.
Additional Tips
- Always double check the hardness of your stainless steel sink before selecting a drill bit.
- Use cutting oil or lubricant to reduce friction and prevent overheating while drilling.
- Avoid using cheap or dull bits, as they can cause damage to both the sink and the bit itself.
- If you’re unsure about drilling on your own, it’s best to seek professional help.
- Remember to measure and mark the spot where you want to drill before starting.
- After drilling the hole, use sandpaper or a deburring tool to smooth out any rough edges around the hole.
- Keep extra bits on hand in case one breaks during the drilling process.
- Always read and follow the manufacturer’s instructions for the drill and drill bits.
- Be patient and take breaks if needed, as drilling through stainless steel can be a slow and steady process.
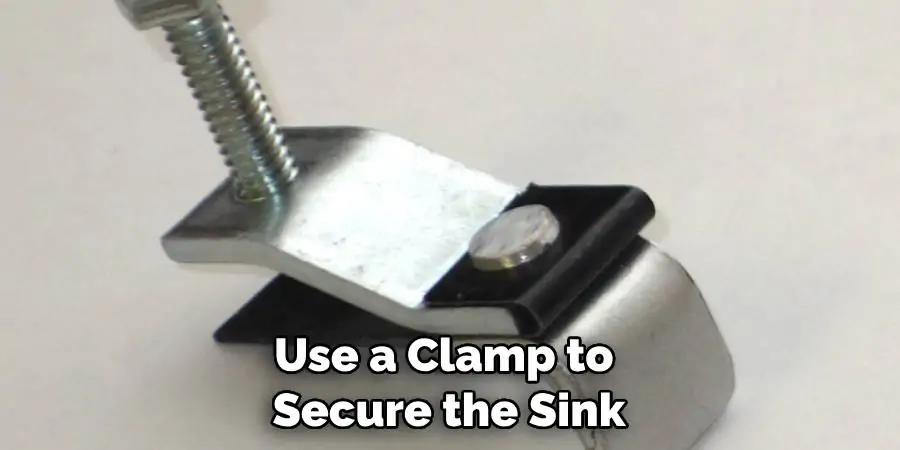
- If possible, use a clamp to secure the sink in place while drilling to avoid any movement.
- Lastly, always clean up any metal shavings or debris after drilling is complete. They can cause injury if left on the sink or floor.
With these additional tips, you’ll be well-equipped to successfully drill a hole in your stainless steel sink. Remember to always prioritize safety and take your time, and you’ll have no trouble completing this task. Happy drilling!
Frequently Asked Questions
Can I Drill a Hole in My Stainless Steel Sink?
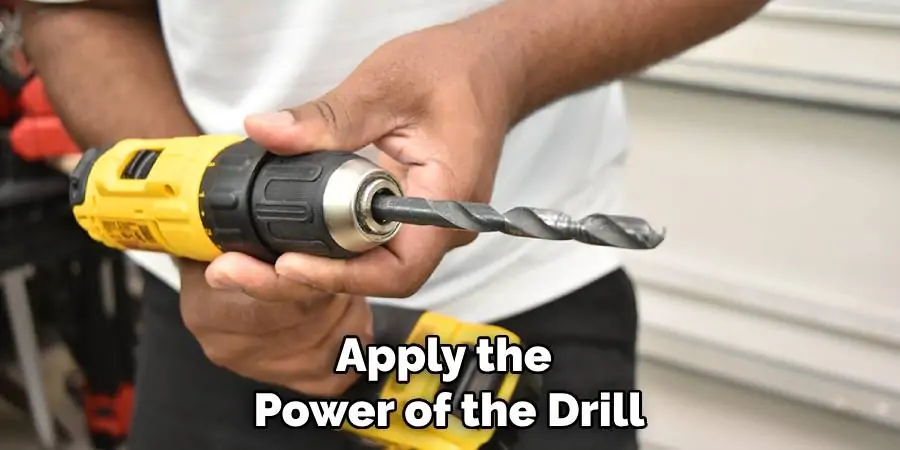
Standing at the precipice of innovation and necessity, homeowners often ask, “Can I drill a hole in my stainless steel sink?” The answer is a triumphant yes, and the process is within your grasp. Whether it’s to accommodate new fixtures or to make room for additional accessories, learning how to drill a hole in stainless steel sink is a crafty endeavor that merges precision with practicality. Armed with the right tools—a carbide or diamond-tipped drill bit—and a steady hand, you can transcend the limits of your kitchen’s design. Safety goggles on, take a calming breath, measure thrice, and then, gently at first, apply the power of the drill. With patience, the stainless steel will yield, and so, a new pierce for potential blooms from the metallic garden of your sink.
Do You Need a Special Drill Bit for Stainless Steel?
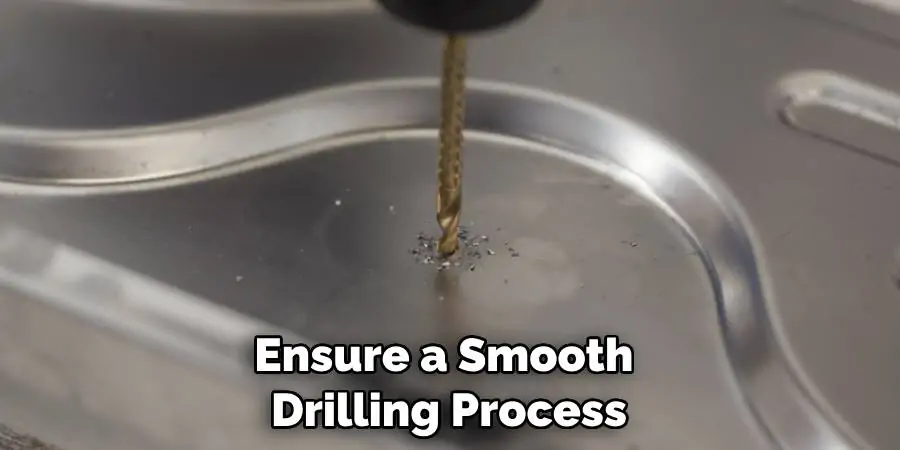
Yes, you will need a specialized drill bit to effectively penetrate stainless steel. High-speed steel (HSS) bits are often recommended for their durability and heat resistance. For thicker gauges of stainless steel, cobalt bits or carbide-tipped bits may be required due to their harder composition and superior lifespan. It’s essential to select a bit that matches the hardness of the stainless steel to prevent damage to either the sink or the bit. Remember to operate at a stable speed and apply steady pressure to ensure a smooth drilling process.
What is the Best Type of Drill Bit for Stainless Steel?
The best type of drill bit for stainless steel would be a cobalt bit or a carbide-tipped bit. Cobalt drill bits are made from solid cobalt steel alloys and are known for their high resistance to heat and friction, making them ideal for drilling into tough metals like stainless steel. Carbide-tipped bits, while more brittle, offer a sharper cutting edge that is perfect for creating clean, precise holes. When working with these bits, it’s crucial to maintain a low drilling speed and apply consistent pressure to avoid overheating and damaging the bit.
Conclusion
This guide will provide you with step-by-step instructions on how to drill a hole in stainless steel sink. Remember to take your time, use the proper tools and techniques, and always wear protective gear. With these tips in mind, you’ll be able to easily make any necessary modifications to your stainless steel sink without causing any damage. So go ahead, add that soap dispenser or sprayer nozzle you’ve been wanting – with this guide, it’s as easy as drilling a hole. Happy drilling!
