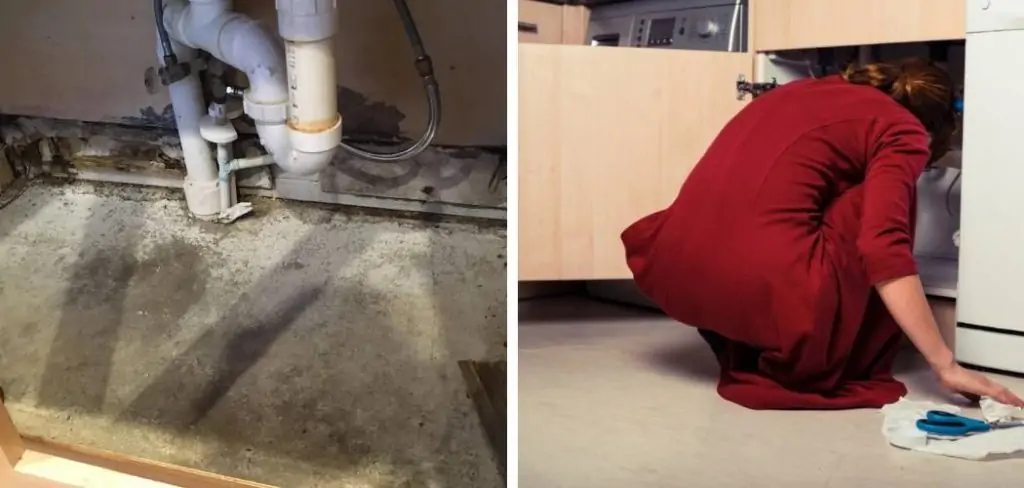
There are several places in our homes that can be prone to mold and mildew growth. One of the most common areas is under the sink, where moisture from leaking pipes or dampness from condensation can create the perfect environment for mold to grow. Mold is not only unsightly, but it can also cause health problems such as allergic reactions and respiratory issues. That’s why it’s important to know how to remove mold from under the sink and prevent it from coming back. In this guide, we’ll take a look at the steps on how to remove mold from under sink effectively.
How to Prevent Mold Growth Under the Sink
Before we dive into the steps of removing mold, let’s discuss some preventive measures that can help stop mold growth under your sink in the first place.
- Fix any leaks: As mentioned earlier, one of the main causes of mold growth under the sink is leaking pipes. It’s essential to fix any leaks as soon as you notice them to prevent moisture buildup.
- Keep the area dry: After using the sink, be sure to wipe down the area and dry it thoroughly. This will prevent any remaining moisture from promoting mold growth.
- Use a dehumidifier: If your home tends to have high levels of humidity, consider using a dehumidifier in areas prone to mold growth, such as under sinks.
- Check for ventilation issues: Poor ventilation can also contribute to mold growth under the sink. Make sure that the area is well ventilated to reduce moisture buildup.
How to Remove Mold From Under Sink: A Step-by-Step Guide
Discovering mold under your sink can be a worrying experience. Not only is mold unsightly, but it can also pose health risks for everyone in your home. To tackle this problem effectively and prevent it from returning, follow this simple yet comprehensive guide to removing mold from under your sink.
Step 1: Gear Up for Safety
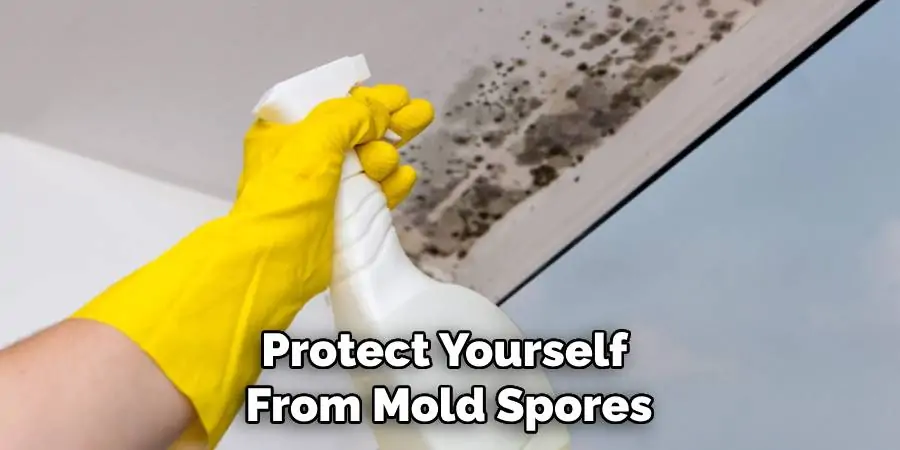
Before you dive into the mold removal process, make sure you have the right protective gear. Put on rubber gloves, safety goggles, and a mask or respirator to protect yourself from mold spores which can be harmful if inhaled or if they come into contact with your skin. Mold spores can cause allergic reactions, respiratory problems, and other health issues, so it’s essential to minimize your exposure during the cleaning process.
Step 2: Ventilate the Area
Proper ventilation is crucial when addressing mold growth to disperse mold spores that get stirred into the air during cleaning. Begin by opening any nearby windows and doors to create a flow of fresh air. If possible, use a fan to further circulate the air and direct mold spores outside. This step not only helps to protect your health but also aids in the drying process, which is essential for preventing mold from reappearing. Remember to keep the area well-ventilated throughout the entire cleaning process.
Step 3: Identify the Source of Moisture
Mold develops in damp environments, so it’s essential to find the cause of moisture and fix it. Check for leaky pipes, drips, or condensation issues. Addressing the root cause is crucial for mold prevention. Inspect all the plumbing under the sink, including the drainpipe and water supply lines, for any signs of leaks. If you find any moisture, tighten the connections or replace worn-out parts as needed. Sometimes, condensation can form on cold pipes, so consider insulating them to prevent future moisture accumulation. Remember, without fixing the underlying moisture problem, mold is likely to return even after thorough cleaning.
Step 4: Empty the Cabinet and Clean Thoroughly
Before starting the actual cleaning, ensure to empty the cabinet completely. Take out all the items stored under the sink and set them aside. It’s essential to examine each item for mold growth or spores, cleaning them thoroughly before placing them back. Non-porous items such as plastics and metals can be cleaned with a mold-killing solution. Porous materials, however, might require specialized cleaning or, in severe cases, disposal if the mold cannot be entirely removed. Remember to wear protective gloves and a mask during this process to avoid skin contact and inhalation of mold spores. After cleaning, make sure all items are dry before returning them to the cabinet to prevent mold from redeveloping.

Step 5: Apply a Cleaning Solution
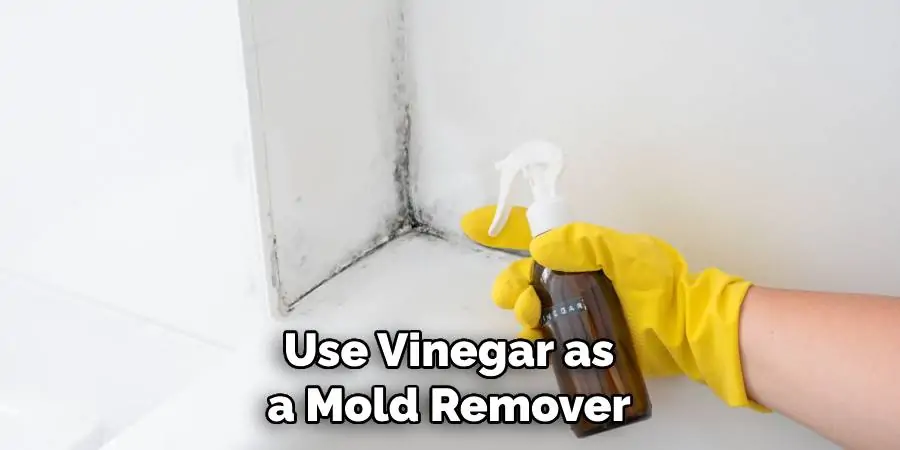
Once you are ready to tackle the mold, prepare your cleaning solution. A 1:1 mixture of water and white vinegar can be an effective natural choice. Simply combine equal parts of each in a spray bottle and shake well. Alternatively, you can select a commercial mold removal product; just be sure to follow the manufacturer’s instructions carefully.
For more stubborn mold problems, you might need a stronger solution. In such cases, mix 1 part bleach to 10 parts water. This solution should only be used in a well-ventilated area, and remember to wear gloves and a mask to protect yourself from harsh chemicals and mold spores. Whatever solution you choose, apply it liberally to the affected areas and let it sit for the recommended amount of time before scrubbing.
Step 6: Scrub Away the Mold
After allowing the cleaning solution to penetrate the mold, take a stiff brush or scouring pad and scrub the moldy areas vigorously. Ensure that the brush is abrasive enough to remove the mold but not so harsh that it damages the surfaces of your cabinets. For delicate areas, consider using a softer brush or a sponge to avoid any scratches or unwanted damage to the finish. Any loose spores should be wiped away immediately with a damp cloth to prevent them from spreading.
Step 7: Rinse and Dry the Area
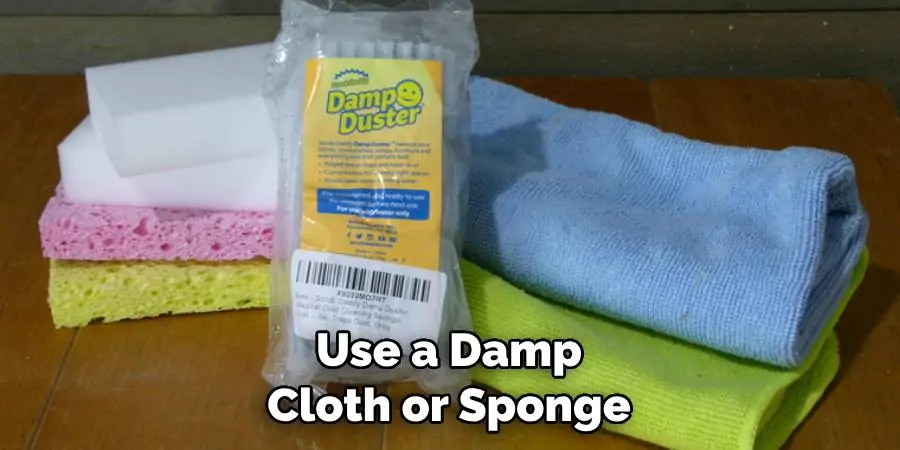
Once you’ve finished scrubbing, it’s critical to thoroughly rinse the area with clean water to remove any remaining traces of the cleaning solution. Use a damp cloth or sponge to delicately wipe the cabinet surfaces. Subsequently, dry the surfaces completely with a clean, dry towel or allow them to air-dry by keeping cabinet doors open. Remember, moisture is mold’s ally, so ensuring that every nook and cranny of your cabinets is completely dry is essential in preventing the recurrence of mold.
Step 8: Dispose of Materials Safely
After completing the mold removal process, it’s crucial to handle the cleanup responsibly. Place all sponges, brushes, and cloths that came in contact with mold into a plastic bag. Seal the bag tightly to contain any mold spores and prevent them from dispersing in the air. Dispose of this bag in an outside trash container to mitigate the risk of contaminating your indoor living space. Taking these precautions will help ensure that the mold spores are safely contained and won’t contribute to future mold issues in your home.
Step 9: Use a Dehumidifier or Silica Gel
To maintain a dry environment and deter future mold growth, consider the use of a dehumidifier in moisture-prone areas such as under the kitchen sink. This device will help regulate the humidity levels, making the space less inviting to mold. Alternatively, silica gel packets can be placed in strategic locations to absorb any excess moisture. These small packets are especially useful in contained spaces and can be replaced periodically to ensure ongoing protection against mold.
Step 10: Regularly Inspect and Maintain the Area
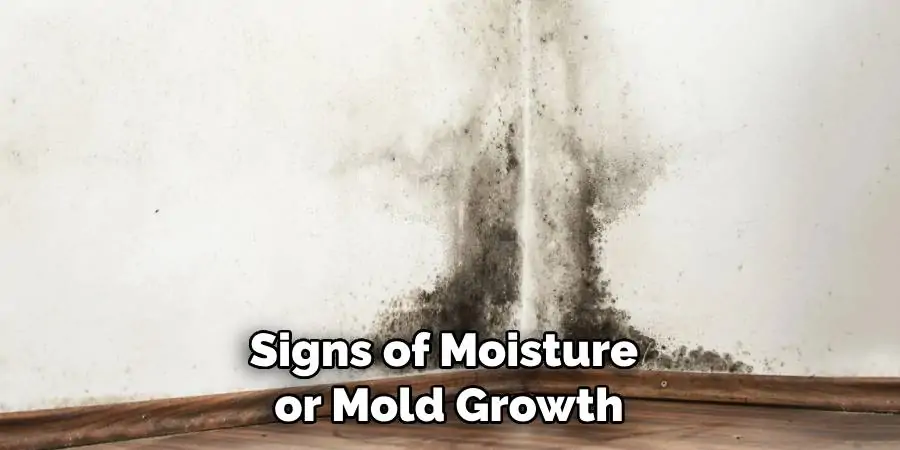
Occasionally check under the sink for signs of moisture or mold growth. Regular maintenance will help prevent mold from making a comeback. Mold can be more than just a nuisance; it can actually lead to health issues, particularly for those with allergies or weakened immune systems. By following these steps and maintaining a consistent cleaning routine, you can say goodbye to mold and enjoy a healthier, cleaner home. Remember to share this useful guide with anyone who might benefit from these practical mold removal tips!
Frequently Asked Questions
Why Do I Have Mold Under Sink?
Dark and damp corners under the sink create a hidden breeding ground for unwelcome guests in your home. You pull away the bottles of cleaner, only to be met by a sinister blotch of mold festering silently. It whispers tales of neglect and raises the alarm about moisture gone rogue. This invasion under the sink isn’t just an eyesore, it’s a health risk too. But battle lines can be drawn. Armed with the right knowledge and cleaning arsenal, you have the power to eradicate this fungal foe. Before long, “How to Remove Mold From Under Sink” shifts from a distress call to a tale of triumph over the lurking menace. Follow each step, from drying out to cleaning up, and reclaim the purity of your home sanctuary.
How Do I Stop Mold From Growing in My Sink?
Consistent cleaning and proper ventilation can help prevent mold growth in your sink area. It’s important to regularly dry off any excess moisture and remove any food or debris that may be trapped in the drain. Keep the area well-lit and ventilated, and consider using a dehumidifier if necessary. Additionally, fixing any leaks or plumbing issues will also aid in preventing mold growth.
Does Vinegar Kill Mold in Sink?
Yes, vinegar has natural anti-fungal properties that can effectively kill mold. To use vinegar as a mold remover, mix equal parts of white vinegar and water in a spray bottle. Spray the affected area and let it sit for an hour before wiping it clean with a cloth or scrub brush. For tougher mold stains, you can also use undiluted white vinegar.
Conclusion
in this guide, we have discussed the steps of how to remove mold from under sink and prevent it from growing in the first place. Regular cleaning and proper ventilation are key in keeping this fungal foe at bay. And in case of an invasion, vinegar can be a powerful natural remedy to effectively eliminate mold. With these tips and tricks, you can confidently combat mold and maintain a healthy and clean home environment. Remember to always prioritize safety and proper protective gear when dealing with mold removal, and seek professional help if needed. Here’s to a mold-free sink and a happier, healthier home! So don’t wait any longer – take action now and reclaim your sink from the grip of mold. Trust us, you’ll thank yourself later. Happy cleaning!
