If you have noticed that your Moen bathroom faucet handle is loose or wobbly, it’s important to tighten it as soon as possible. A loose handle can not only be annoying but also lead to leaks and even cause damage to the faucet itself. In this guide, we will take you through a step-by-step process on how to tighten a Moen bathroom faucet handle.
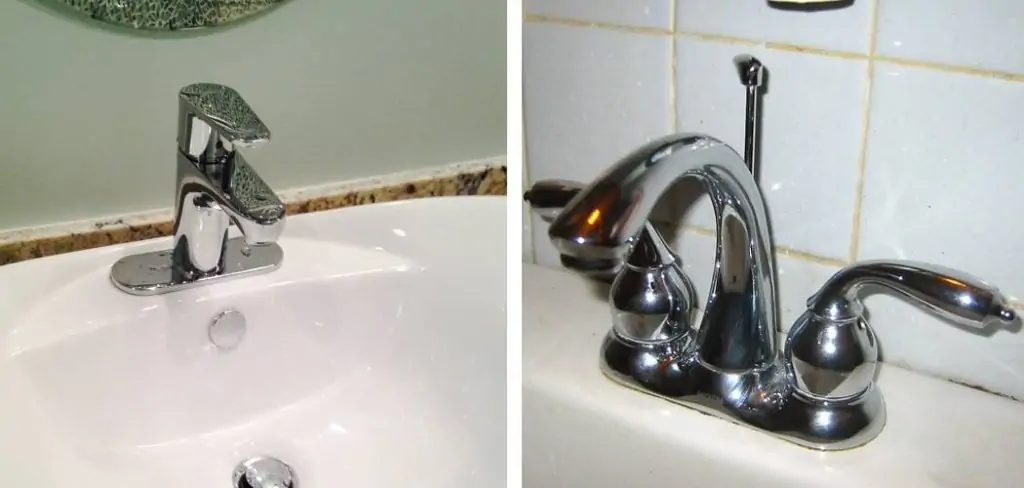
Step-by-step Process on How to Tighten a Moen Bathroom Faucet Handle
Moen is a popular brand for bathroom fixtures that combine beauty with function. Over time, the bathroom faucet handle can become loose, affecting its performance and even leading to leakages. Tightening a Moen bathroom faucet handle is a simple DIY task that you can complete in no time. Follow these steps to ensure your faucet handle is secure and functioning properly:
Step 1: Gather Your Tools
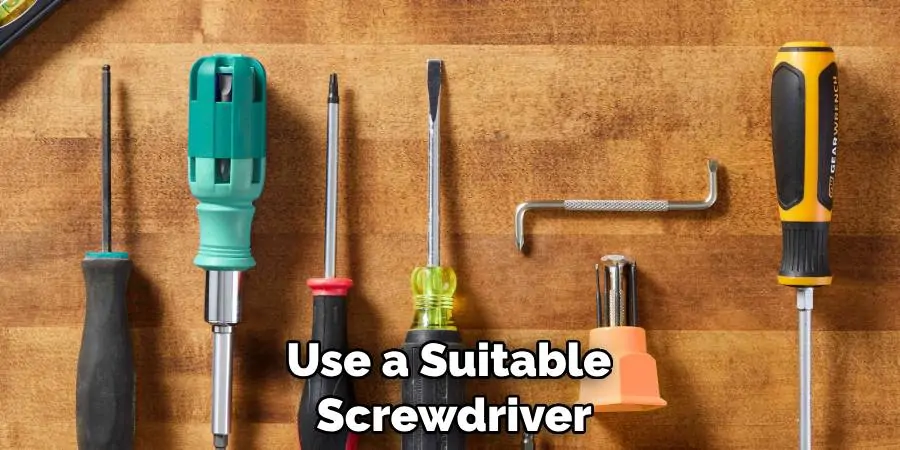
Before you begin the tightening process, it’s important to make sure you have all the necessary tools within reach. Typically, you’ll need:
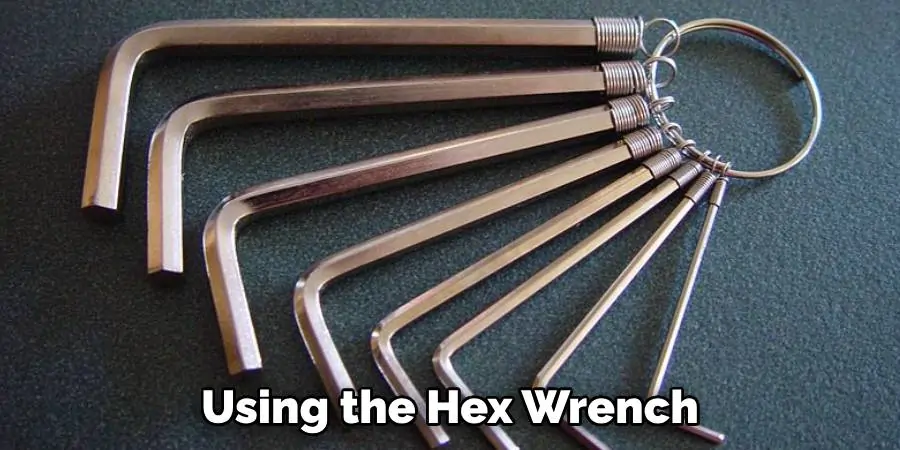
- A set of Allen wrenches or a hex key set
- A flathead screwdriver or a Philips head screwdriver, depending on the type of screw on your faucet
- An adjustable wrench or pliers
- A clean rag or cloth to protect the faucet’s finish
Gather these tools and lay them out on a flat surface near your workspace to ensure your tightening job goes smoothly and efficiently.
Step 2: Turn Off the Water Supply
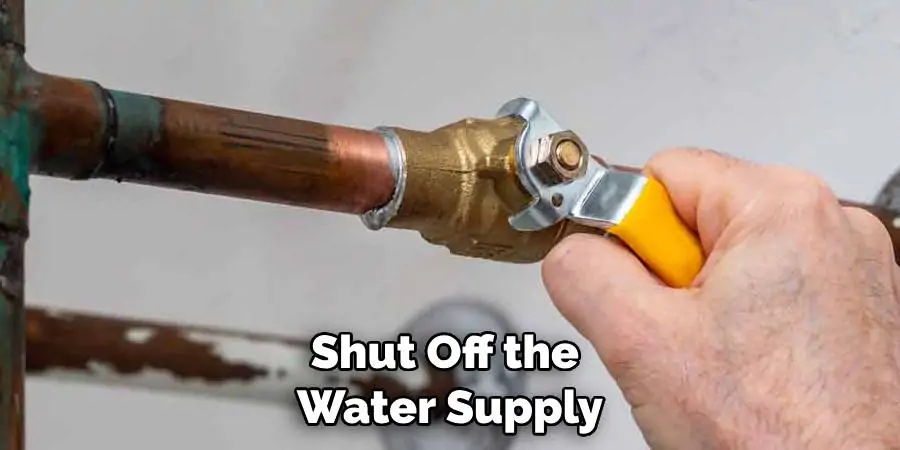
To ensure a safe repair without the risk of water spraying or spilling, it’s crucial to shut off the water supply to your faucet. Look beneath the sink for the water supply valves—there should be one for hot water and one for cold water. Turn both valves clockwise until they stop. This will halt the flow of water and allow you to work on the faucet handle without any surprises. Always double-check that the water is completely off by turning on the faucet and confirming no water comes out before you proceed to the next step.
Step 3: Identify the Type of Faucet Handle
Different Moen faucet handles are affixed to the base in a variety of manners. Some may have a decorative cap on the top or front of the handle, which conceals the screw that affixes the handle to the base. This cap can usually be pried off gently with a flathead screwdriver. Others might feature a set screw located on the side of the handle, which can be tightened or loosened using an Allen wrench or hex key. It’s important to identify which type your faucet has before proceeding, as this will determine the next steps in the tightening process.
Step 4: Remove the Handle Cap (if Applicable)
Once you’ve identified that your faucet handle has a decorative cap concealing the securing screw, you’ll need to remove it to proceed. Using a flathead screwdriver, carefully insert the tip under the edge of the cap. Apply gentle but firm leverage to pry the cap off. It’s advisable to wrap the rag or cloth around the screwdriver’s head to protect the faucet’s finish from scratches. With patience and care, the cap should pop off, allowing you access to the screw beneath.
Step 5: Tighten the Set Screw
Once the cap is off or if your faucet doesn’t have one, locate the set screw. Using the hex wrench, turn the set screw clockwise until it is tight. Be cautious not to over-tighten, as this can strip the screw and damage the handle, making future repairs more difficult. Once tightened, check the handle by gently moving it back and forth to ensure it feels secure and does not wobble. If the handle remains loose, you may need to tighten the set screw slightly more.
Step 6: Reassemble the Faucet Handle
After ensuring the set screw is adequately tightened, reattach the handle cap if one was removed during Step 4. Carefully align the cap with the handle, checking that it’s positioned correctly. Once in place, apply slight pressure until you hear or feel it snap securely onto the handle. It should sit flush with the rest of thehandle, with no gaps or movement, indicating that it is properly fitted and the faucet handle is reassembled. If your faucet design has additional parts like a setscrew cover or decorative elements, now is the time to reposition them as well. Finally, turn on the water supply and test the handle once more to confirm that the issue has been resolved and that the faucet is operating smoothly without any leaks or instability.
Step 7: Test the Handle
With the faucet handle now securely reassembled, it’s time to turn the water supply back on. Navigate back to the valve beneath the sink and turn it counterclockwise to restore the flow of water. Once the water is back on, test the handle’s movement. It should feel firm and secure without any wobble. Operate the faucet to check for a smooth water flow. There should be no leaks from around the handle when it is in the off position, as this would suggest a high-quality repair. If you do notice any leaks or the handle still has some play, you may need to shut off the water again and revisit the previous steps for further tightening or adjustment.
Step 8: Clean Up
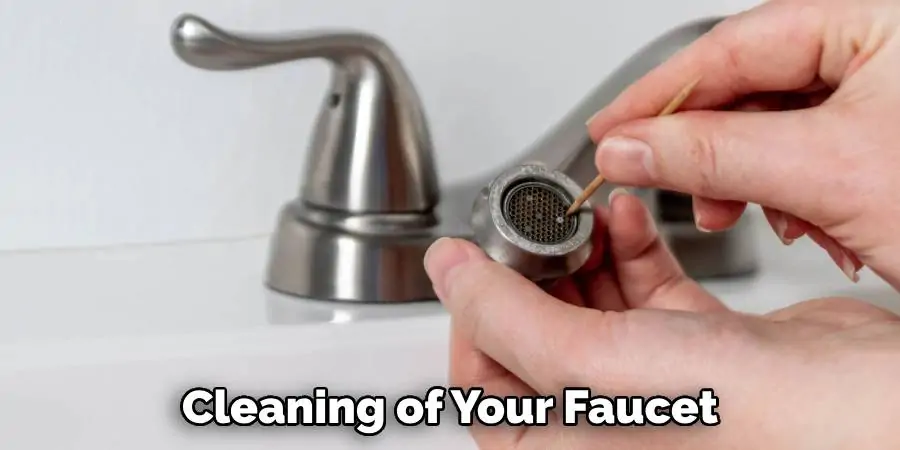
After your repair work is successfully completed and tested, it’s good practice to leave your workspace as clean as when you started. Wipe down the faucet and surrounding area with a soft cloth to remove any fingerprints, smudges, or tool marks. Regular maintenance, including a routine cleaning of your faucet, can go a long way in preventing mineral buildup and ensuring smooth operation, which can help prevent future issues. For best results, use a cleaner appropriate for your faucet’s finish, and avoid abrasive materials that could scratch or damage it.
Frequently Asked Questions
Why is My Faucet Handle So Tight to Turn?
As the morning sun casts its golden beams across your sleepy face, you shuffle towards the sanctity of your bathroom, yearning for the comfort of a warm splash. You reach out, half-awake, fingers curled around the faucet handle, but it resists with an unexpected defiance. Frustration mounts as you wonder, “Why is my faucet handle so tight to turn?” The answer often lies hidden within the threads and valves that compose its core, lurking quietly as mineral deposits, corrosion or a misaligned washer conspire against your morning routine.
But fear not, for conquering this steely grip can be as straightforward as learning how to tighten a Moen bathroom faucet handle. With the right tools and a dash of patience, you can transform this rigid adversary into a compliant friend, ensuring your day flows as smoothly as the water that finally bursts forth in a serene cascade.
How Do You Fix a Spinning Faucet Handle?
A spinning faucet handle, unresponsive to your grasp, often indicates a dislodged or broken component within the mechanism. Such a predicament can turn the simple act of opening a tap into an exercise in futility. To address this, one must first shut off the water supply and disassemble the handle, taking care to inspect the set screw, cartridge or stem for any signs of damage. Replacement parts are usually readily available and can be installed with minimal tools. Reassembling the handle correctly and tightening it to the manufacturer’s specifications should restore functionality and bring an end to the handle’s aimless spinning.
How Do You Tighten a Loose Faucet?
Tightening a loose faucet handle is often a minor maintenance task that homeowners can accomplish without professional help. The process usually involves uncovering the set screw, which secures the handle to the faucet’s cartridge stem. This screw is often hidden beneath a decorative cap that can be gently pried off. With the cap removed, use a suitable screwdriver or Allen wrench to turn the set screw clockwise until it’s secure. It’s important to be cautious and avoid over-tightening, as doing so may damage the screw or handle. Once tightened, replace the decorative cap and test the handle to ensure it is operating smoothly and without wobble.
Conclusion
In this guide, we have covered how to tighten a Moen bathroom faucet handle that has become loose. We have also discussed how to fix a spinning faucet handle, which is often caused by damaged internal components. It’s essential to address these issues promptly to ensure the proper functioning of your bathroom faucet. With the right tools and knowledge, you can easily tackle these common plumbing problems without the need for professional assistance. Regular maintenance and repairs will not only keep your faucet in good working condition but also help prevent more significant plumbing issues down the road.
Remember to always consult the manufacturer’s instructions and use caution when making repairs to avoid causing further damage. If you encounter any difficulties or are unsure of how to proceed, it’s best to seek professional help. This will ensure that your bathroom faucet is properly fixed and continues to provide reliable service for years to come. Happy plumbing! So, don’t wait any longer and fix your loose bathroom faucet handle today! Keep our tips in mind and you’ll have a smoothly operating faucet in no time. Thanks for reading!
