Have you ever needed to replace your shower handle only to realize that you can’t seem to find any screws? Don’t panic, this is a common issue and there are ways to remove the shower handle without screws. In this guide, we will walk you through the steps on how to remove shower handle without screws.
What Tools Are Needed to Remove a Shower Handle Without Screws?
To remove the shower handle without screws, you will need a few tools. These include:
- Flathead screwdriver
- Allen wrench (if applicable)
- Pliers
- Hammer
It is important to have these tools on hand before attempting to remove the shower handle. This will ensure that you have everything you need and can complete the task efficiently.
How to Identify if a Shower Handle Has a Set Screw
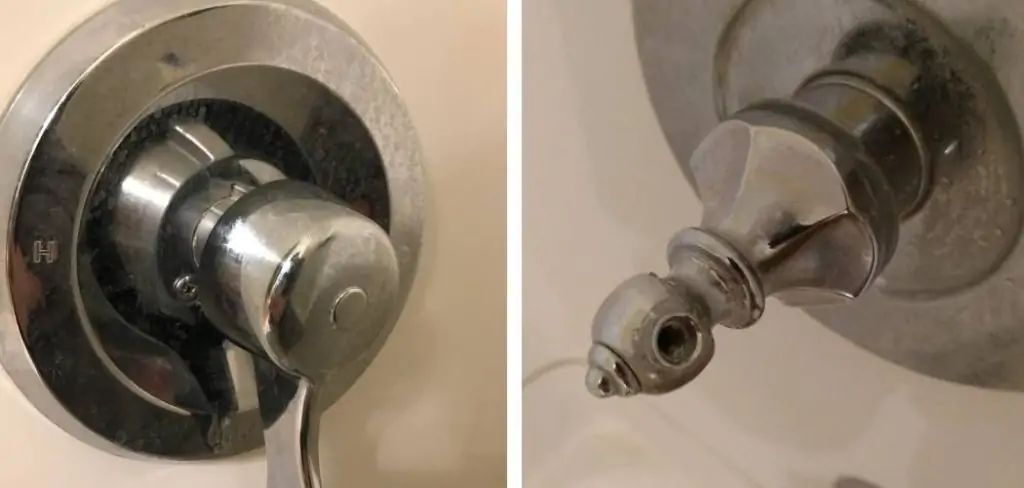
Before we get into the steps of removing a shower handle without screws, it’s important to first identify if your shower handle actually has set screws. Set screws are small metal screws that are used to secure the handle onto the valve stem. To determine if your shower handle has set screws, look for small holes or indentations on the handle. These are usually located near the base of the handle or underneath a decorative cap. If there are no visible screws, then your shower handle likely has set screws.
How to Remove Shower Handle Without Screws: A Step-by-Step Guide
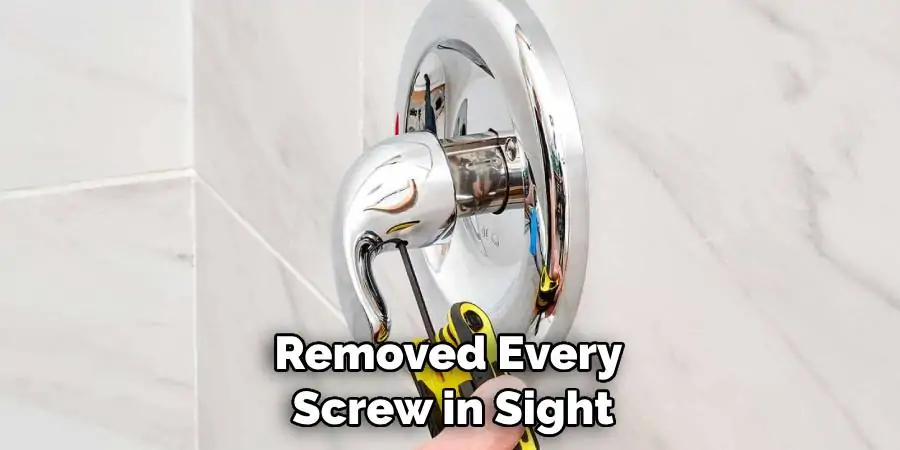
If you’re encountering a stubborn shower handle that’s refusing to budge even after you’ve removed every screw in sight, you might be dealing with a handle secured by a different method. Fear not, we have the guide to help you through this process. Removing a shower handle without screws can be a tad tricky, but with a little know-how, you’ll have it off in no time. Here’s how to do it step by step.
1. Identify the Type of Handle
There are generally two types of shower handles: screw-on and push-on. Screw-on handles are more common and have visible screws. Push-on handles, however, do not have visible screws and are attached to the valve stem with a retaining nut concealed beneath a decorative cap.To identify the type, closely inspect the handle for any screw holes. These might be covered by a cap that needs to be gently pried off. If no screws are present, you’re dealing with a push-on handle.
2. Preparation is Key
Before you start wrenching at your handle, turn off the water supply to the shower. You don’t want an accidental turn of the handle to blast water everywhere. Additionally, place a towel or soft fabric over the drain to prevent small parts from falling through. If you are working in a tight space, a flashlight can also be very useful for seeing what you’re doing and locating the correct part.
3. Removal of the Decorative Cap
If your handle is a push-on type, it’s time to remove the decorative cap. You’ll need a small flathead screwdriver or a utility knife. Slide the edge under the cap and gently pry it loose. Be careful not to apply too much pressure as you can damage the cap or surrounding surface. With the cap off, you should see a retaining nut. Use an adjustable wrench to loosen the nut, turning it counterclockwise. The nut might be somewhat tight, so a short burst of force followed by reassessing the tightness is a good method to prevent breakage.
4. Work the Back Plate
Behind the handle, there will be a back plate. It might be secured with caulking. Gently cut through the caulking with a utility knife. If the back plate also has a retaining nut, use the adjustable wrench to remove it. Once the nut is off, the rest of the pieces should slide off the valve stem. Ensure you keep all components in order as they’re removed to facilitate an easier reassembly process later. In case the handle or back plate feels stuck, use a handle puller — a tool designed specifically for this purpose — to gently coax them off without causing damage.
5. Handle Removal
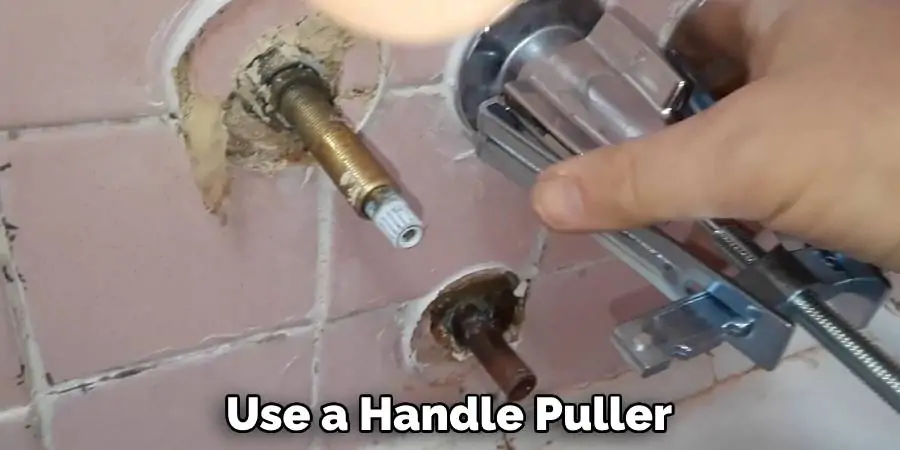
If your shower handle still doesn’t want to come off after removing the backplate and the retaining nut, you might need a handle puller. A handle puller is a tool that grips the handle from inside and pulls it off the valve stem. It is especially useful for stubborn or older handles that are stuck due to corrosion or age. Attach the handle puller and tighten it so it has a firm grip on the handle. Then, turn the center screw on the handle puller until the handle comes loose. Be sure to follow the manufacturer’s instructions to avoid damaging the shower handle.
6. Coat Threads with Plumbers Tape
If you are replacing the shower handle, it’s a good practice to coat the threads with plumber’s tape before installing the new one. This helps make the new handle easier to remove in the future. Simply wrap the tape around the threads in a clockwise direction. Then, use your finger to smooth the tape in the direction of the thread. The new handle can then be installed in the place of the old one by reversing the steps you took to remove it.
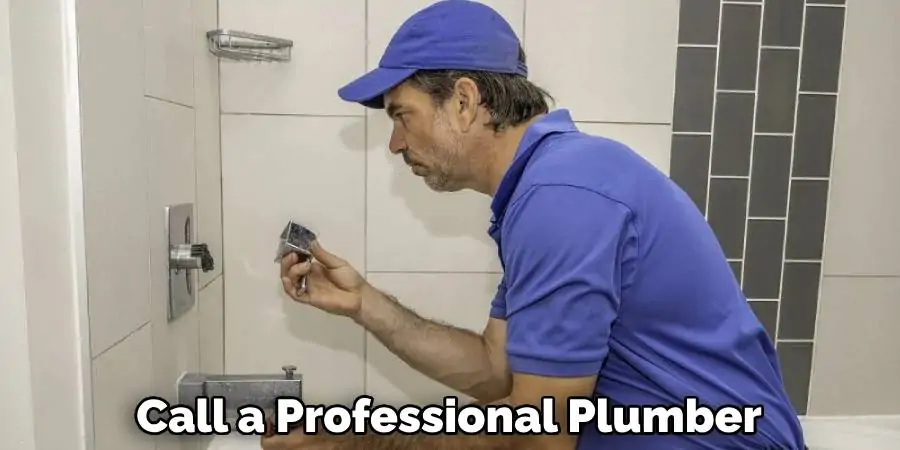
By following these steps, you should be able to successfully remove a shower handle without visible screws. Remember to take your time and be gentle with the parts, and keep track of all screws and nuts as you remove them. If at any time you feel unsure or uncomfortable, don’t hesitate to call a professional plumber to complete the job.
Some Common Shower Handle Designs Without Screws
While most shower handles have screws that hold them in place, some do not. There are a few common designs that may not include visible screws:
- Pull-out Handle: These handles have a small set screw on the underside of the handle near the base. Loosen this screw to remove the handle.
- Slip-on Handle: Similar to pull-out handles, these also have a set screw on the underside. However, the screw is located near the top of the handle.
- Pop-on Handle: These handles are held in place by friction and can be pulled off with some force. They may have a small indentation or notch where you can insert a flathead screwdriver to pry it off.
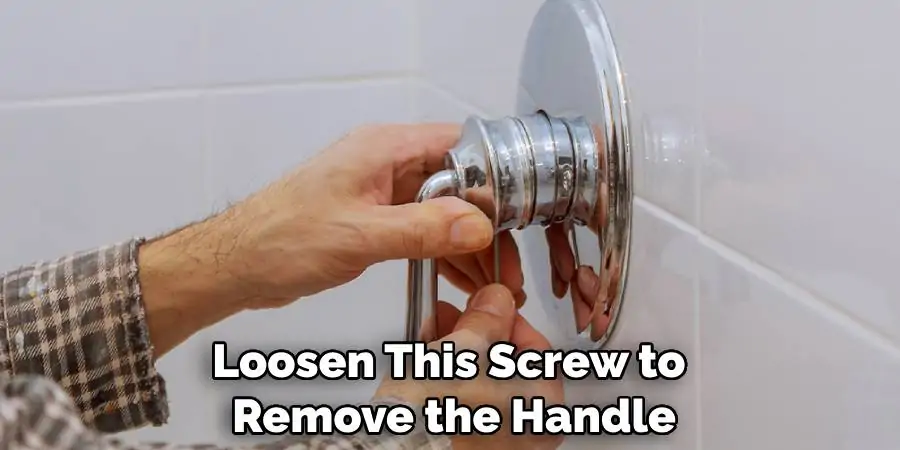
It’s important to note that there may be slight variations in these designs depending on the brand and model of your shower handle. Always check the manufacturer’s instructions or website for specific information on how to remove their particular handle design without screws.
Frequently Asked Questions
How Do You Remove a Shower Plate Without Screws?
In the sanctum of your bathroom, where each fixture’s form and function meld to create a space of serenity and cleanliness, there lies a challenge that few contemplate until it stands before them: the removal of a shower handle without a visible screw. This intricate task might seem daunting, leaving many stumped and scouring for tools. Yet, with the right knowledge and a gentle hand, what begins as a perplexing puzzle can turn into a gratifying DIY success.
To achieve this, first, ensure your water supply is switched off to guard against an untimely deluge. Then, with the finesse of a skilled artisan, search for a discreetly hidden notch or cap along the shower plate, often the keeper of a camouflaged fastening. By carefully prying open this secret hatch with a flathead screwdriver or a small knife, you’ll unveil the path to disassembly. What follows is a patient process of unscrewing, detaching, and finally, revealing the inner workings of your shower apparatus, thereby solving the enigma of how to remove shower handle without screws.
Can I Remove a Shower Handle by Myself?
The answer to this question depends on your comfort level and experience with DIY tasks. If you are confident in your abilities and have the necessary tools, then removing a shower handle without screws can be done by yourself. However, if you feel unsure or uncomfortable at any point during the process, it is always best to call a professional plumber to avoid causing damage or injury. It’s important to note that removing a shower handle without screws can be more challenging than traditional methods, so it may require a bit of patience and finesse.
What should I do if my new shower handle doesn’t fit properly?
If your new shower handle doesn’t fit properly, it is possible that you have purchased the wrong size or type of handle for your specific shower system. In this case, double-check the specifications and measurements of your old handle and compare them to the new one before proceeding with installation. It’s also a good idea to consult with a professional at your local hardware store for assistance in finding the correct handle for your shower. If you have already attempted installation and are still having issues, it is best to contact a plumber for further assistance.
Conclusion
In this guide, we have discussed the process of how to remove shower handle without screws. We covered the necessary tools and steps required for this task, as well as some tips and precautions to keep in mind. It’s important to always be cautious when attempting DIY tasks, and if you feel unsure or uncomfortable at any point during the process, it is best to seek professional help. With a bit of patience and attention to detail, you can successfully remove a shower handle without screws and update the look of your bathroom. Thank you for reading, and happy renovating! So remember, always assess your abilities and have the necessary tools before attempting any DIY project. And if in doubt, it’s best to call a professional for assistance. Happy renovating!
