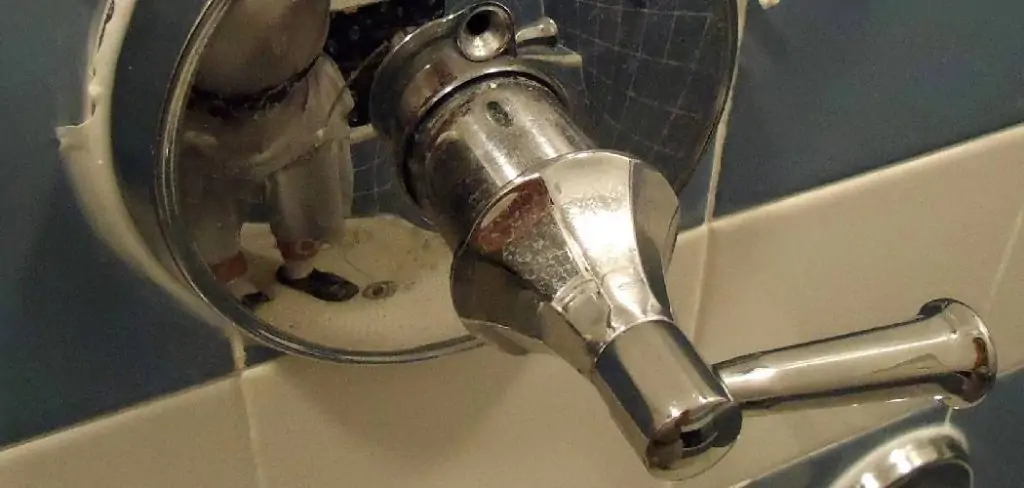
The shower handle is an essential part of your Kohler bathroom fixtures, and it allows you to control the flow and temperature of the water. Over time, due to regular use, the shower handle may start to wear out or become damaged. In such cases, it is necessary to replace the shower handle to maintain the functionality of your shower. In this guide, we will discuss the steps on how to replace Kohler shower handle.
Materials Needed
- Replacement Kohler shower handle
- Screwdriver
- Pliers
- Allen wrench (if required)
- Wrench (if required)
What Are Common Issues When Replacing a Kohler Shower Handle?
Before we dive into the steps of replacing a Kohler shower handle, it’s essential to be aware of some common issues that may arise during the process. Some of these issues include:
- Difficulty in Removing the Old Shower Handle: If the shower handle has been in use for a long time, it may get stuck due to mineral buildup or corrosion. In such cases, you may need to use a wrench or pliers to remove it.
- Hidden Screws: Some Kohler shower handles come with hidden screws, making it challenging to locate and remove them. You may need an Allen wrench or a small screwdriver to access these hidden screws.
- Different Types of Shower Handles: Kohler offers various types of shower handles, such as single handle, double handle, and thermostatic shower handles. The replacement process may vary depending on the type of shower handle you have.
10 Simple Steps on How to Replace Kohler Shower Handle
Updating your shower handle can be a simple, yet impactful change that not only alters the look of your bathroom but could also enhance your shower experience. If you’ve got a Kohler shower and it’s time for a new handle, here are 10 straightforward steps to get you on your way to a bathroom refresh.
Step 1: Gather Your Tools
Before you start, ensure you have the correct tools. An adjustable wrench, a screwdriver, and potentially a utility knife are your main allies. Having a replacement handle at the ready is also essential. Make sure you purchase the correct model that fits your specific Kohler shower system. If you’re uncertain about compatibility, consult with a Kohler customer service representative or your local hardware store expert to ensure you get the right match.
Step 2: Shut Off the Water
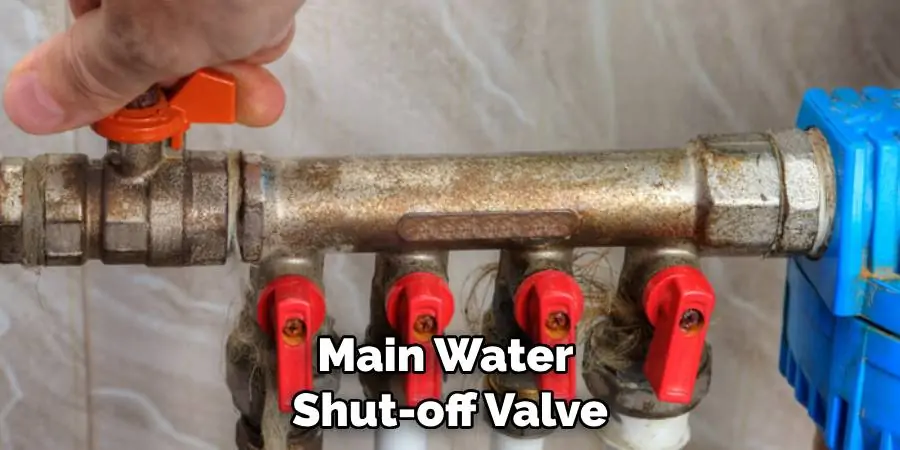
Safety should always be the top priority when performing any plumbing task. Locate your home’s main water shut-off valve and turn it off to prevent any accidental water spray while you’re working. This step is crucial to ensure a dry and safe environment as you proceed with replacing your Kohler shower handle.
Step 3: Pry Off the Cap
Using a flat-head screwdriver, gently pry off the decorative cap covering the screw in the center of the handle. This cap is often designed to blend seamlessly with the handle, so it may take a moment to locate. Exercise patience and care during this step to avoid damaging the cap, as it is typically made of a more fragile material. Slow, steady pressure should allow the cap to come free without much force.
Step 4: Loosen the Screw
With the screw exposed, take your screwdriver and insert it into the screw head. Carefully turn the screwdriver counterclockwise to loosen the screw. Apply steady pressure to ensure you do not strip the screw head. Hold onto the handle with your other hand while doing this; sometimes the handle will release as soon as the screw is loosened, and you’ll want to ensure it doesn’t fall and damage your shower or injure your feet.
Step 5: Remove the Old Handle
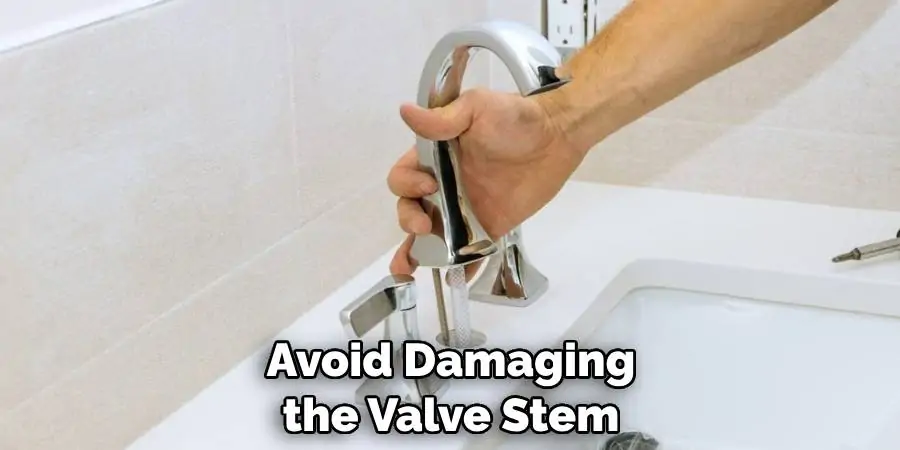
Once the screw is fully loosened and removed, carefully pull the old handle away from the valve stem. If your shower fixture has been in use for many years, you may find the handle has bonded slightly due to mineral deposits or corrosion—this is normal. Gently wiggle the handle back and forth while pulling it toward you. This motion often helps to break any seals formed by time. Maintain a firm, but gentle pressure to avoid damaging the valve stem or the surrounding materials. Patience is key during this step; abrupt force may cause more harm than good.
Step 6: Prepare the Replacement Handle
If your new handle isn’t already assembled, follow the manufacturer’s instructions to put it together. Ensure all the pieces are correctly aligned and snugly fit. The new handle might require some adjustment to fit perfectly, so check that now. Test the alignment with the valve stem and make sure that it sits comfortably without the need for excessive force, which could indicate misalignment or the wrong size. If adjustments are needed, refer to the manufacturer’s guidelines for the appropriate method to ensure a proper fit.
Step 7: Fit the New Handle
Carefully align the new Kohler handle with the valve stem, ensuring that the internal components are properly oriented. Slide your new Kohler shower handle onto the valve stem; it should be a smooth but snug fit, indicating that the handle is correctly positioned. If resistance is encountered, double-check the alignment and make sure there are no obstructions. Never force the handle as this might cause damage to both the handle and the valve stem.
Step 8: Secure the Handle with the Screw
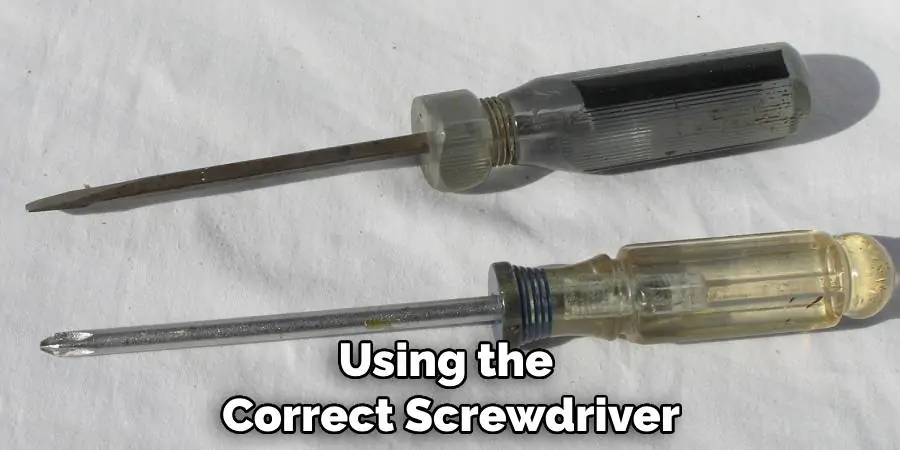
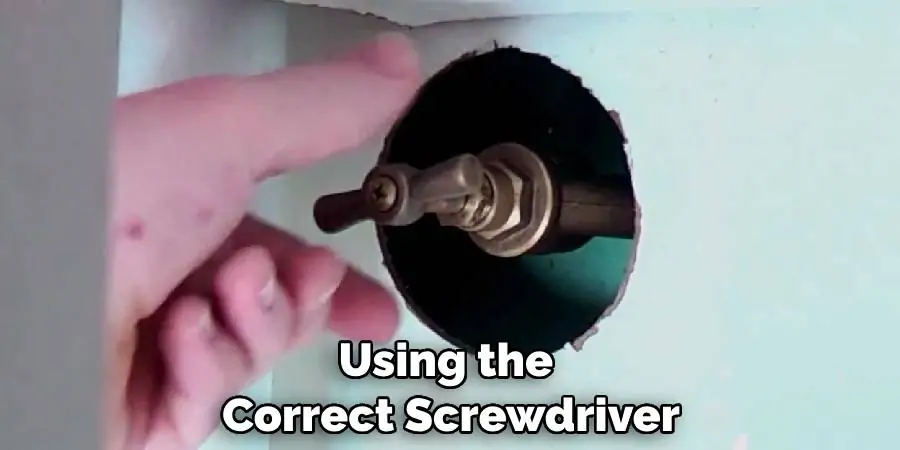
Once the new Kohler handle is firmly in place on the valve stem, locate the screw that will secure it. Insert the screw into the center of the handle, making sure it aligns properly with the threading on the valve stem. Using the correct screwdriver — usually a Phillips or flathead, depending on the screw type provided with your handle — tighten the screw. Do this carefully, ensuring that the screw is snug, but avoid over-tightening which can strip the threads or damage the handle. This will ensure the handle is securely attached and will remain stable during use.
Step 9: Replace the Decorative Cap
After securing the handle, locate the decorative cap that goes over the screw and hides it from view. This cap is often made of plastic or metal, depending on the design of your Kohler shower handle. Carefully place the cap over the screw, making sure it sits flush against the handle. Gently press down until you hear a click, indicating that it is securely in place. If your cap does not click into place, double-check that the screw is properly aligned and tightened.
Step 10: Turn On the Water and Test
Don’t forget to turn the water back on at the shutoff valve. Once on, test your new Kohler shower handle to make sure it operates properly and doesn’t leak.
With these 10 steps, you’ve successfully replaced your Kohler shower handle, refreshing the look of your bathroom and possibly improving your shower experience. Remember that if you feel unsure at any point, consulting a professional is always a good idea. Enjoy your updated space and the satisfaction of a DIY project well done!
Frequently Asked Questions
Can You Replace a Shower Handle?
Yes, you can replace a shower handle with the right tools and knowledge. As mentioned earlier, identifying your Kohler shower valve model is crucial in selecting a compatible replacement handle. Once you have determined the model number, you can purchase a new handle from a Kohler retailer or online store.
To replace the shower handle, start by shutting off the water supply to avoid any water damage. Next, remove the old handle by unscrewing it or using a handle puller tool if necessary. Then, carefully install the new handle in place and secure it with screws or clips depending on the model. Finally, turn the water supply back on and test the new handle for proper functionality. If you are unsure about how to replace Kohler shower handle, it is recommended to seek professional help.
How Often Should I Replace My Kohler Shower Handle?
There is no specific timeline for when you should replace your Kohler shower handle. However, if you notice any damage, corrosion, or difficulty in operation, it may be time to replace the handle. Additionally, updating your shower handle can also be a great way to refresh the look of your bathroom without undergoing a major renovation. Overall, it is recommended to regularly inspect your shower handle and replace it whenever needed to ensure optimal functionality and aesthetics.
How Do I Find the Model of My Kohler Shower Valve?
Finding the model of your Kohler shower valve is crucial for selecting a compatible replacement handle. To identify the model, start by checking for any visible markings or labels on the valve itself. If there are no markings, you can try searching for information on the original installation paperwork or contacting Kohler customer service for assistance. Additionally, some online retailers also have resources available to help identify the model based on the valve’s appearance.
Conclusion
In this guide, we have provided step-by-step instructions on how to replace Kohler shower handle. Whether you are looking to improve your shower experience or simply update the look of your bathroom, this DIY project is achievable with some basic tools and patience. By following these steps, you can successfully install a new Kohler shower handle and enjoy a refreshed space. Remember to always consult the manufacturer’s instructions for your specific model and to turn off the water supply before beginning any plumbing work. We hope this guide has been helpful, and happy showering!
