Have you ever wondered how to remove your Moen faucet handle without screws? Look no further, as we have the solution for you! Moen faucets are known for their sleek design and easy installation, but many people struggle when it comes to removing the handle. In this guide, we will walk you through the steps on how to remove Moen faucet handle without screws.
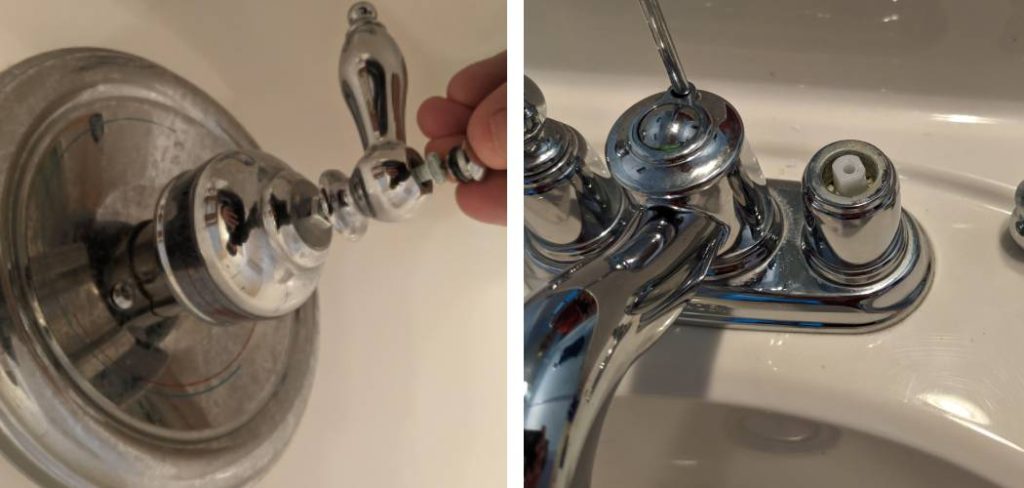
What Tools Can Be Used to Remove a Moen Faucet Handle Without Screws?
Before we get into the steps, let’s first gather all the tools you will need to remove your Moen faucet handle without screws. Most of these tools can be found at home or easily purchased from a hardware store:
- Flathead screwdriver
- Allen wrench
- Pliers (optional)
- Basin wrench (optional)
8 Methods on How to Remove Moen Faucet Handle Without Screws
Dealing with a Moen faucet handle that seems stuck may not always demand plumbing prowess – sometimes it’s just a matter of knowing the right technique. This listicle delves into eight methods you can employ to gently, yet effectively, remove a Moen faucet handle sans screws. Each approach is outlined in a user-friendly manner to demystify the process for readers from all walks – DIY enthusiasts, accidental plumbers, and those who just crave knowledge of the arcane arts of household maintenance.
When facing this seemingly tiny yet potentially daunting task, remember that patience is key. Rapid or aggressive movements can damage your faucet handle or the fixture itself. So arm yourself with these gentle techniques and take your time – you’ll have that handle off and that faucet fixed before you know it!
1. Utilize a Strap Wrench
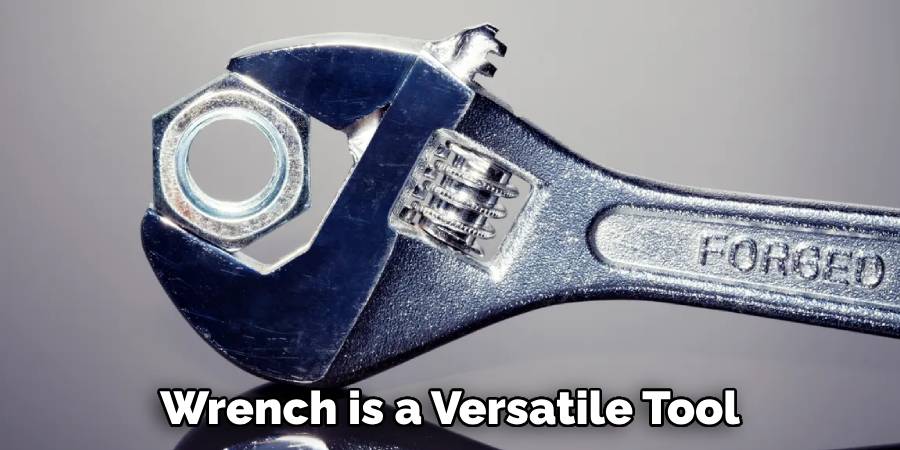
A strap wrench is a versatile tool that can provide the necessary grip to loosen adhesive or mineral buildup that might be clinging to your Moen faucet handle. To use, simply slide the strap wrench over the handle and turn the wrench’s handle in the direction you’d normally turn the faucet on or off. The grip strength of the wrench will help twist the handle free without leaving it marred.
2. Employ the Magic of the Hair Dryer
Heat can be a loosening agent. One way to exploit thermal expansion is to point a hairdryer on high heat at the faucet handle for a few minutes. Then, with a towel to shield your hand from the heat, attempt to twist the handle gently. The expanded metal may provide just enough wiggle room to let you release the handle. Remember to wear protective gloves to avoid burns and ensure a firm grip as you work the handle free.
3. Tamp It Gently with a Mallet
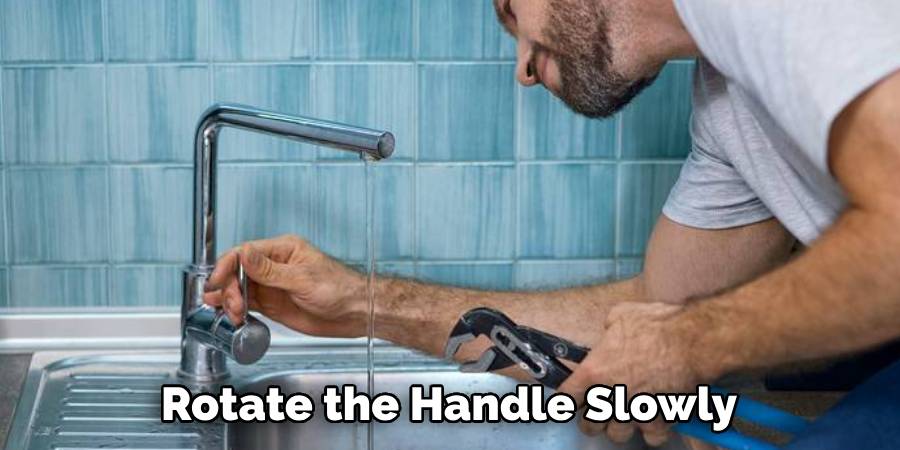
Sometimes the built-up deposit inside the handle’s cavity will only move with force. Employ a mallet or a sturdy bit of wood to gently tap the handle, directing your blows upward from beneath, which can help dislodge any buildup without harming the delicate finish. Ensure the tap is completely turned off before you begin to prevent any accidental water spray. Place a cloth over the handle to protect its surface and cushion the blows. As you tap, rotate the handle slowly; you may feel the handle begin to give way. Gentle persistence is often the answer to overcoming the snug fit without resorting to excessive force.
4. Trust in a Strap and a Hammer
Sometimes a little leverage can go a long way. Loop a sturdy strap around the handle, then place a block or two beneath it. Grab the ends of the strap and pull upwards to create tension, as if attempting to lift the faucet handle directly upward. Then, with a hammer, tap the blocks firmly but not with so much force that it could damage the plumbing. This indirect force, combined with the upward tension of the strap, may coax the stubborn handle to slide down and off of its position. Remember that patience and steady, measured taps will often yield better results than a single forceful blow.
5. Slide a Tight Rope Underneath
From sailboats to timber construction, ropes are used for more than you’d expect. A tight rope slid between the faucet and the handle can apply even pressure without causing damage. Pull the rope back and forth, almost as if you’re flossing, to slowly work the handle loose. The rope technique is particularly handy when the space is too narrow for tools or if you’re concerned about scratching the fixture’s finish. Make sure you’re using a strong, non-abrasive rope and that you have a firm grip before beginning the back-and-forth motion. This method requires patience, but with a bit of perseverance, you’ll find the handle beginning to move gradually.
6. The Multifunctional Wonder: Duct Tape
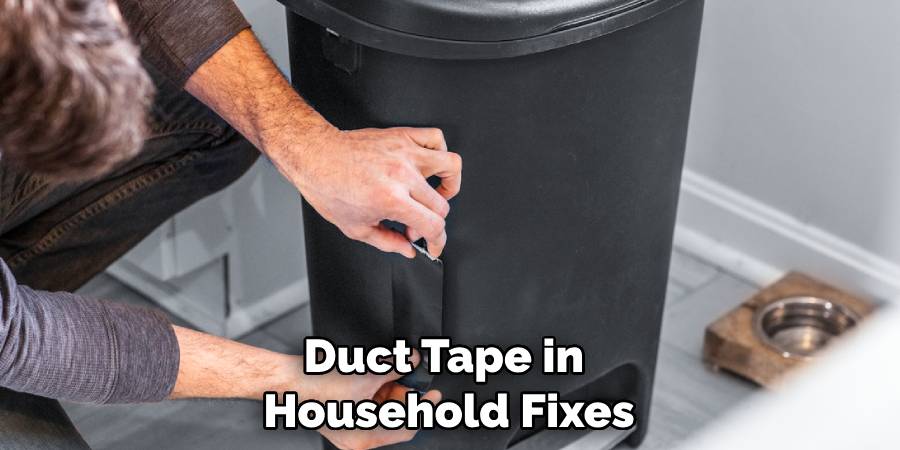
This heavy-duty tape is known for its fix-it properties, and here it is used to grip and turn with ease. Form a double-sided loop of duct tape, adhering the sticky sides out, and affix it firmly onto the faucet handle. Make sure that there’s enough tape to create a substantial grip surface. Then, grip the makeshift ‘handle’ provided by the duct tape and carefully turn the handle with a slow and steady motion. The duct tape provides additional leverage and can contour to odd shapes, making it easier to apply the necessary torque. Always remember to exert force in a controlled manner to avoid any accidental damage. With the right amount of pressure, the handle should come loose, proving once again the indispensable utility of duct tape in household fixes.
7. A Rubber Band Might Just Save the Day
Rubber bands can provide surprising traction. Place a wide rubber band, such as those used for canning jars, around the top of the faucet handle. This should give you enough grip to twist off the handle without needing a vice-like hold. Ensure the rubber band is thick and has a strong elasticity to resist snapping. As you apply a gentle, yet firm twist to the handle, the rubber band’s natural friction aids in the loosening process. This low-tech solution acts as a subtle and effective tool in situations where other methods may fail or be too cumbersome.
8. The Humble Screwdriver’s Other Purpose
If all else fails, sometimes brute force is the answer, but not the kind you might expect. A flathead screwdriver can be used to gently pry the handle upwards, away from the base. Use the faucet’s curves to your advantage, placing your screwdriver where the handle starts to arch, and slowly work up. Make sure to keep the pressure even so that one part of the handle doesn’t come free only to have the other stick more stubbornly.
Remember, not all faucet handles are created equal. While these methods are designed to avoid damage, they also require judgment and finesse. If your handle does have specific release mechanisms, manufacturer-recommended methods should always take precedence. Nonetheless, these techniques should provide a starting point for anyone looking to conquer this common household challenge in their own unique way.
Frequently Asked Questions
How Do You Remove a Moen Faucet Cartridge?
Gripping the edge of your Moen faucet with purposeful hands, you ponder the puzzle of removing the cartridge without the expected screws. But fear not, for even this enigma has a simple solution. The trick lies in the artful finesse of applying pressure and grasping the hidden mechanism that binds the faucet handle. You push, twist, and coax the handle with a whisper of skill, feeling the satisfaction of outsmarting the seemingly screwless design. With smooth precision, the handle yields, revealing the gateway to the cartridge that awaits your gentle extraction. This, my friend, is how you master the delicate dance of faucet repair — learning how to remove Moen faucet handle without screws the sleight of hand, and barely a tool in sight.
How Do You Remove a Stuck Faucet Handle?
To remove a stuck faucet handle, you can try the following methods:
- Use a lubricant, such as WD-40 or vinegar, to loosen any buildup or rust around the handle.
- Tap around the edges of the handle with a hammer or rubber mallet to break up any corrosion that may be causing it to stick.
- If your faucet has set screws, use an Allen wrench to loosen and remove them before pulling off the handle.
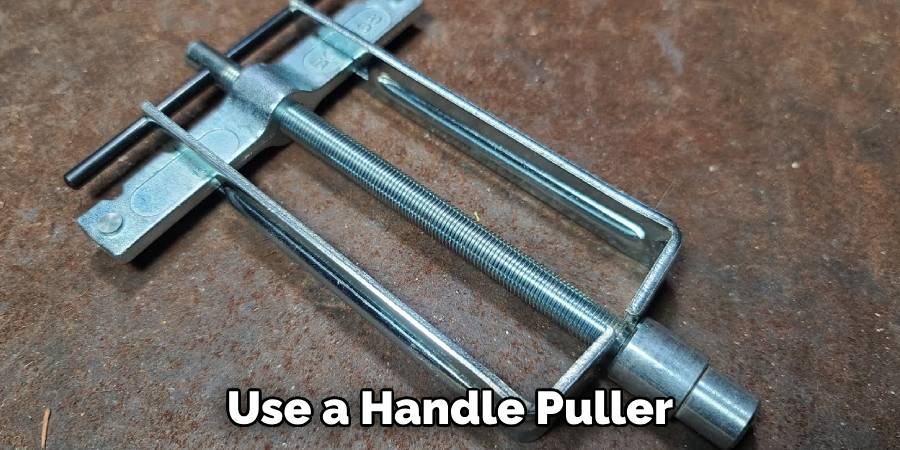
- Use a handle puller or pliers to grip and carefully wiggle and twist the handle until it comes loose.
What if These Methods Don’t Work?
If these methods don’t work, there may be other underlying issues with your faucet that require professional attention. It’s always best to consult the manufacturer or a licensed plumber for guidance in these situations.
Conclusion
Learning how to remove Moen faucet handle without screws can seem like a daunting task, but with the right techniques and tools, it can be easily mastered. Remember to exercise caution and patience when attempting any repairs on your own, and don’t hesitate to seek professional help if needed. Happy fixing! So next time you encounter a stubborn faucet handle, remember these tips to save yourself some frustration and potentially costly repairs. With a little practice, you’ll be able to master the delicate art of faucet repair like a pro! And who knows, you may even impress your friends and family with your new skills. Happy fixing!
