Attempting to repair a leaky faucet or simply looking to update your bathroom or kitchen fixtures can seem daunting if you’ve never done it before. The process begins with a seemingly simple task: unscrewing the faucet handle. But without the right approach, it’s easy to encounter frustrations or even cause damage. In this guide, we provide a straightforward, step-by-step on how to unscrew faucet handle safely and efficiently, ensuring you’re prepared to tackle the next stages of your home improvement project.
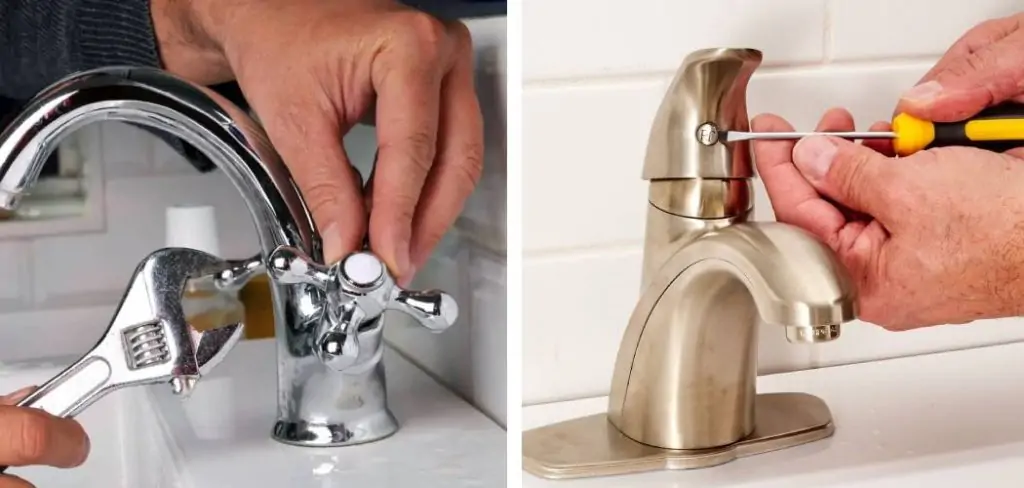
Gather Your Tools
Before you begin, it’s important to gather all the necessary tools and materials. This will save you time and frustration later on. Here are the items you’ll need:
- Adjustable wrench or channel locks
- Screwdriver (flat head or Phillips depending on your faucet type)
- Towel or cloth to protect the surface of your sink
- Penetrating oil (if your faucet handle is stuck)
- Replacement parts (if you’re planning on replacing the handle or any other components)
10 Easy Steps on How to Unscrew Faucet Handle Like a Pro
Fixing a leaky faucet might sound daunting, but it’s a home repair task that can be tackled with a bit of patience and the right instruction. If a leaky faucet handle is causing you grief, don’t call the plumber just yet. With these ten simple steps, you’ll be able to unscrew your faucet handle and address that pesky drip in no time.
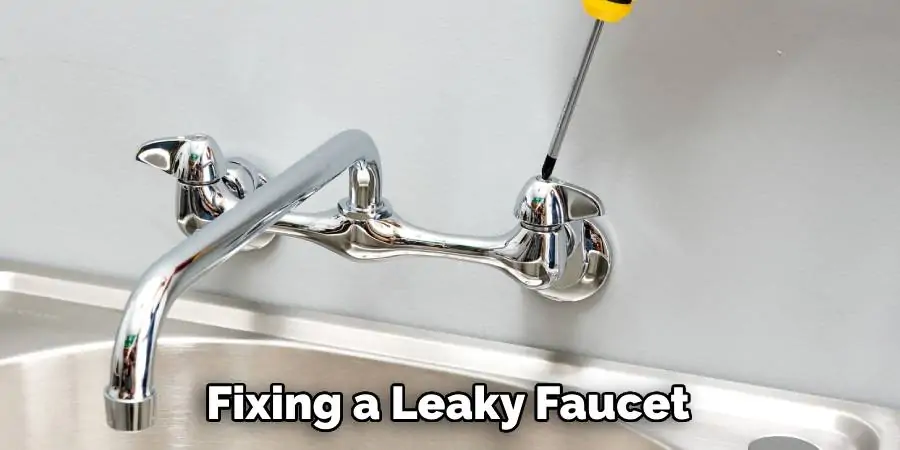
Step 1: Prepare Your Workspace
Gather the necessary tools — typically a screwdriver or an Allen wrench — before you begin. Turn off the water supply underneath the sink to avoid any mishaps, and place a towel or cloth over the sink basin to prevent any scratches or damage to your skin’s surface. Ensure that the workspace is well-lit, providing you with clear visibility as you work on disassembling the faucet handle.
Step 2: Identify the Type of Faucet
Faucets can vary in their design, but most are one of three types: ball, cartridge, or ceramic disk. Knowing the type of faucet will help you understand the specific steps required for disassembly. Look for manufacturer’s logos or other identifying marks to determine the type. Ball faucets have a single handle that moves over a rounded ball-shaped cap right above the base of the faucet spout. Cartridge faucets are usually distinguishable by their two handles, each of which you can turn 90 degrees. Ceramic disk faucets have a single handle and use a ceramic cylinder that regulates water flow. Familiarizing yourself with the faucet’s mechanics will streamline the subsequent steps.
Step 3: Remove the Decorative Cap or Handle
Most handles have a cap that covers the screw securing it to the stem. Use a flathead screwdriver or a small pry bar to gently remove this cap. If you can’t find a decorative cap, the handle may screw off directly. In that case, grasp the handle firmly and turn it counterclockwise. It may require some effort if it hasn’t been removed in a while, but be careful to apply force evenly to avoid damaging the handle. If the handle resists, a strap wrench may provide the necessary grip and leverage without harming the finish. Once the handle is off, you will have clear access to the internal components necessary for the repair.
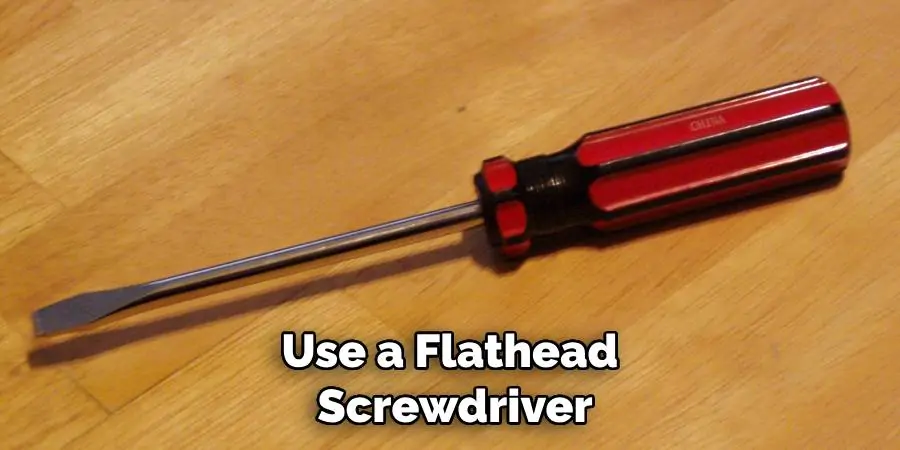
Step 4: Unscrew the Handle From the Stem
Once the screw is exposed, use the appropriate tool — usually a Phillips screwdriver or an Allen wrench — to unscrew it. Some handles may have a set screw that can be accessed from underneath, so be sure to check there if you don’t find it on top. Once the screw is loosened, gently remove the handle. If it is stuck due to mineral deposits, wrap it with a rag and try wiggling it gently back and forth while pulling it up. You can also use a specialized handle puller if necessary. Be cautious not to force the handle, as this can cause damage to the faucet assembly.
Step 5: Lift Off the Handle
With the screw removed, you should be able to lift the handle straight off. If it’s stuck, try gently wiggling it back and forth to loosen it. It’s essential to handle the components with care; forcing the handle could strip the stem or damage the O-ring seals within the faucet body, leading to leaks or further complications. If you encounter resistance when trying to lift the handle, apply a penetrating oil around the base and give it time to work its way into any crevices before attempting removal again. This approach can often free up stuck parts without the need for excessive force.
Step 6: Inspect the Cartridge or Stem
Now that the handle is out of the way, you’ll have clear visibility of the cartridge or stem, which is a crucial step in identifying the problem. Carefully examine the cartridge or stem for any signs of wear, such as cracks, erosion or damage to O-rings. Corrosion around the base or at the joints can signal long-term water exposure and possible leaks. Furthermore, look for mineral buildup, which can impede the movement of the faucet’s internal parts and cause leakage. If the damage seems mild, cleaning the debris may suffice. However, if any part appears significantly worn or damaged, replacement will likely be necessary to ensure a successful repair and prevent future issues.
Step 7: Turn Off the Water Supply
If you find that the leak is related to the cartridge or the stem, you may need to replace these parts. Turn the water supply off to your sink at the mains before proceeding. It’s vital to perform this step to prevent water from gushing out when you remove the cartridge or stem. Typically, you can find the water shutoff valves under the sink. Turn them clockwise to close the valves and shut off the water supply. After closing the valves, it’s a good practice to turn the faucet on to release any water left in the lines and to ensure the water is indeed off. With the water supply securely shut, you can safely proceed to the next step of the repair process.
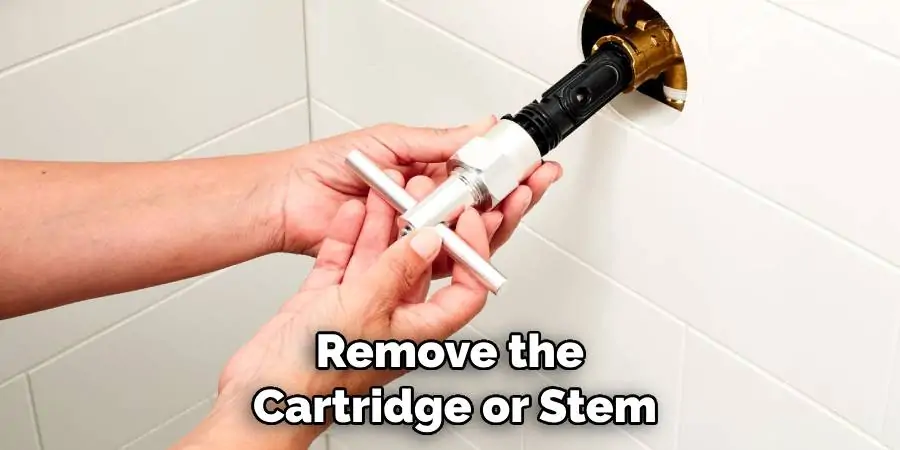
Step 8: Remove the Cartridge or Stem
Use pliers to carefully unscrew and remove the cartridge or stem. Keep track of any small parts that come out with it, like O-rings or washers, as you’ll need these for the replacement. If it’s a stem faucet, look for the seat washer at the bottom, which is also a common culprit for leaks. This washer endures a lot of friction and can deteriorate over time, leading to dripping around the faucet’s base. If you notice the washer is cracked, hardened, or worn out, it will need replacing. Take the old washer to the hardware store to find an exact match, ensuring a watertight seal when you reassemble the faucet.
Step 9: Replace With a New Cartridge or Stem
Bring the old parts to the hardware store to ensure you get the right replacement. Install the new cartridge or stem, reversing the process you used to remove the old one. Align it properly and screw it in place securely using pliers if necessary, but be careful not to overtighten, as this could damage the new part. Consult the manufacturer’s instructions provided with the replacement kit for any specific installation requirements that pertain to your particular faucet model. This will help ensure a proper fit and function once the faucet is reassembled.
Step 10: Reassemble the Faucet
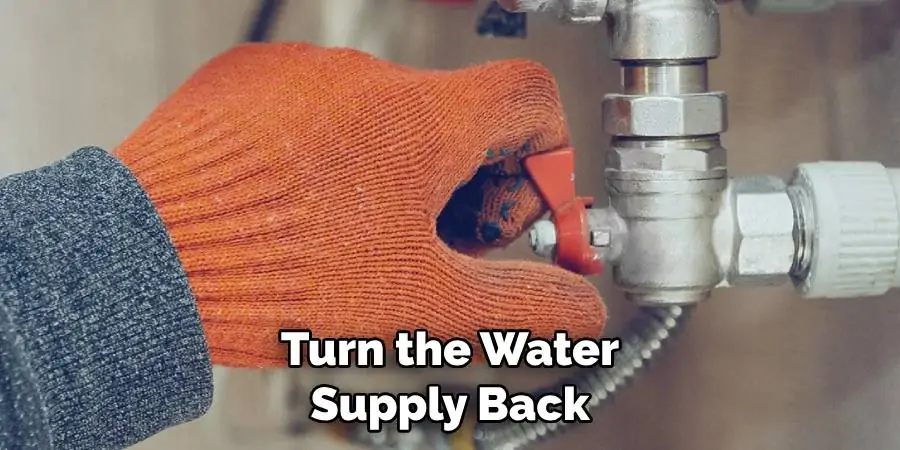
Put the handle back on and screw it into place. Be cautious not to over-tighten, as it could damage the new components. Replace the decorative cap or any other external parts you removed during disassembly. Gently press or twist these pieces back into their respective positions, making sure not to force any components as this could cause new damage. Finally, turn the water supply back on by reopening the shut-off valves underneath the sink. Allow the water to run for a few minutes to clear out any debris that might have dislodged during the repair process. Check for leaks and ensure the faucet operates smoothly. If everything is in order, your repair is complete, and the faucet should be in good working condition.
Congratulations! You’ve successfully unscrewed your faucet handle, diagnosed the issue, and made the repair. You’ve saved money and gained valuable DIY experience. Remember, patience is key, and if at any time you feel unsure, it’s best to call a professional. Now, sit back and enjoy a drip-free home!
Conclusion
In this tutorial, we discussed the step-by-step process of how to unscrew faucet handle. We learned about the different types of handles and their corresponding removal methods. We also covered common issues that may arise when removing a faucet handle and how to troubleshoot them. It’s important to always use caution and follow safety measures when working with plumbing fixtures.
By following these simple steps, you can easily remove and repair a faucet handle on your own. Remember to take your time and be patient during the process. With this newfound skill, you’ll save money and gain confidence in tackling other DIY plumbing projects in the future. Happy fixing!
