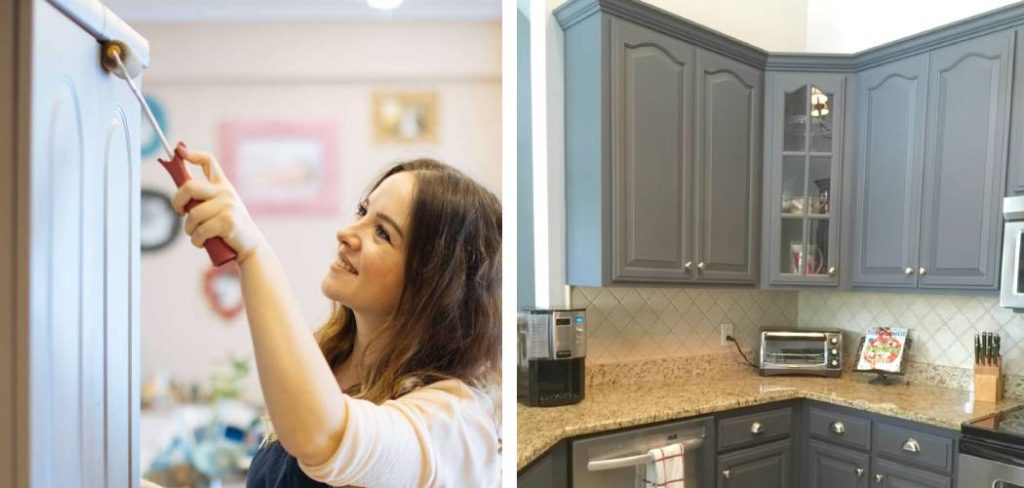
Renovating your kitchen doesn’t have to mean a complete overhaul. By painting your cabinets with chalk paint, you can give the heart of your home a fresh and modern look without the hefty price tag of a full remodel. The matte finish of chalk paint can cover imperfections and provide your cabinetry with a trendy, boutique feel. This guide will walk you through the necessary steps on how to paint kitchen cabinets with chalk paint—from the initial preparation to the finishing touches.
Materials Needed
Before you get started, make sure you have all the necessary materials on hand. Here’s a list of what you’ll need:
- Chalk paint in your desired color
- Paintbrushes (both large and small)
- Sandpaper (medium grit)
- Painter’s tape
- Drop cloths or old bed sheets to protect your floors
- Screwdriver (to remove cabinet doors and hardware)
- TSP cleaner or mild soap and water
- Clean rags
Useful Steps on How to Paint Kitchen Cabinets With Chalk Paint
Step 1: Gather Supplies
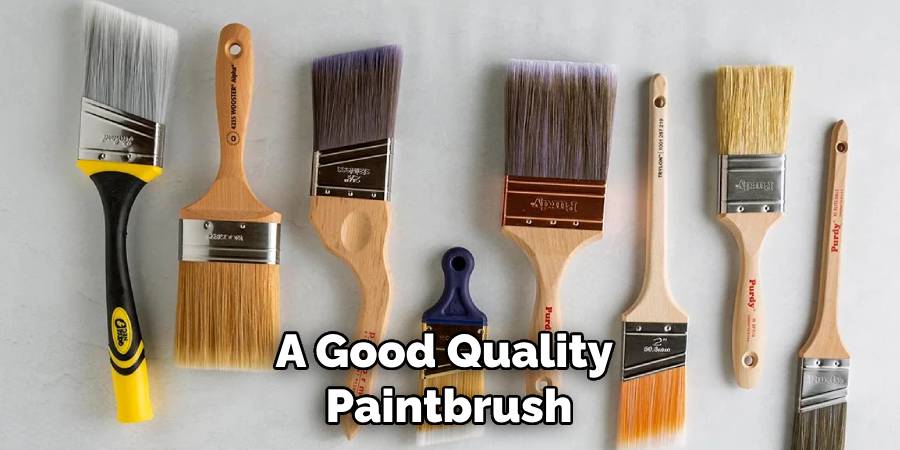
Before you begin painting your kitchen cabinets with chalk paint, make sure you have all the necessary supplies. This includes chalk paint, a good quality paintbrush or roller suitable for smooth surfaces, sandpaper to help with surface preparation, and a finishing wax or polyurethane product to seal and protect your newly painted cabinets. It’s important to choose the right brush or roller to ensure a smooth, professional finish without brush marks. The sandpaper comes into play to rough up the surfaces slightly, helping the chalk paint adhere better. After painting, sealing the cabinets with wax or polyurethane will safeguard your hard work from kitchen wear and tear, including moisture and grease.
Step 2: Clean and Prep Cabinets
The key to a successful paint job is proper preparation. Start by removing all hardware from your cabinets and cleaning them thoroughly with a TSP cleaner or a solution of mild soap and water to remove any grease and grime buildup. Next, using medium-grit sandpaper, lightly sand the cabinet surfaces. This doesn’t need to be extensive—just enough to create a rough texture for the paint to adhere to. After sanding, wipe down the surfaces with a clean rag to remove dust and ensure a clean canvas for your chalk paint application.
Step 3: Apply Chalk Paint
Using a brush or roller, apply the chalk paint to your cabinets in thin, even coats. It’s important to let each coat dry completely before applying the next one. This may take several hours depending on the humidity in your area. Patience during this part of the process will pay off with a superior finish. Chalk paint dries quickly to a matte finish, but for best results, apply at least two coats. If you notice brush marks or drips, lightly sand the area before proceeding with another coat. This step will help you achieve that coveted smooth and even finish synonymous with professional chalk paint jobs.
Step 4: Distress (Optional)
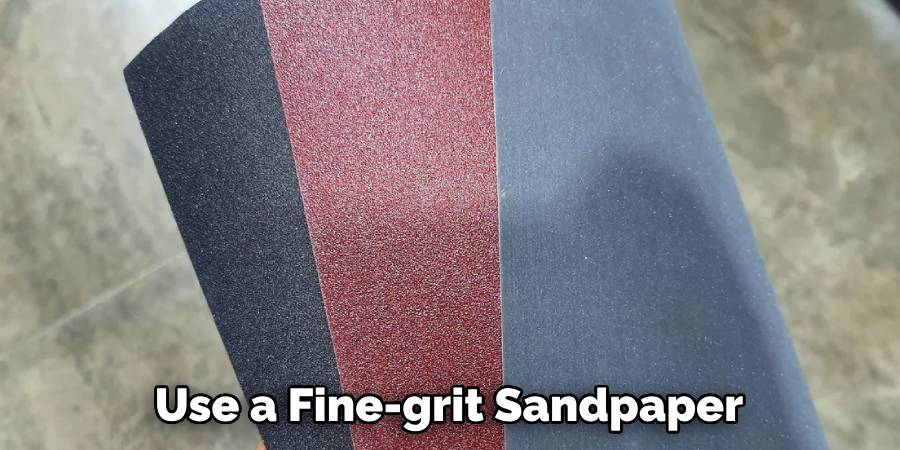
If you want a distressed look on your cabinets, now is the time to do it. Once the final coat of paint is dry, use sandpaper to lightly distress areas of the cabinet that would naturally wear over time, such as corners and edges. By focusing on these high-contact areas, you create a naturally aged appearance that can add character to your kitchen. Use a fine-grit sandpaper and a light hand to avoid damaging the surface. After achieving the desired level of distressing, wipe down the cabinets with a clean cloth to remove any dust from the sanding process.
Step 5: Seal with Wax or Polyurethane
To protect your newly painted cabinets from scratches and stains, seal them with either wax or polyurethane. Wax provides a softer finish and enhances the depth of the chalk paint, creating a sophisticated patina over time. For application, use a wax brush or a clean, lint-free cloth to apply the wax in a thin layer, working it into the surface in a circular motion. Allow the wax to dry for a few minutes, then buff it to a subtle sheen with a clean cloth. If you opt for polyurethane, apply it with a fine-bristle brush or foam brush, using long, even strokes to prevent brush marks. Both sealing methods may require multiple coats, especially in high-use areas. Ensure to let each coat dry thoroughly before applying the next; this patience will ensure a durable, long-lasting finish.
Step 6: Reattach Hardware and Enjoy
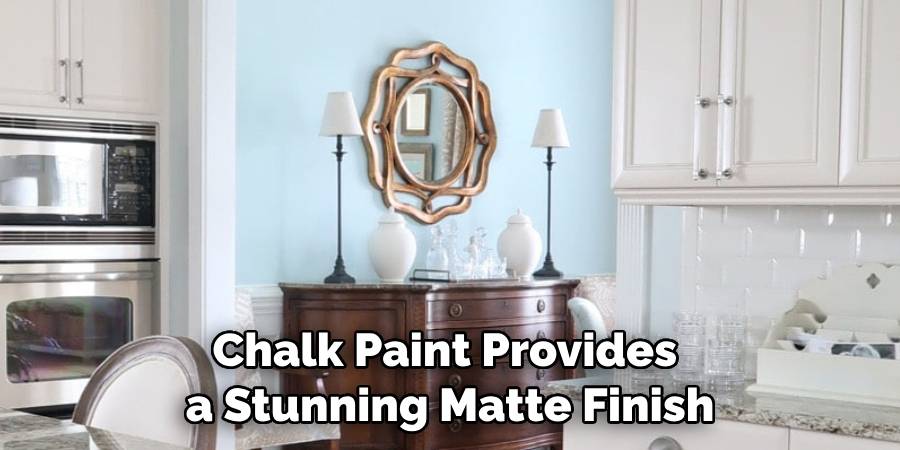
Once everything is dry and sealed, reattach all hardware to your cabinets and step back to admire your newly painted kitchen! Chalk paint provides a stunning matte finish that can completely revitalize the appearance of your living space in a cost-effective way. Its velvety, uniform coat breathes new life into old furniture pieces or drab walls, giving your home a chic, updated look without the hefty expense of buying new items or hiring professional painters. The beauty of using chalk paint lies not only in its visual appeal but also in its versatility and ease of application, making it an ideal choice for DIY enthusiasts looking to achieve a fresh, modern aesthetic on a budget.
Frequently Asked Questions
Is Chalk Paint Good for Painting Kitchen Cabinets?
Are you looking for a new look for your kitchen cabinets but don’t want to spend a fortune on a complete remodel? Chalk paint might be a great DIY solution for you! This versatile paint can transform your drab, outdated cabinets into fresh, modern pieces with just a few coats. But before you start, there are a few things to keep in mind. First, make sure to clean and sand your cabinets thoroughly before applying the paint. It’s also a good idea to use a clear wax or sealant to protect the paint and ensure it lasts for years to come. With these tips in mind, you can easily learn how to paint kitchen cabinets with chalk paint and give your kitchen a whole new look!
What Do You Seal Chalk Paint With on Kitchen Cabinets?
When using chalk paint on kitchen cabinets, it’s important to seal the paint with a wax or sealant to protect it from wear and tear. For a more durable finish, you can use polyurethane or polyacrylic instead of wax. It’s recommended to apply at least two coats of sealant for optimal protection. Make sure to follow the instructions on your chosen sealant and allow proper drying time between coats. With the right sealing, your chalk painted kitchen cabinets will maintain their beautiful appearance for years to come.
Can You Paint Cabinets With Chalk Paint Without Sanding?
One of the great benefits of chalk paint is that it can be used on most surfaces without the need for sanding. However, when it comes to kitchen cabinets, sanding is an essential step in ensuring a long-lasting finish. Sanding helps to remove any existing sealants or finishes and allows the paint to adhere better to the surface. It also helps to smooth out any imperfections and create a clean, even surface for the paint to adhere to. While it may seem like an extra step, sanding is crucial for the best results when painting kitchen cabinets with chalk paint.
How to Seal Chalk Paint on Kitchen Cabinets
Sealing chalk paint on kitchen cabinets is a simple process that can be done in just a few steps. Here’s how to seal chalk paint on your kitchen cabinets:
- Once the final coat of chalk paint has dried, lightly sand the surface with fine-grit sandpaper to smooth out any imperfections.
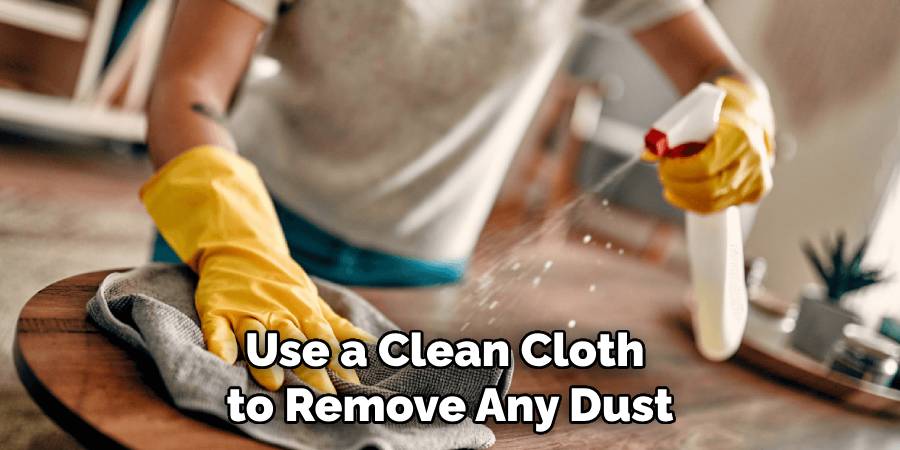
- Use a clean cloth to remove any dust or debris from sanding.
- Apply a coat of clear wax or sealant using a brush or cloth, making sure to cover the entire surface of the cabinet.
- Allow the sealant to dry according to the manufacturer’s instructions. This typically takes 24 hours.
- Once dry, lightly sand the surface again and remove any dust before applying a second coat of sealant.
- Repeat this process for a third coat if desired, allowing each layer to dry completely before sanding and applying the next coat.
- Once the final coat of sealant is completely dry, use a clean cloth to buff the surface for a smooth, polished finish.
Conclusion
In conclusion, painting your kitchen cabinets with chalk paint can be a fun and rewarding DIY project. With the right tools and steps, you can transform your old and outdated cabinets into stylish and modern ones. Throughout this blog post, we have covered important tips such as cleaning and prepping the cabinets, choosing the right chalk paint color, and applying multiple coats for a smooth finish. We have also shared helpful techniques like distressing and waxing to achieve different looks.
Now that you have all the necessary information, it’s time to put it into action! Grab your supplies and get ready to give your kitchen a fresh new look. Remember, don’t be afraid to experiment with different colors and techniques to truly make your cabinets stand out. So why wait? Let’s get started on how to paint kitchen cabinets with chalk paint today! Have fun and enjoy the transformation process. And don’t forget to share your before and after photos with us – we would love to see your amazing results!
