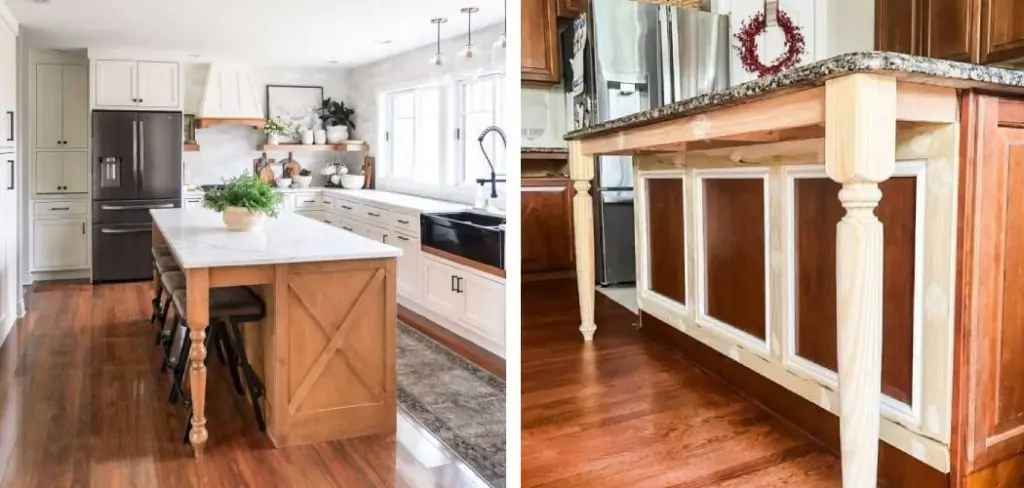
Are you tired of your cramped kitchen? Do you long for a more spacious area where you can cook and entertain without feeling crowded? If so, you’re not alone. Many homeowners face this common dilemma, but the solution may be simpler than you think. By extending your kitchen island with legs, you can not only gain additional countertop space but also create a more open and inviting atmosphere. In this blog post, we will guide you step by step through the process on how to extend kitchen island with legs, from choosing the right materials to ensuring a seamless integration with your existing kitchen design. Say goodbye to a cramped kitchen and hello to a more functional and beautiful space!

What Materials Are Commonly Used for Kitchen Island Legs?
Before diving into the process, it’s essential to understand what materials are commonly used for kitchen island legs. The most popular options include wood, metal, and stone. Each material has its unique advantages and can be tailored to fit your desired aesthetic. Wood is a versatile choice that can be stained or painted in various colors and finishes to match your kitchen cabinets and other furniture. Metal legs add a sleek and modern touch to your kitchen, while stone legs provide a more rustic and natural feel. Consider the overall style of your kitchen and choose materials that complement it.
Step-by-Step Guide: How to Extend Kitchen Island With Legs
Now, let’s get into the nitty-gritty of how to extend kitchen island with legs. The process may seem daunting, but with the right tools and materials, it can be done easily. Follow these steps to achieve your dream kitchen:
Step 1: Measure and Plan
Before beginning the process of extending your kitchen island with legs, it is important to measure the space and plan out the design. Make sure to take into account any potential obstacles or workflow changes that the extension could create. Once the measurements are made, sketch out a rough blueprint of your intended design. This will help you visualize the final outcome and serve as a reference during the process. It’s also important to ensure there is enough room around the island for easy movement and appliance doors to open comfortably. Decide not only on the length and width of the extension but also the height, to make sure it aligns well with the existing countertop.

Step 2: Choose Your Legs
There are a variety of options when it comes to choosing legs for your kitchen island extension. You can opt for pre-made wooden or metal legs, or you can create your own using materials such as wood or metal piping. Make sure to choose legs that are sturdy enough to support the weight of the extended island.
Step 3: Prepare Your Island
To prepare your island for the extension, you will need to remove any existing cabinets or drawers in the area where the legs will be attached. Begin by clearing out the space, ensuring that the area is free from obstructions. If there are existing fixtures that might impede the placement of the new legs, these should be carefully removed. Next, use a saw to trim any excess countertop overhang, making space for the installation of the new legs. This step requires precision, as you’ll want to ensure the cut is straight and aligns neatly with the intended design of your extension. Remember to measure twice and cut once to avoid any miscalculations that could potentially mar the appearance or functionality of your kitchen island.
Step 4: Attach Legs
Once your island is prepared, it’s time to attach the legs. If using pre-made legs, follow the manufacturer’s instructions for installation. If creating your own legs, ensure that you drill pilot holes to prevent splitting the wood, and attach them with sturdy screws or bolts. When affixing the legs to the floor, it’s crucial to use brackets if the floor material allows. This will stabilize the legs and prevent any movement that could destabilize the island. Secure the brackets to the legs and the floor, checking that everything is level and firm before proceeding. If you’re not able to anchor the legs to the floor, make sure the design allows for the weight to be evenly distributed across the legs to maintain stability.

Step 5: Add Support Beams
To ensure that your extended kitchen island is stable and secure, consider adding support beams between each leg. These can be made from wood or metal and should be attached securely to both the leg and underside of the countertop. When choosing materials for the support beams, consider aesthetics as well as durability since they will be a visible part of your island. For wood beams, select a hardwood that complements your countertop and finish it with a stain or paint to match. If you opt for metal, ensure it is properly treated to resist corrosion and matches the hardware of your kitchen for a cohesive look. Use strong hardware to attach each support beam firmly in place, checking for level and stability with each step.
Step 6: Finish Off With Trim
To give your extended kitchen island a polished look, add trim along where it meets with existing cabinetry or walls. This will also help hide any gaps or seams that may be present. Choose a trim style that complements the overall design of your kitchen, whether it’s a simple shaker trim for a modern look or a more ornate molding for a classic aesthetic. After measuring the required length, cut the trim to size, mitering the corners for a seamless fit. Nail or glue the trim in place, then apply caulk to any gaps for a smooth, finished appearance. Once your trim is installed, a final coat of paint or stain will unify the new extension with the existing island, making it look like one cohesive unit.
Step 7: Sand and Paint
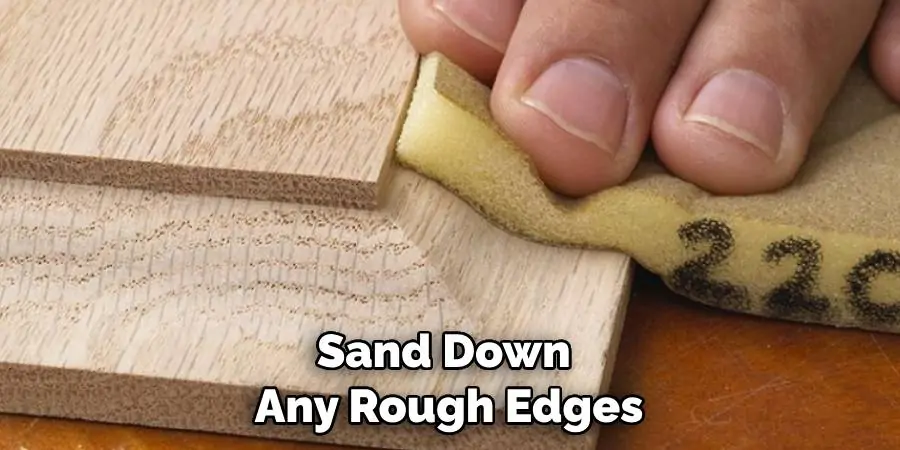
If necessary, sand down any rough edges on your newly extended kitchen island before painting or staining it to match with existing cabinetry. This will give your island a cohesive and professional look. By following these steps, you can easily extend your kitchen island with legs and create more counter space and storage in your kitchen. Just remember to measure carefully, choose sturdy legs, and add support beams for stability.

How to Choose the Right Size for Kitchen Island Legs
When it comes to choosing the right size for your kitchen island legs, there are a few factors to consider. First, decide on the overall height of your island, which should be in proportion to your countertops and cabinets. The standard height for an island is 36 inches, but you can adjust this depending on your personal preference and needs.
Next, think about the length and width of your island. This will determine the number of legs you need to support it, as well as their placement for optimal stability. Generally, you want a leg at each corner and one in the center for islands longer than 5 feet.
When it comes to the size of the legs themselves, make sure they are proportionate to the size of your island. Too thin or too bulky legs can throw off the overall look and balance of your kitchen. Look for legs that are strong and sturdy, with a weight-bearing capacity that can support the weight of your island and any added features like shelves or cabinets.
Frequently Asked Questions
How Can I Make My Kitchen Island Longer?
If you’re looking to make your kitchen island longer, there are a few options available. One way is to extend the island with legs. This involves adding additional support to the island, which will allow you to add more countertop space or storage solutions without compromising the structural integrity of the island. When adding legs to your kitchen island, it’s important to ensure that they are properly attached and that they are made from a sturdy material. Additionally, you may want to consider adding decorative elements to the legs to help them blend in with the rest of the island. With a little bit of planning and some DIY know-how to extend kitchen island with legs and create a more functional space for cooking and entertaining.

Can You Add Legs to an Island?
Yes, you can add legs to an existing island. This is a great way to update the look and functionality of your kitchen without having to completely replace or remodel it. Whether you have a pre-made island or one that was custom-built for your kitchen, adding legs can be a simple and cost-effective solution. Just make sure to carefully measure and plan out the placement of the legs to ensure they are properly supporting the weight of the island and any added features. You may also want to consider adding decorative elements to the legs, such as a unique design or color, to enhance the overall aesthetic of your kitchen.
How Do You Attach Kitchen Island Legs to Floor?
Attaching kitchen island legs to the floor can be done in a few different ways, depending on the type of flooring you have. If you have a concrete or tile floor, you will need to use masonry screws and anchors to secure the legs to the floor. For hardwood floors, special hardware called “floor flanges” can be used to attach the legs. It’s important to make sure the legs are securely attached to prevent any wobbling or instability. If you’re unsure about the best method for attaching the legs, it may be helpful to consult a professional or do some research beforehand.

Conclusion
In conclusion, extending your kitchen island with legs is a manageable project that can completely transform the look and functionality of your kitchen. By following these step-by-step instructions, you can easily customize your island to better suit your needs and add a touch of elegance to your space. Remember to carefully plan out your measurements and have all necessary materials on hand before starting the project. And don’t be afraid to get creative with the design of the legs – there are endless possibilities to elevate the style of your kitchen. Whether you prefer a rustic farmhouse feel or sleek modern vibes, adding legs to your island will enhance its presence in your home. So why wait? Start planning and building today! Thank you for reading our guide on how to extend kitchen island with legs – we can’t wait to see what you create!
