If your kitchen cabinets are looking old and worn out, you may be considering stripping them. Stripping kitchen cabinets is a great way to give them a fresh new look without having to completely replace them. In this guide, we will take you through the steps of how to strip kitchen cabinets, from preparing the space to choosing the right tools and materials.
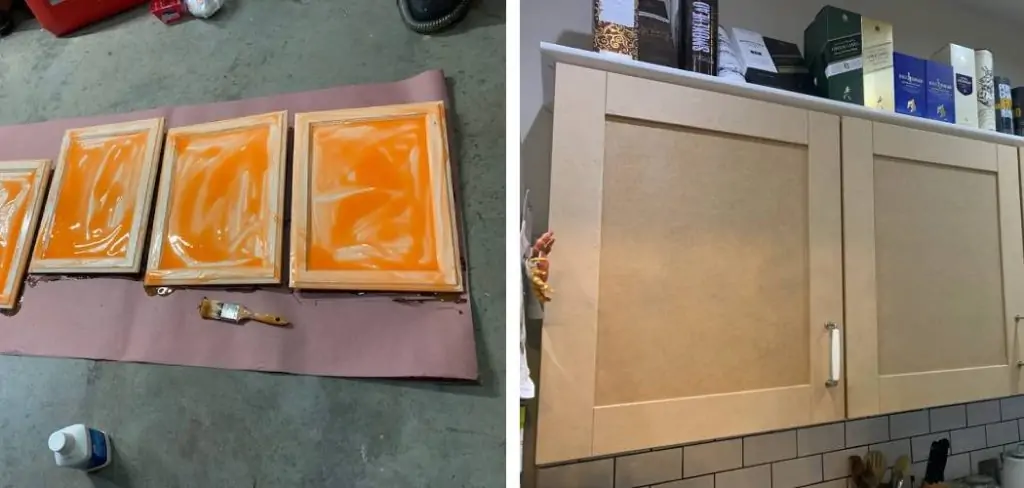
What Tools Are Needed to Strip Kitchen Cabinets?
Before you begin stripping your kitchen cabinets, it is important to gather all of the necessary tools and materials. This will ensure that the process goes smoothly and efficiently.
Here are the basic tools you will need:
- Screwdriver or drill
- Drop cloths or plastic sheeting
- Painter’s tape
- Safety goggles and gloves
- Chemical stripper
- Paint scraper or putty knife
- Steel wool or sandpaper
- Clean cloths
10 Step Guide on How to Strip Kitchen Cabinets
1. Gather Supplies
Before you begin the stripping process, ensure you have collected all the necessary tools and materials. Having everything at hand will help streamline the process, preventing unnecessary interruptions and ensuring a smooth workflow. This includes the basic tools such as a screwdriver or drill, drop cloths or plastic sheeting, painter’s tape, safety goggles and gloves. You’ll also need a chemical stripper, a paint scraper or putty knife, steel wool or sandpaper, and clean clothes. Proper preparation is the key step before embarking on the task of stripping your kitchen cabinets.
2. Remove Hardware and Clean Cabinets
Using your screwdriver or drill, remove all the hardware from the cabinets, including handles, knobs, and hinges. Keep these items safe as you’ll need to reattach them later. Once the hardware is removed, clean the cabinets thoroughly. This step is crucial as any dirt, grime or grease on the surface can interfere with the stripping process.
Use a commercial degreaser or a homemade solution of vinegar and warm water to clean the cabinets. Apply the solution with a clean cloth, scrubbing gently to remove all surface dirt and grease. Rinely thoroughly and allow the cabinets to dry completely before moving on to the next step.
3. Apply Paint Stripper
Ensure the area is well-ventilated before applying the paint stripper. Using your paint brush, apply a thick layer of the stripper evenly across the surface of the cabinets, paying special attention to detailed areas where paint can hide. The chemical stripper will work to break down the paint or finish on your cabinets. It is crucial to follow the manufacturer’s instructions for application in order to maximize the effectiveness of the product.
Remember to don your safety goggles and gloves while working with these chemicals, as they can be harmful if they come into contact with your skin or eyes. Allow the stripper to sit on the surface for the time recommended by the manufacturer, typically anywhere from 15 minutes to overnight.
4. Wait and Scrape Off Old Finish
After the recommended time has lapsed, begin scraping off the old finish using your putty knife or a paint scraper. The old finish should peel away easily under the blade. If you encounter any resistance or if the finish does not come off easily, it might be necessary to leave the stripper on for a bit longer. Ensure you are gentle during this process to avoid scratching or damaging the cabinets. Remove as much of the old finish as you can. This step may be time-consuming but it’s crucial for achieving the best results.
5. Repeat Process and Sand Cabinets
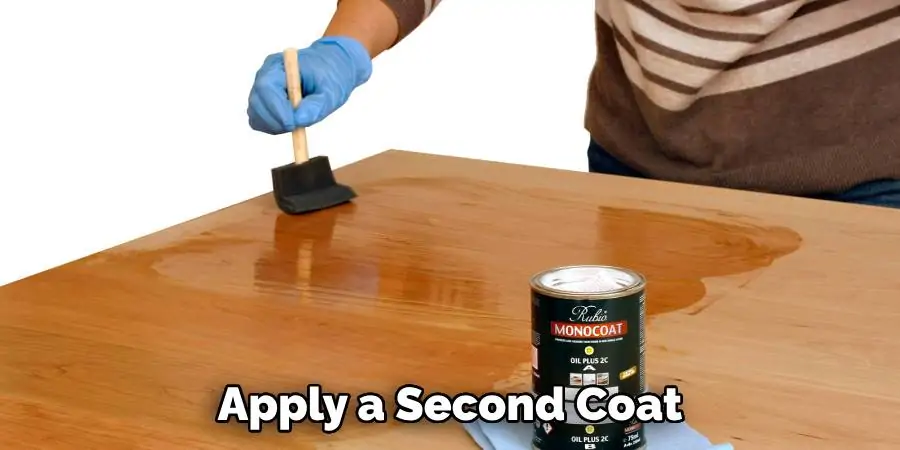
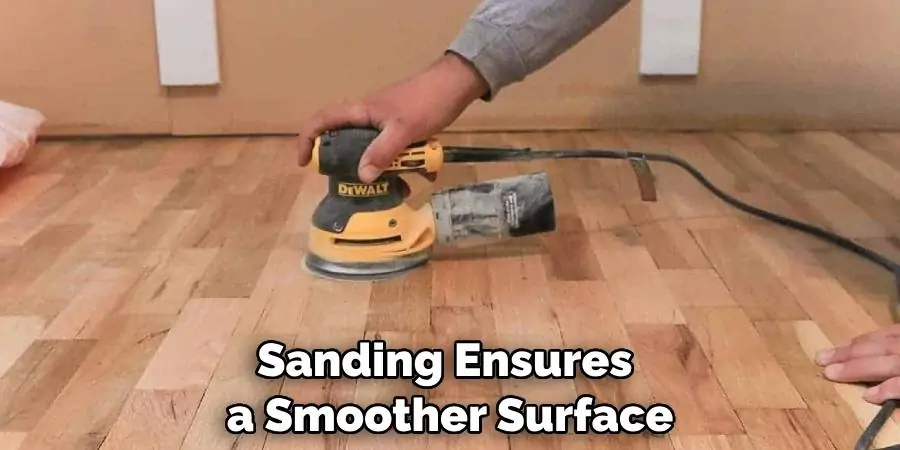
If the old finish is stubborn or thick, you may need to repeat the previous step and apply a second coat of stripper. Allow it to sit, and then scrape again until as much of the finish as possible has been removed. Once you have finished stripping, take your steel wool or wire brush and carefully sand down any rough or uneven areas on the cabinets. Sanding not only helps to smooth the surface, but also ensures any remaining finish is removed, preparing the cabinets for a new coat of paint or stain. Remember to always sand in the direction of the wood grain to avoid causing scratches or other damage.
6. Clean Cabinets Again
After the sanding process, it’s time to clean the cabinets once more. You want to make sure you remove any remaining dust or residue from the cabinets before moving to the next step. For this, you can use mineral spirits or another recommended cleaner. Soak a clean cloth in the mineral spirits and gently wipe down the cabinets. Ensure you cover all areas, focusing on crevices and corners. Once finished, rinse the cabinets with warm water and allow them to dry completely. This step ensures all leftover stripping chemicals and dust particles are removed, providing a clean and prepared surface for the new finish.
7. Let Cabinets Dry and Sand Again (Optional)
Once the cabinets are completely dry, you may choose to do a final round of sanding. This step is optional, but highly recommended, as it further ensures a smooth, even surface that’s ideal for the application of paint or stain. Using fine-grit sandpaper, gently sand the cabinets in the direction of the wood grain. Be sure to cover all areas, paying special attention to edges and corners. Afterward, wipe down the cabinets with a damp cloth to remove any residual dust from sanding. Now, your cabinets should be perfectly prepped for the new finish.
8. Apply New Finish
At this stage, your cabinets are ready for the new finish. You can apply your chosen paint or stain using a paintbrush or a spray gun. Make sure to follow the manufacturer’s instructions for the finish to achieve the best results. It’s recommended to start with a thin layer, let it dry completely, and then apply additional coats as necessary to achieve your desired look.
Remember to paint in the direction of the wood grain for the most natural-looking result. Allow sufficient drying time between each coat to ensure a smooth and lasting finish. You will see your kitchen cabinets transform before your eyes, rejuvenating the overall aesthetic of your kitchen.
9. Reattach Hardware
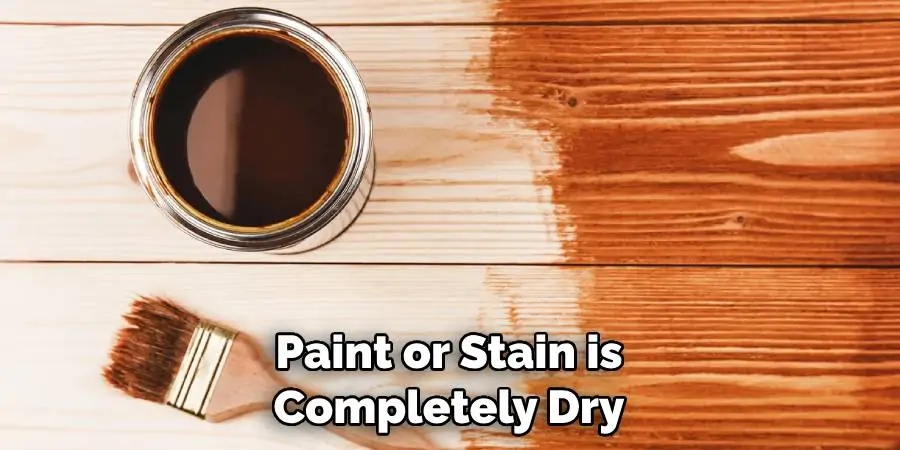
Once the paint or stain is completely dry, it’s time to reattach the hardware that was removed at the beginning of this process. Carefully position the handles, knobs, and hinges in their original places and securely fasten them using your screwdriver or drill. Ensure each piece is tightly fitted to avoid any wobbles or shakes. This step brings back the functionality of your cabinets, completing the transformation process. At this point, your kitchen cabinets should not only look brand new but also operate smoothly, enhancing the overall usability and appeal of your kitchen space.
10. Dispose of Chemicals Properly
Finally, it’s important to dispose of the chemicals used in this process responsibly. Follow manufacturer guidelines for disposal of any leftover paint stripper, paint or stain, and any cleaning agents. These substances should never be poured down the drain or discarded in regular household trash. Many cities have programs for hazardous waste collection, making it easy to dispose of these items safely. Proper disposal not only helps in maintaining a clean and safe environment but also ensures that you are in compliance with local regulations regarding waste disposal.
Some Common Mistakes to Avoid When Stripping Kitchen Cabinets
While stripping your kitchen cabinets can be a time-consuming and sometimes tedious process, it is important to avoid these common mistakes to achieve the best results:
- Rushing through the process: Stripping takes time and patience. It’s crucial not to rush or skip steps in order to ensure a smooth and successful outcome.
- Not following manufacturer instructions: As mentioned earlier, it’s important to carefully follow manufacturer instructions for the stripper, as well as any paint or stain being used.
- Skipping sanding: Sanding is a crucial step in preparing your cabinets for a new finish. Skipping this step can result in an uneven or rough surface that will affect the final appearance of your cabinets.
- Not cleaning properly: Properly cleaning and removing all dust and residue before applying the new finish is essential for achieving a professional-looking outcome.
- Neglecting safety precautions: Chemical strippers can be hazardous, so it’s important to take proper safety precautions such as wearing protective gear and working in a well-ventilated area.
By avoiding these common mistakes, you can ensure a successful cabinet stripping process that will leave your kitchen looking brand new. So, take your time, follow the steps carefully, and enjoy the transformation of your kitchen space!
Frequently Asked Questions (FAQs)
What is the Easiest Way to Strip Kitchen Cabinets?
The easiest way to strip kitchen cabinets is by using a chemical stripper, as it effectively removes old finishes without causing damage to the wood.
Can You Strip Cabinets Without Sanding?
While sanding is recommended for the best results, it is possible to strip cabinets without sanding. However, not sanding may result in a less smooth and even surface.
Is It Better to Strip or Sand Kitchen Cabinets?
This ultimately depends on your preference and the condition of your cabinets. Stripping is less labor-intensive and can yield good results, but sanding ensures a smoother surface for the new finish.
Conclusion
In conclusion, stripping kitchen cabinets may seem like a daunting task, but with the right tools and techniques, it can be a rewarding and satisfying project. Remember to always wear protective gear and work in a well-ventilated area for safety. The process may take some time and effort, but the end result will be worth it when you see your cabinets transformed into a clean slate ready for a new look. Whether you’re going for a natural wood finish or want to add a pop of color, stripping is the first step in achieving the perfect look.
So go ahead and give your kitchen cabinets some love – try out these tips on how to strip kitchen cabinets and watch as your space is instantly refreshed and revitalized. Don’t be afraid to experiment and have fun with the process! And if you need more inspiration, check out some before and after photos of stripped cabinets – seeing the amazing transformation will surely motivate you even more. Happy stripping!
