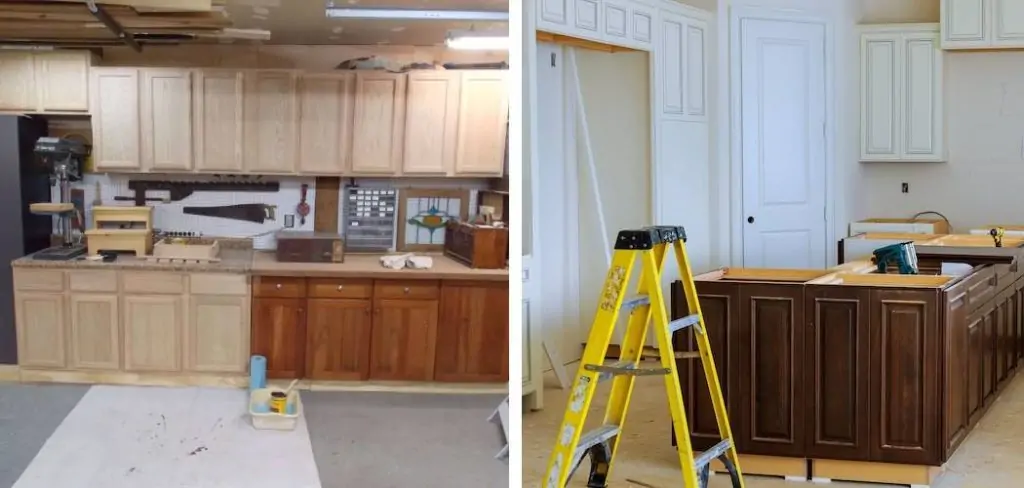
When you first purchase a new home or decide to remodel your kitchen, one of the biggest challenges can be choosing and installing the perfect kitchen cabinets. However, even after carefully selecting and installing your dream cabinets, sometimes life gets in the way and they end up unfinished. Whether it’s due to time constraints, budget limitations, or simply changing priorities, it’s not uncommon to have unfinished kitchen cabinets in your home. But don’t worry, finishing them is easier than you might think!
Here are some simple steps on how to finish unfinished kitchen cabinets and turn them into the beautiful focal point of your kitchen.
How to Remove Scratches From Unfinished Kitchen Cabinets
First, take a look at your unfinished kitchen cabinets and assess the damage. If you notice any scratches or scuffs on the surface, there are a few ways to remove them before beginning the finishing process.
One option is to use sandpaper with a fine grit (around 220) to gently sand down the affected area. Be sure to sand in the direction of the wood grain to avoid creating further damage. Once the scratches have been sanded down, wipe away any dust with a damp cloth and allow the surface to dry completely before moving on.
Another option is to use a wood stain marker or touch-up pen in a similar color to your cabinets. Simply fill in the scratches and blend it in with a soft cloth until it matches the surrounding wood. This is a quick and easy fix for minor scratches that can save you time and effort.
Step-by-Step Guide for How to Finish Unfinished Kitchen Cabinets
Now that your cabinets are scratch-free, it’s time to start the finishing process. Here are 7 essential tips to help you finish your unfinished kitchen cabinets like a pro:
Step 1: Give Them Character with Distressed Paint
If you’re looking to add a unique, shabby chic appeal to your kitchen, consider giving your unfinished cabinets a distressed paint job. This involves intentionally scuffing up the surfaces to create a worn, rustic look that is full of character. Here’s how you can achieve it:
- Prepare the Surfaces: Begin by lightly scuffing your cabinets with sandpaper. This will help create an uneven surface that will enhance the distressed look.
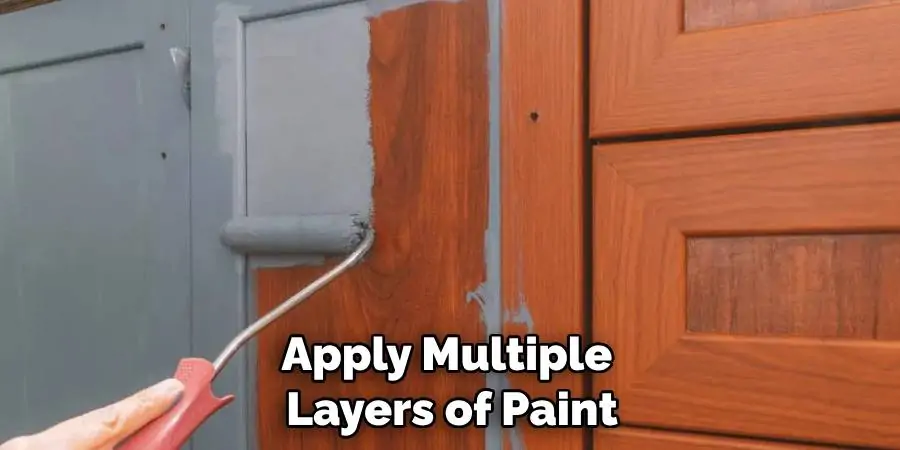
- Apply the Paint: Choose a paint color that complements your kitchen’s decor. Antique white or light gray are popular options for a distressed look. Apply multiple layers of paint, allowing each layer to dry before applying the next.
- Distress the Paint: After the paint has fully dried, use sandpaper to lightly distress the areas where natural wear would occur, such as corners and areas around handles.
This technique offers a charming way to refurbish beat-up cabinets, turning them into a stylish feature in your kitchen.
Step 2: Go Bold with Colors and Patterns
If you want to make a statement with your unfinished cabinets, consider adding a bold pop of color or pattern. This can draw the eye towards your cabinets and add personality to your kitchen design. Here are some ideas to get you started:
- Add a Splash of Color: Choose a bright, bold paint color for your cabinets. Yellow, red, or even turquoise are fun and unexpected choices that can add vibrancy to your kitchen.
- Incorporate Patterns: You can also use wallpaper or stencils to add a patterned design to your cabinets. This is an easy way to create visual interest without committing to a permanent change.
- Mix and Match: Don’t be afraid to mix and match colors and patterns for a truly unique look. For example, you could paint the cabinet frames one color and use a patterned wallpaper on the doors.
Step 3: Upgrade Hardware for a Refined Look
To bring a touch of elegance to your kitchen cabinets, consider upgrading the hardware. Sometimes, it’s the small details that make a big difference, and this is certainly true when it comes to cabinet knobs and pulls. If your cabinets currently have outdated brass or chrome fixtures, a simple swap for matte black, oil-rubbed bronze, or vintage-inspired handles can add a refined look to your kitchen. Sleek hardware seamlessly blends with any cabinet style, elevating its appearance and creating a more polished, modern aesthetic. For a cohesive look, try to match your cabinet hardware with other fixtures in your kitchen, like the faucet or light fixtures. This upgrade is relatively inexpensive and easy to do, but it can have a dramatic impact on your kitchen’s overall look and feel.
Step 4: Add Storage and Organization Solutions
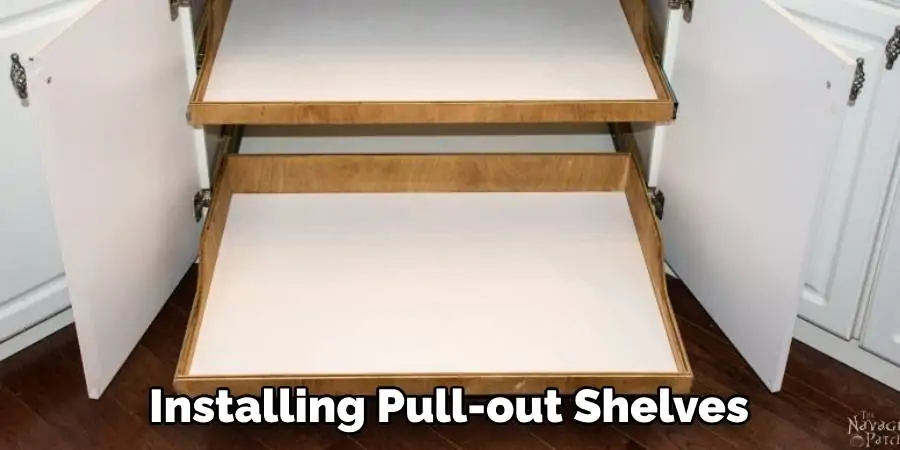
Maximizing vertical space within your kitchen cabinets can greatly enhance their functionality and usability. One of the best ways to do this is by installing pull-out shelves, racks, and bins. This not only organizes your items, but also makes them easily accessible.
- Pull-out Shelves: These are ideal for storing pots, pans, and other bulky kitchen items. They slide out smoothly for easy access and can be custom-sized to fit your cabinets.
- Racks: Spice racks or pantry door racks can be incredibly useful for storing small items like spices, condiments, and baking supplies. They keep everything visible and within reach while freeing up shelf space.
- Bins: Pull-out bins can be used for storing cleaning supplies, trash, and recycling. They keep these items hidden, yet accessible, and can be incorporated into your cabinet design.
By implementing these smart storage solutions, you can transform your unfinished kitchen cabinets into an organized, efficient space that makes meal prep and cleaning a breeze.
Step 5: Accessorize with Contact Paper, Decals, Glass Bottles
If you want to add a personal touch to your kitchen cabinets, accessorizing with contact paper, decals, or glass bottles is a great way to do it. These simple additions can add character and style to your cabinets without breaking the bank.
- Contact Paper: This adhesive-backed material comes in a variety of colors and patterns, making it easy to customize your cabinet shelves and interiors. It’s perfect for adding a pop of color or covering up any imperfections.
- Decals: Similar to contact paper, decals are easy to apply and come in a variety of designs. You can choose from quotes, floral patterns, or even your favorite movie characters to add some personality to your cabinets.
- Glass Bottles: Instead of storing your cooking oils and spices in plain containers, consider transferring them to glass bottles for a more aesthetically pleasing display. You can even label them with chalkboard stickers or markers for a fun touch.
These small but impactful touches can give your kitchen cabinets a unique and personalized look that reflects your style and taste.
Step 6: Consider Partial or Full Cabinet Refacing
Refacing your kitchen cabinets can be a cost-effective way of giving them a new lease on life, especially if they’re structurally sound but aesthetically worn. This process involves replacing the cabinet doors and drawer fronts with new ones, completely transforming the appearance of your kitchen without the need to replace the cabinets entirely. Here’s how you can undertake a partial or full cabinet refacing:
- Choose Your Materials: Select new cabinet doors and drawer fronts that match your preferred style and aesthetic. These can range from sleek modern designs to more traditional, ornate styles.
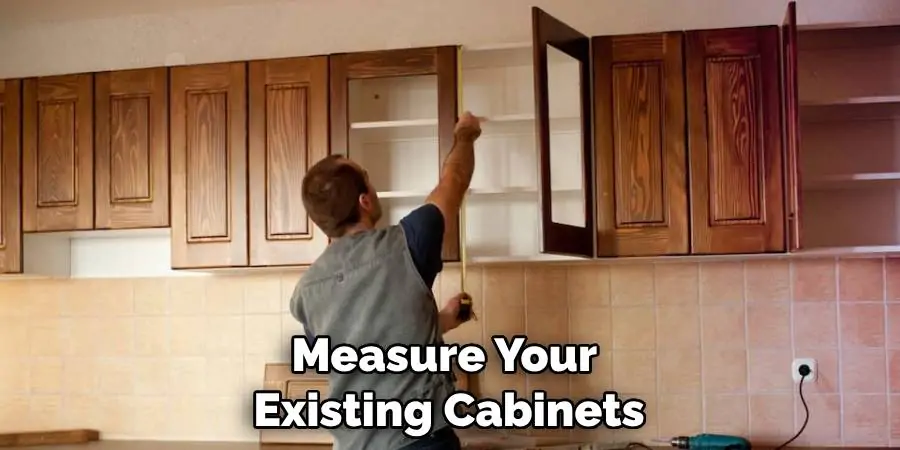
- Measure Carefully: Ensure you accurately measure your existing cabinets to ensure your new fronts will fit perfectly. This step is crucial, as any errors can lead to ill-fitting doors and drawers.
- Installation: Remove the old fronts and install the new ones. This may require some basic tools and hardware, but is often a straightforward process.
- Finishing Touches: Once your new fronts are installed, you can add finishing touches such as new handles or knobs.
A successful refacing can completely transform your kitchen, making it look as though you’ve installed brand new cabinets. It’s an affordable and effective option for those looking to refresh their kitchen without undertaking a full remodel.
Frequently Asked Questions
Q: Can I Paint Over Laminate Cabinets?
Yes, you can! Laminate cabinets can be painted with proper preparation and the right type of paint. Be sure to thoroughly clean and sand the surface before applying a primer and then your desired color.
Q: How Can I Make My Kitchen Cabinets Look More Expensive Without Replacing Them?
There are several ways to make your kitchen cabinets look more expensive without breaking the bank. Upgrading hardware, adding storage solutions, and accessorizing with contact paper or decals are all affordable options. You can also consider partial or full cabinet refacing for a more dramatic transformation.
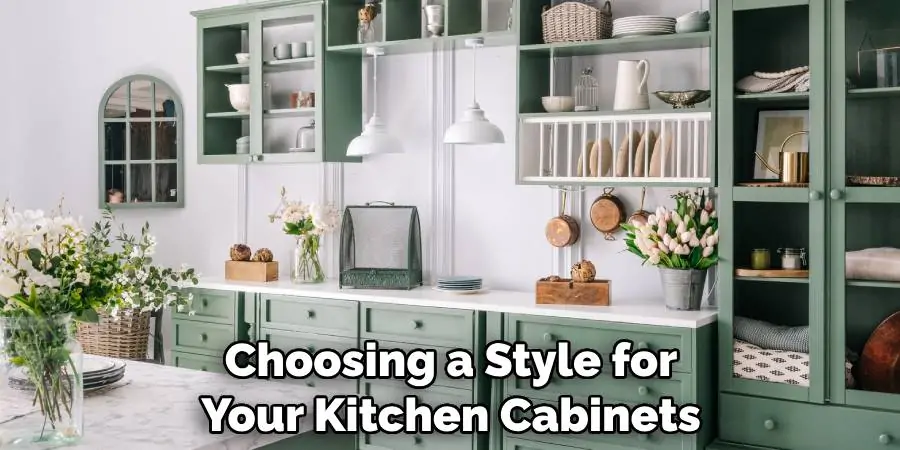
Q: How Do I Choose the Right Style for My Kitchen Cabinets?
When choosing a style for your kitchen cabinets, consider the overall aesthetic and design of your kitchen. You want to choose a style that complements the space and reflects your personal taste. Look for inspiration online, in home improvement stores, or consult with a professional designer for guidance. Remember to also consider functionality and storage needs when selecting a cabinet style.
Conclusion
In conclusion, finishing unfinished kitchen cabinets may seem like a daunting task, but with the right tools and techniques, it can be done efficiently and effectively. We learned that proper preparation is key to achieving a smooth and professional finish. From sanding to priming and painting, every step plays a vital role in the outcome of your cabinets. With patience and attention to detail, you can transform your outdated kitchen into a stunning space that you’ll love spending time in.
Don’t be afraid to experiment with different colors or finishes to truly personalize your cabinets. And when in doubt, remember the number one rule: always start with a test area before committing to the entire project. We hope this guide has provided you with valuable insights on how to finish unfinished kitchen cabinets and inspired you to tackle this DIY project yourself. So go ahead and turn those old and forgotten cabinets into the focal point of your kitchen! Trust us, it will be worth the effort in the end. Happy finishing!
