Welcome to all the DIY enthusiasts and home renovators out there! Are you tired of looking at your plain, outdated kitchen cabinets? Do you want to give them a fresh and stylish new look? If so, then you’re in the right place. Adding trim to kitchen cabinets is an excellent way to upgrade the overall look of your cooking space without breaking the bank or starting a full-scale renovation project.
With just a few tools, materials, and some patience, you can transform your cabinets from drab to fab in no time. In this blog post, we will guide you through everything you need to know about how to add trim to kitchen cabinets – from choosing the right type of trim for your style preference and budget to step-by-step instructions on how to install it yourself. So grab your favorite beverage, put on your work gloves, and let’s get started!
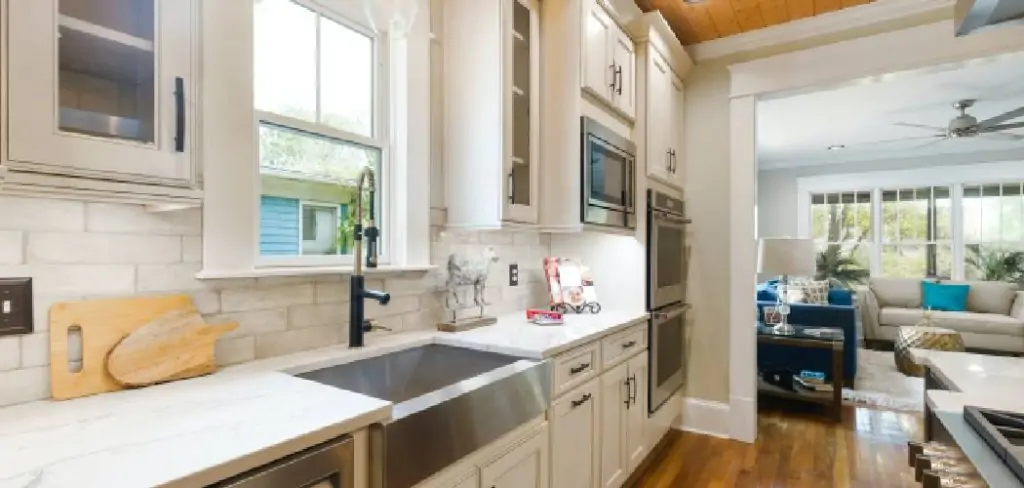
What Tools Are Needed to Add Trim to Kitchen Cabinets
Before we dive into the process of adding trim to kitchen cabinets, let’s make sure you have all the necessary tools on hand. This will save you time and frustration in the long run. Here are some essential tools you’ll need:
- Measuring tape
- Miter saw or circular saw
- Wood glue
- Nail gun or hammer and nails
- Sandpaper
- Paintbrush or roller
- Wood filler
- Clamps (optional)
It’s always a good idea to wear safety goggles and gloves when working with power tools and adhesives. Additionally, make sure you have a well-ventilated workspace.
Step- by- Steps Process on How to Add Trim to Kitchen Cabinets
Now that you have all the necessary tools and have chosen your desired trim, it’s time to start the installation process. Here are the steps to add trim to your kitchen cabinets:
Step 1: Choose Your Trim Style
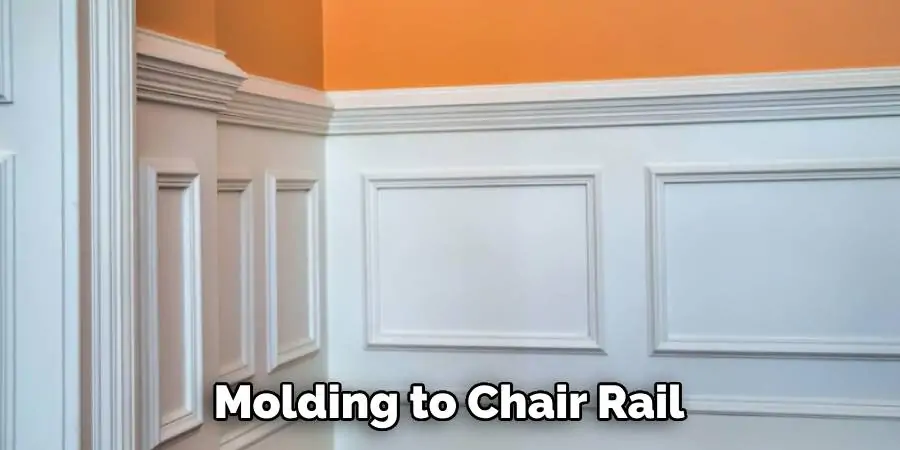
The first step in transforming your kitchen cabinets with trim is deciding on the style of trim that best suits your kitchen design. From molding to chair rail, each style of trim has a distinct look and feel. Crown molding, for instance, lends an air of elegance and can give the illusion of height. Molding is a versatile option that can be used to create a variety of looks, from classic to contemporary, depending upon the profile you choose. A chair rail, on the other hand, adds a touch of sophistication and can be particularly effective in a dining area adjacent to your kitchen. Consider the overall style and decor of your kitchen before making your choice.
Step 2: Measure Your Cabinets
Before you head to the hardware store to buy your trim, it is important to take accurate measurements of your cabinets. Measure the length and height of each cabinet door, as well as any other areas where you plan on adding trim.
Step 3: Cut Trim Pieces to Size
Once you have your measurements, it’s time to cut your trim pieces. Using a miter saw, table saw, or circular saw, carefully cut the trim boards to the lengths you have noted down. Remember, the lengths should correspond to the measurements of your cabinets. If there are any corners where the trim pieces will meet, you’ll need to cut these at a 45-degree angle — this is called a mitered cut. Mitered cuts allow the pieces to fit together neatly at the corners, providing a clean, professional finish. Always err on the side of caution and cut a bit longer, as you can always trim down the pieces if they are too long, but you can’t add length if they are too short.
Step 4: Add Wood Filler
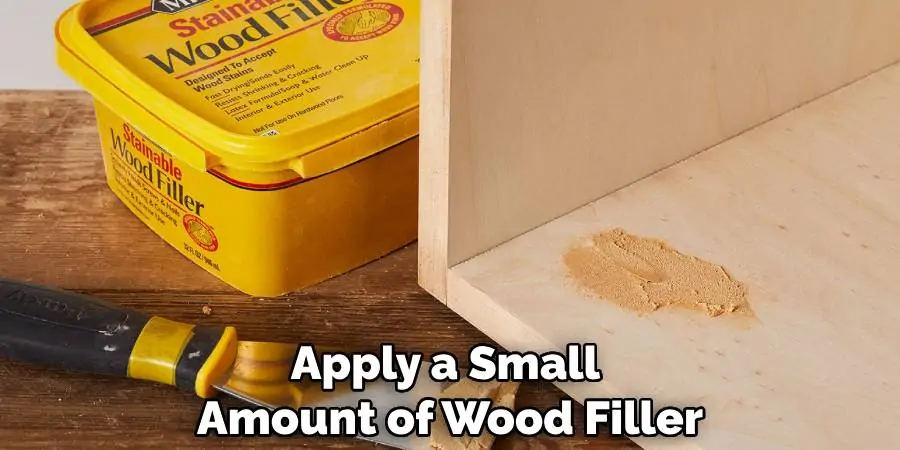
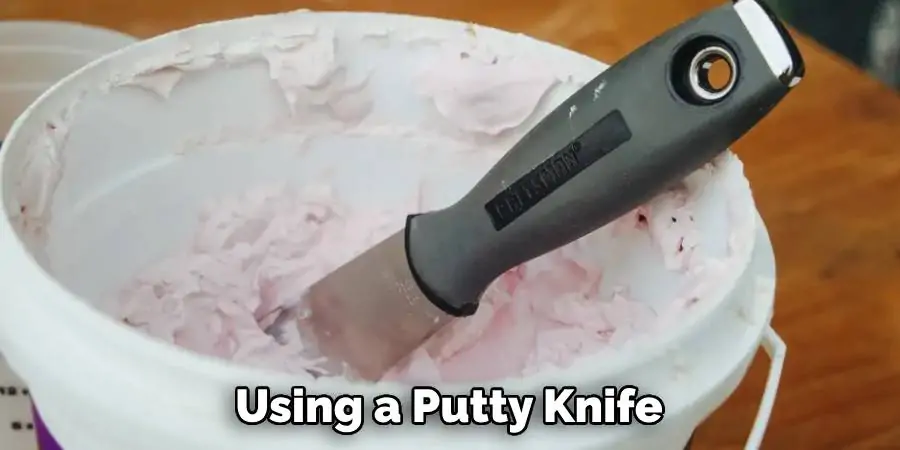
After cutting your trim pieces to size, you may notice small gaps or imperfections in your cabinets. Don’t worry — this is where the wood filler comes in. Apply a small amount of wood filler to these areas and smooth it out with a putty knife or a piece of sandpaper. The wood filler will fill in the gaps and create a smooth, flawless surface. After the filler has dried, which usually takes about 15-20 minutes, sand the filled areas until they are smooth and even with the rest of the cabinet. This will ensure that your trim looks professional once installed and painted.
Step 5: Prime and Paint Trim
Before painting, it’s vital to prime all your trim pieces. Priming provides a perfect surface for the paint to adhere, ensuring your trim pieces not only look good but also are durable. Use a good-quality primer and apply a thin coat to each trim piece, ensuring all areas are covered. Once the primer is dry, you can then move on to painting your trim. Consider using a foam roller brush for this task. Foam roller brushes are excellent for achieving a smooth, even finish without any drips or brush strokes. Choose a paint color that matches or complements your cabinets for a seamless look. After painting, allow the trim pieces to dry completely before proceeding to the next step.
Step 6: Install Trim
With your trimmed and painted pieces ready, you can now move onto installation. Apply a thin line of wood glue to the back of each trim piece. Press the trim piece against the cabinet, making sure it aligns perfectly with the edge. Use a nail gun or hammer and finish nails to secure the trim to the cabinet. Drive the nails through the trim and into the cabinet, ensuring the trim piece is tightly affixed. For corners, ensure that the trim pieces meet neatly at a 45-degree angle – this is why we made mitered cuts earlier. Repeat this process for each cabinet until all the trim pieces are installed. Make sure to wipe away any excess glue that squeezes out immediately to prevent it from hardening and ruining your finished look.
Step 7: Hide Nail Heads
Once all the trim pieces are securely nailed in place, the next step involves concealing the nail heads for a flawless finish. For this, apply a small amount of wood filler over each nail head. Smooth the filler out using a putty knife or a piece of fine-grit sandpaper, ensuring that it’s level with the surface of the trim. Once the filler is completely dried, lightly sand the area for a smooth, seamless surface. This process effectively hides the nail heads, resulting in a clean and professional appearance for your trimmed kitchen cabinets.
Step 8: Sand and Finish
After allowing ample time for the wood filler to dry and sanding down any excess, it’s time to finish your trimmed kitchen cabinets. Use a brush or foam roller to apply a coat of clear polyurethane sealer over all the trim pieces. This will not only protect the newly installed trim but also give it a glossy sheen, adding to its overall appeal. Allow the sealer to dry completely and then give a light sanding with a fine-grit sandpaper for a smooth finish. This step is optional but highly recommended as it will ensure that your trim stays looking its best for years to come.
Step 9: Stand Back and Enjoy
After all the hard work, it’s time to stand back and take in the transformation of your kitchen cabinets. Admire the added style, sophistication, and character that trimming can bring to your space. Your newly trimmed kitchen cabinets will not only enhance the overall aesthetic of your kitchen but also add value to your home. Whether you choose a classic crown molding or a modern chair rail, this simple DIY project is a great way to update your kitchen without breaking the bank. So go ahead and give your cabinets the royal treatment they deserve with some beautiful trim!
What Are Some Common Types of Trim Used for Kitchen Cabinets
There are various types of trim that you can use to add character and style to your kitchen cabinets. Here are some popular options:
- Crown molding: This is the most common type of trim used for kitchen cabinets. It adds a touch of elegance and can make your cabinets look taller and more custom.
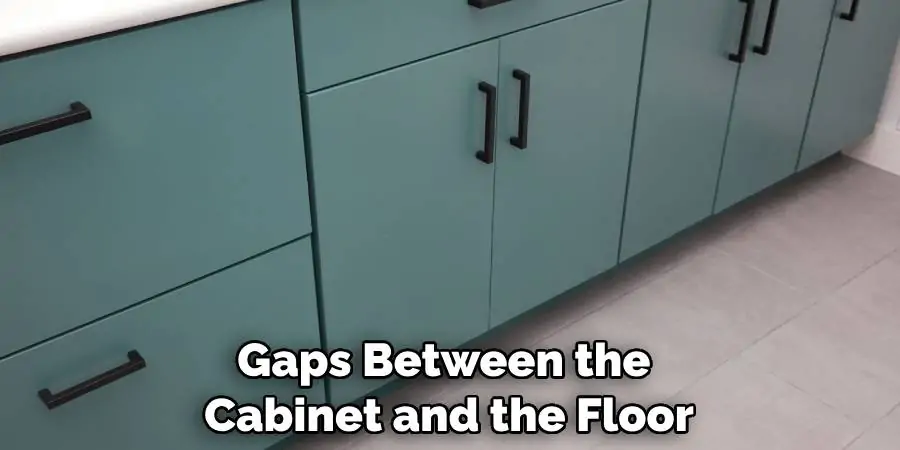
- Baseboard molding: This type of trim is usually placed at the bottom of the cabinets and can help cover any gaps between the cabinet and the floor.
- Picture frame molding: As the name suggests, this type of trim is used to create a frame around the outer edge of your cabinets, giving them a more polished look.
- Rope molding: This decorative trim is made of twisted or braided rope that adds a unique texture to your cabinets.
- Beadboard paneling: If you’re going for a more rustic or cottage-style look, beadboard paneling is an excellent option. It can be used to cover the entire cabinet door or just the bottom half.
When choosing the type of trim, consider the style of your kitchen and cabinets. You want to make sure it complements and enhances the overall aesthetic.
Frequently Asked Questions
Q: What is the Trim Under Kitchen Cabinets Called?
A: The trim under kitchen cabinets is called toe kick or base molding. Its purpose is to cover the gap between the bottom of the cabinet and the floor, protecting it from dust and debris.
Q: Can I Install Trim on Already Installed Cabinets?
A: Yes, you can definitely install trim on already installed cabinets. Just make sure to measure accurately and choose a trim that matches the style and size of your cabinets for a seamless look.
Q: Do I Need to Sand My Cabinets Before Installing Trim?
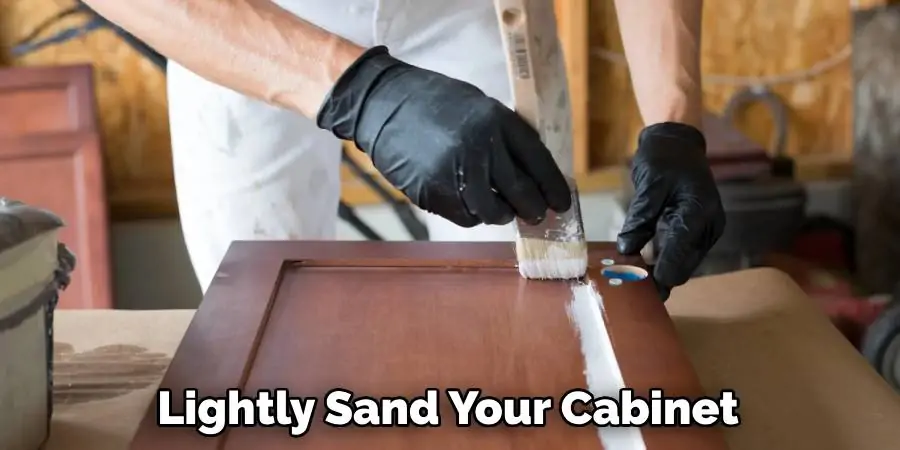
A: It is recommended to lightly sand your cabinets before installing trim. This will ensure that the trim adheres properly and that any imperfections or rough areas on the cabinet surface are smoothed out for a better finish. However, if your cabinets are already smooth and in good condition, you can skip this step. Overall, sanding beforehand is a personal preference and may depend on the type of trim you are using.
Conclusion
In conclusion, adding trim to kitchen cabinets is a simple and cost-effective way to elevate the overall look of your kitchen. By following these steps, you can achieve a professional and polished look without breaking the bank. Remember to measure carefully, use the appropriate tools and materials, and take your time to ensure a smooth and flawless finish. Whether you choose to add simple trim for a sleek and modern aesthetic or opt for more ornate details for a traditional touch, the possibilities are endless with trims.
So go ahead and give your kitchen cabinets some character by adding trim – you won’t regret it! And if you’re feeling inspired by this project, why stop at just kitchen cabinets? Try applying trim to other areas of your home such as bookshelves, doors, or even furniture pieces for a cohesive and stylish look throughout. Thank you for joining us in this tutorial on how to add trim to kitchen cabinets – now it’s your turn to get creative!
