Do you dream of having a beautiful, spacious kitchen where you can cook and entertain your family and friends? Do you find yourself longing for extra storage space and a focal point that will elevate the aesthetic of your kitchen? If so, then you’re in luck because today’s blog post is all about how to build a kitchen island with cabinets!
Whether you’re a seasoned DIY enthusiast or just starting to dip your toes into the world of home improvement, this step-by-step guide will provide you with all the information and inspiration you need to create a stunning kitchen island that not only meets your storage needs but also adds a touch of style to your space. So grab your tools and let’s get started on this exciting project together!
Materials Needed
Before we dive into the construction process, let’s first gather all the necessary materials. Depending on the size and design of your kitchen island, you may need to adjust the quantities accordingly.
- Base cabinets (choose a style and size that fits your needs)
- Plywood or butcher block countertop
- Screws
- Drill
- Level tool
- Measuring tape
- Jigsaw or circular saw
- Wood glue (optional)
- Sandpaper (optional)
- Paint or stain (optional)
How to Install Cabinets on a Kitchen Island
Now that we have all the materials ready, it’s time to start building! Follow these steps to install cabinets on your kitchen island:
- Measure and mark the placement of your base cabinets on the floor. Use a measuring tape and pencil to mark where you want each cabinet to go.
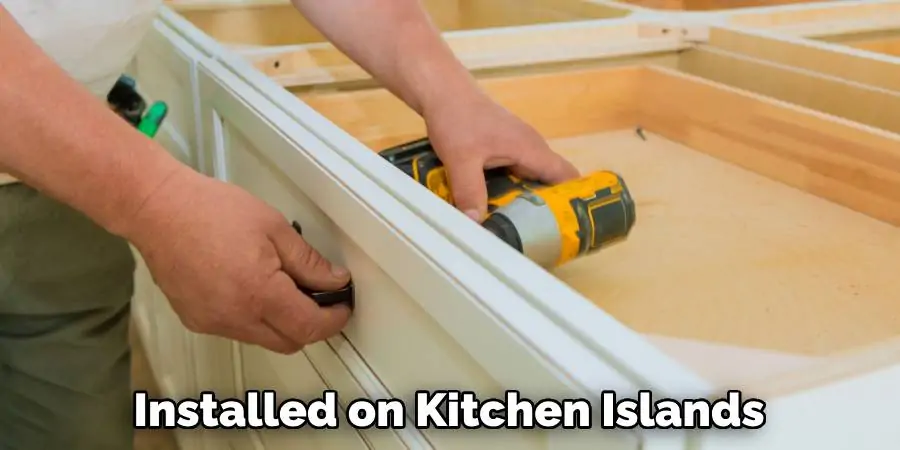
- Place the first two cabinets side by side and secure them together using screws. Use a drill to create pilot holes and then attach the cabinets with screws.
- Check for levelness using a level tool. If needed, use shims to adjust the height of the cabinets.
- Repeat steps 2 and 3 for all remaining cabinets.
- Once all cabinets are secured together, it’s time to secure them to the floor. Use screws to attach the cabinets to the floor, making sure they are level and aligned.
- Next, it’s time to cut and install the countertop. Measure and mark where you need to cut the countertop using a measuring tape and pencil.
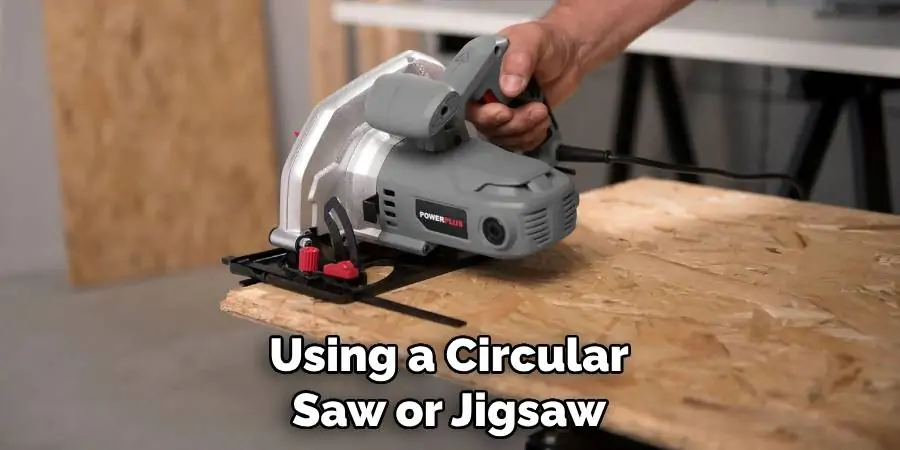
- Use a jigsaw or circular saw to make the necessary cuts on the countertop.
- Place the countertop on top of the cabinets and secure it using screws.
- If desired, you can use wood glue to attach a decorative trim or molding around the edges of the countertop for a finished look.
- Optional: Sand and paint or stain the kitchen island to your desired finish.

How to Build a Kitchen Island With Cabinets on Step-by-step Process
Step 1: Measure the Space
Before you start building your kitchen island, it is important to measure the space you have available. Measure the length and width of the area where you plan to place your island, as well as the height of the ceiling. This will help you determine how large your island can be and what type of cabinets you will need.
Step 2: Choose Your Cabinets
Once you know how much space you have available, it’s time to choose your cabinets. Consider what type of storage needs you have and look for cabinets that are designed to meet those needs. Think about things like drawers, shelves, and doors when selecting cabinets for your kitchen island.
Step 3: Gather Your Supplies
Once you’ve chosen your cabinets, it’s time to gather all of the supplies that you’ll need for the project. Make sure that you have everything on hand before starting so that there are no delays in construction due to missing items or materials. You should also make sure to wear safety glasses when working with power tools such as saws and drills.
Step 4: Cut Your Plywood Base
Using a circular saw or jigsaw, cut a piece of plywood that is slightly larger than the measurements of your kitchen island space. This will serve as the base for your island and provide a sturdy foundation for your cabinets and countertop surface.
Step 5: Secure Your Cabinets To The Base
Once your plywood base is cut, it’s time to attach your cabinets to it using screws or nails (depending on what type of cabinet material you have). Make sure each cabinet is securely attached before moving on to the next one so that they don’t shift during construction or use once completed.
Step 6: Add Support Brackets
To ensure that all of your cabinets remain secure over time, add support brackets underneath them where needed. These brackets should be attached directly to both the wall behind them and also into studs in the floor beneath them if possible for added stability and strength over time.
Step 7: Add Trim Pieces
To give your kitchen island a finished look, add trim pieces around any exposed edges or corners where needed using wood glue or nails/screws (depending on what type of trim material you have). This will help cover up any gaps between cabinets or other unfinished areas and give it a more polished appearance overall once complete!
Step 8: Install Countertop Surface
Once all of the trim pieces are in place, it’s time to install a countertop surface onto your kitchen island! Depending on what type of countertop material you choose (such as granite, quartz, etc.), there may be additional steps required here such as cutting out sink holes or applying sealant before installation can begin so make sure to research this beforehand if necessary!
Step 9: Attach Under Cabinet Lights
Under cabinet lights can help illuminate dark areas under upper cabinets on kitchen islands which can be great for food preparation tasks! There are several different types available including LED strips which come with adhesive backing so they can easily be attached underneath cabinets without having to drill any holes into walls or floors!
Step 10: Install Power Outlets & Switches
If desired, power outlets & switches can also be installed on kitchen islands in order to provide access to electricity without having cords running across surfaces which could create tripping hazards! Depending on local codes & regulations these should only be installed by qualified electricians who know how to properly wire them safely & correctly!
Step 11: Seal Any Exposed Edges
To protect against water damage from spills & splashes while cooking/cleaning up after meals – seal any exposed edges on cabinetry with a waterproof sealant which will help prevent moisture from seeping into the wood over time & causing issues down the road!
Step 12: Add Finishing Touches
Finally – add some finishing touches such as decorative hardware like knobs/pulls/hinges etc., plants/flowers/decorative items, etc., barstools if desired, etc., to give your new kitchen island an extra special touch that reflects personal style & taste perfectly!
Additional Tips and Tricks
- If you have a larger kitchen, consider using multiple base cabinets for a longer island and add a connecting piece of countertop for added workspace.
- When choosing your cabinets and countertop materials, make sure they are water-resistant and durable to withstand the heavy use of a kitchen.
- Don’t forget about lighting! Consider installing under-cabinet lighting or pendant lights above the island for added functionality and style.
Frequently Asked Questions
Is It Cheaper to Build a Kitchen Island?
It can be cheaper to build a kitchen island compared to purchasing one, as long as you have the necessary tools and skills. However, it will require more time and effort on your part.
How to Build a Small Kitchen Island?
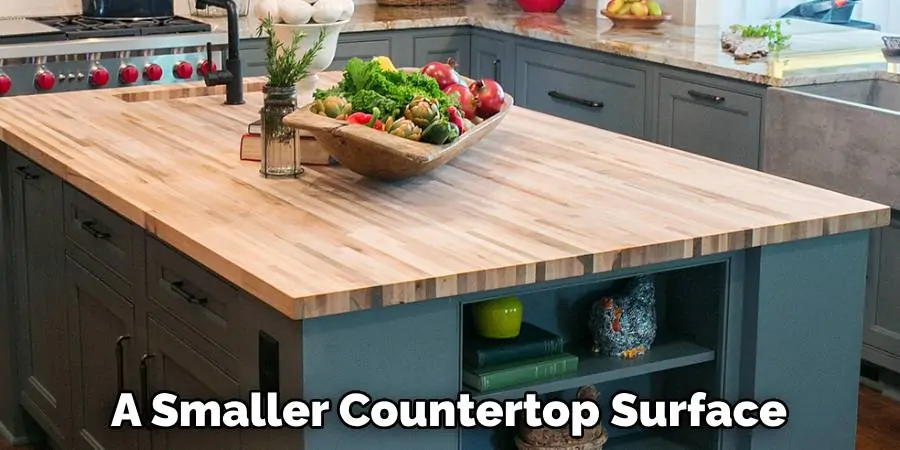
For a small kitchen island, consider using only one or two base cabinets instead of multiple. You can also opt for a smaller countertop surface and still have enough space to work on. Additionally, using lighter materials such as plywood and laminate can help keep the overall weight and cost down.
Can I Design My Own Kitchen Island?
Yes, you can design your own kitchen island by determining the size, shape, and features that best suit your needs. You can also choose the materials and finishes to match your personal style and home decor. Just make sure to do proper research and planning before starting the construction process. Overall, building a kitchen island is a DIY project that allows for customization and creativity!
Conclusion
Ultimately, building a kitchen island with cabinets can be an incredibly rewarding project that will help improve the functionality of your kitchen. With careful planning and research, you’ll have the kitchen island you desire in no time. To finish, be sure to pick materials that fit within your budget and are easy to clean. If necessary, hire professionals to ensure your project goes smoothly. When you complete this project, you can enjoy the convenience of a fully functional kitchen island for years to come!
So if you want to boost your cooking credentials by making a beautiful and functional kitchen island for yourself, follow these simple steps: measure your space, create a plan of action, select materials, and put it all together. Follow this guide on How to Build a Kitchen Island With Cabinets and have fun creating your dream kitchen.
