Painting inside cabinets may seem like a daunting task, but with the right tools and techniques, it can be an easy and rewarding DIY project. Not only does painting the inside of your cabinets give them a fresh new look, but it also helps protect them from wear and tear.
In this guide, we will discuss step-by-step instructions on how to paint inside cabinets in a few simple and easy-to-follow steps.
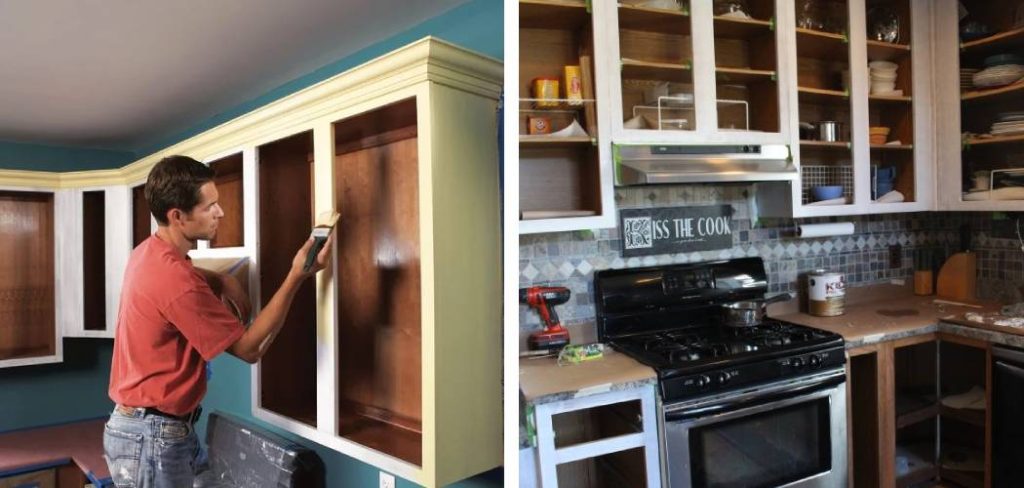
What Type of Paint is Best for Painting Inside Cabinets?
The type of paint you choose for your cabinets will depend on the material of your cabinets and the look you want to achieve. However, it is recommended to use a high-quality semi-gloss or gloss enamel paint for painting inside cabinets. These types of paint are durable, easy to clean, and have a smooth finish.
Materials Needed
Before we get started, make sure you have all the necessary materials on hand. These include:
- Sandpaper
- Primer
- Paint (preferably a semi-gloss or high gloss finish)
- Paint rollers and brushes
- Painter’s tape
- Drop cloths or old newspapers
- Screwdriver (if you need to remove cabinet doors)
How to Paint Inside Cabinets: A Practical Guide for Home Improvers
Rejuvenating the inside of your cabinets with a fresh coat of paint can instantly breathe new life into your kitchen or bathroom, transforming the overall aesthetic and feel of the space. Whether you’re looking to hide years of wear, implement a new color scheme, or simply add a touch of personality, painting inside the cabinets is a DIY project that can yield impressive results. Here’s a detailed guide to help you tackle this task like a seasoned pro.
1. Plan Your Approach
Before reaching for the paintbrush, it’s essential to create a plan of action. Ask yourself the following questions:
- What type of paint should you use? For the inside of cabinets, it’s best to opt for a high-quality, non-toxic enamel paint that can withstand the daily rigors of kitchen or bathroom use.
- Do you need to remove the cabinet doors? This may offer easier access for painting, but is not always necessary.
- Will you work on one section at a time to maintain the usability of the cabinets?
Once you have a clear plan, gather the necessary materials, which may include sandpaper, painter’s tape, a screwdriver, a quality brush or roller, and the chosen paint.
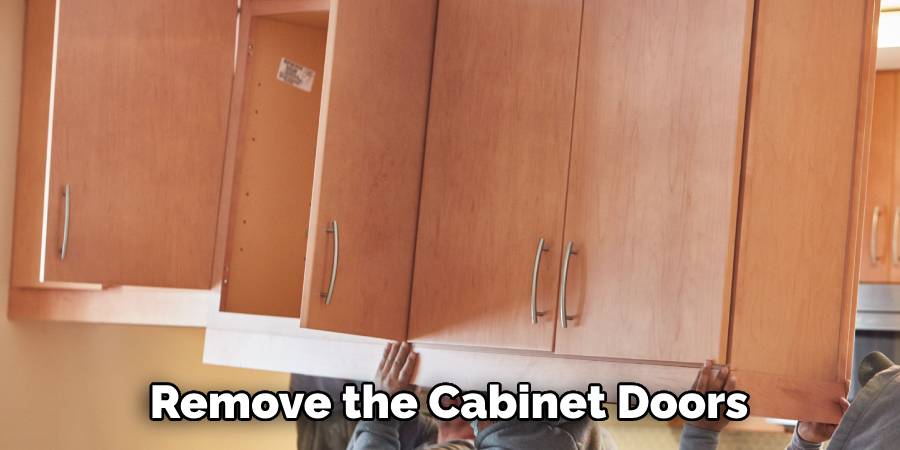
2. Prepare the Surfaces
Proper preparation is paramount to a successful painting project. Start by removing the contents of the cabinets and wiping down the interior surfaces to remove any grease, dirt, or grime.
Next, use a fine-grit sandpaper to scuff the wood or existing paint lightly. This step will help the new paint adhere better and ensure a longer-lasting finish. After sanding, thoroughly clean the cabinet interiors to eliminate any dust.
3. Protect Surrounding Areas
Avoid accidental paint splatters by thoroughly covering the floor, countertops, and any surrounding areas with drop cloths. Use painter’s tape to protect any parts of the cabinet you don’t intend to paint, such as hinges and hardware, and interior light fixtures if present.
4. Prime the Surface (Optional)
Applying a primer isn’t always necessary, especially if you’re using a paint specifically designed for cabinets. However, if the existing paint is a dark color or the wood has stains, a primer can help you achieve a more uniform finish with less paint.
For high-traffic areas, consider using a stain-blocking primer to prevent any discoloration or bleed-through from the old finish.
5. Apply the First Coat of Paint
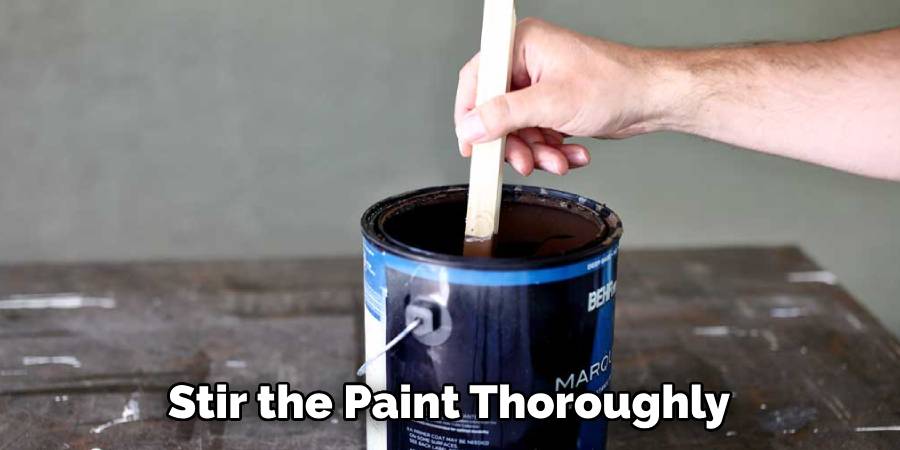
Stir the paint thoroughly before the first application. Begin by cutting in the corners and edges with a brush, and then use a roller for the larger, flat parts of the cabinet to achieve a more even coat.
Work on one section at a time and use a light touch to avoid drips and runs. If you’re only painting the inside of the cabinets, you may not need to apply the paint as thickly as you would on an exterior surface.
Allow the first coat to dry completely according to the manufacturer’s instructions before applying a second coat if necessary.
6. Add a Personal Touch
Transform your cabinets from simple storage to a work of art by adding an accent color or a decorative pattern. This could be as simple as painting the interior a different color, creating striped or checkered patterns, or adding stenciled designs.
For advanced techniques like these, be sure to practice on a spare piece of wood or cardboard first to perfect the process.
7. Reassemble and Enjoy
Once the final coat has dried, reattach the cabinet doors and any hardware that was removed. Take a step back and admire the freshly painted interior of your cabinets, knowing that you’ve just given your kitchen or bathroom a stylish update that reflects your personal taste and commitment to home improvement.
How to Protect Painted Inside Cabinets From Moisture and Wear
To ensure the longevity of your newly painted cabinets, it’s crucial to take steps to protect them from moisture and wear. Here are a few tips:
- Properly seal the paint with a clear topcoat or wax for added protection.
- Avoid using harsh cleaning chemicals that can damage the finish.
- Use felt pads on cabinet shelves to prevent scratches and wear from dishes and other items.
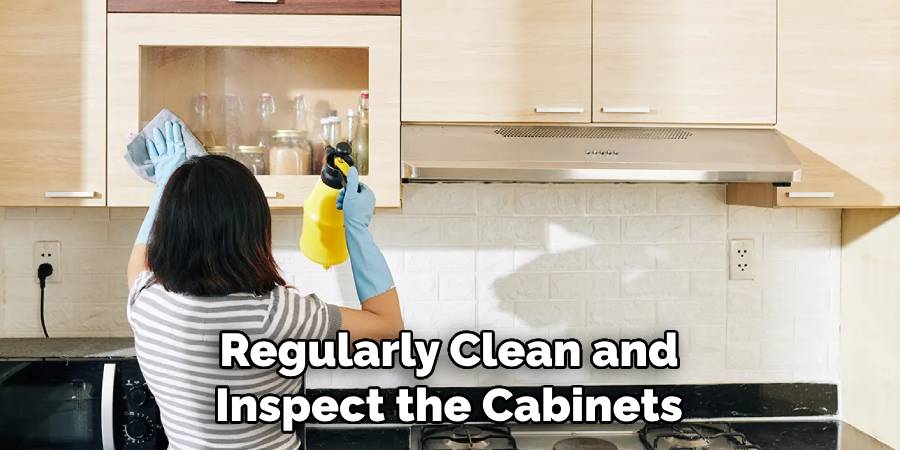
- Regularly clean and inspect the cabinets for any signs of wear or damage, and touch up as needed.
By following these steps and taking proper care of your painted inside cabinets, you can maintain their beauty and functionality for years to come. So go ahead, grab a paintbrush, and give your cabinets a fresh new look that will enhance your home’s overall appeal. Happy painting!
5 Things to Consider Before Painting Inside Cabinets
While painting inside cabinets can be a fun and rewarding DIY project, it’s important to consider a few things before diving in. These include:
- The Condition of the Existing Cabinets: If the inside of your cabinets are in poor condition, painting may not be the best option. Consider repairing or replacing them instead.
- Your Color Choice: Since the inside of cabinets is not typically visible, this is an excellent opportunity to experiment with bold or unconventional colors. However, keep in mind that your color choice should complement the overall design and flow of the space.
- The Type of Paint: As mentioned earlier, choosing a high-quality enamel paint specifically designed for cabinets is crucial for durability and longevity.
- Your Budget and Timeline: Painting inside cabinets can be time-consuming, and the cost of materials may add up quickly. Consider your budget and available time before starting the project.
- The Level of Difficulty: While painting inside cabinets is not a complicated task, it does require attention to detail and patience. Make sure you have enough time and the right tools to complete the job successfully.
By keeping these factors in mind, you can ensure a smooth and successful painting project that will add beauty and value to your cabinets and home. So go ahead, get creative, and transform the inside of your cabinets into a personalized space that reflects your unique style!
Remember, preparation is key, so take the time to properly prepare and protect your surfaces before diving into the fun part of painting. And don’t be afraid to add your personal touch with unique colors and designs. With the right approach, you can turn a simple storage space into a statement piece that enhances your overall home decor.
Frequently Asked Questions
Can You Paint the Inside of Your Cabinets?
Certainly, painting the inside of your cabinets can refresh your storage spaces and give your home a clean and updated look. How to Paint Inside Cabinets starts with the right preparations. Begin by removing all items from the cabinet and cleaning the interior surfaces thoroughly to remove dust and grime. Next, sand the surfaces lightly to ensure the new paint adheres well.
It’s critical to choose a high-quality paint that is durable and suitable for the cabinet material—semi-gloss or gloss finishes are typically recommended as they are easier to clean and more resistant to moisture. Apply a primer before the final paint coats to achieve an even finish. Always allow proper drying time between layers of paint. With patience and careful application, you can give your cabinets a professional-looking makeover on your own.
How Do You Cover Inside Cabinets for Painting?
Before starting your painting project, it’s essential to protect the surrounding areas from accidental paint splatters. Covering the floor and countertops with drop cloths is a must, as well as using painter’s tape to protect any parts of the cabinet you don’t intend to paint, such as hinges and hardware, and interior light fixtures if present.
What Can I Use Instead of Painting Inside Cabinets?
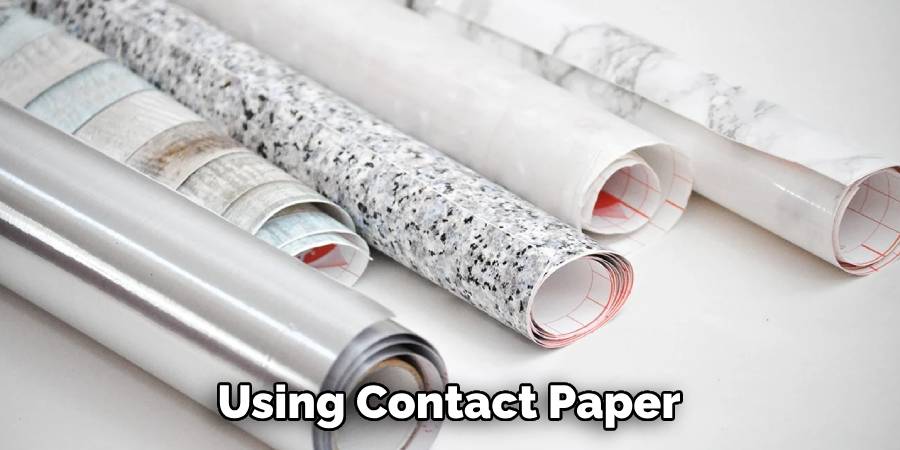
If painting is not an option, there are still ways to freshen up the interior of your cabinets. Using contact paper or adhesive shelf liners can give your cabinets a new look without any paint. Additionally, organizing and decluttering the contents of your cabinets can make them feel brand new. Consider using organizers and storage solutions to maximize space and add a touch of organization to your cabinets. So, there are plenty of options to improve the inside of your cabinets without having to pick up a paintbrush. Overall, the key is to find what works best for you and your specific needs and preferences.
Conclusion
In this guide, we have covered the step-by-step process of how to paint inside cabinets. From preparation and materials to techniques and tips for protecting your painted cabinets, you now have all the knowledge you need to take on this DIY project with confidence.
Remember, painting the inside of your cabinets can provide a budget-friendly and impactful way to update your home’s interior. So don’t be afraid to experiment with colors and patterns to create a unique and personalized look. And always take proper care of your painted cabinets to maintain their beauty and functionality for years to come. Happy painting!
