Teeing off an existing gas line is a common practice in plumbing and construction, especially when adding new appliances or fixtures that require a gas connection. This task may seem daunting at first, but with the right tools and knowledge, it can be done safely and efficiently. In this guide, we will discuss the steps of how to tee off an existing gas line.
Before beginning any work on a gas line, it is important to remember that safety should always be the top priority. If you are not comfortable working with gas or do not have the proper training, it is best to hire a licensed professional.
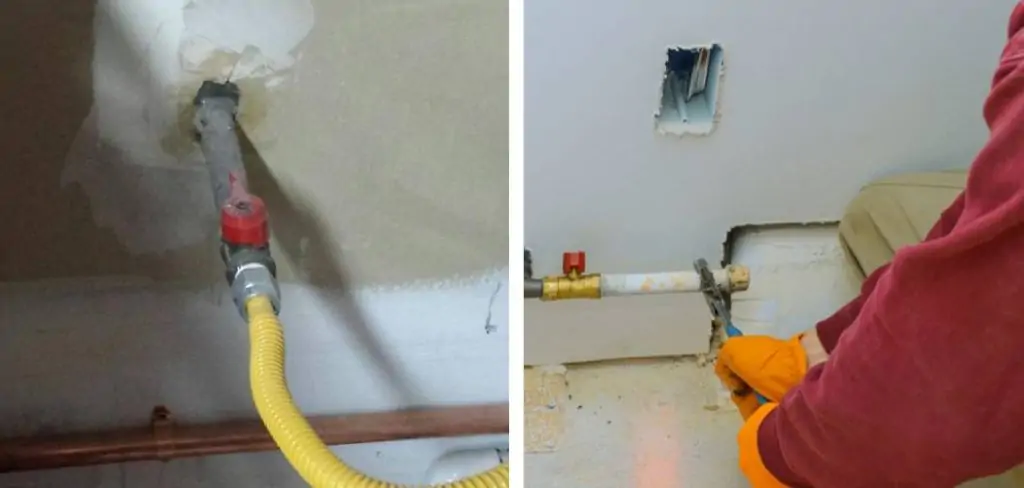
What Tools Are Needed to Tee Off an Existing Gas Line?
Before starting, gather all the necessary tools for the job. These may include:
- Pipe wrench
- Adjustable wrench
- Teflon tape or pipe dope
- Gas-rated shut-off valve
- Gas line tee fitting
- Pipe cutter or hack saw
It is important to use only gas-rated tools and materials when working with a gas line to ensure safety.
10 Essential Steps on How to Tee Off an Existing Gas Line
Teeing off an existing gas line involves adding a new branch to the existing gas piping system. This should only be done by a qualified professional, such as a licensed plumber or gas fitter, due to the potential risks involved with working with gas lines. However, here’s a general overview of the steps typically involved:
Step 1: Assessment
Before beginning any work, assess the existing gas line to ensure it is safe to work with and meets local building codes and regulations. Check for any signs of damage, wear, or corrosion on the gas line, which could pose a safety risk. Additionally, confirm that the gas line has sufficient capacity for another appliance. Consultation with a professional can provide insight into local codes that need to be followed to ensure the work is done safely and legally.
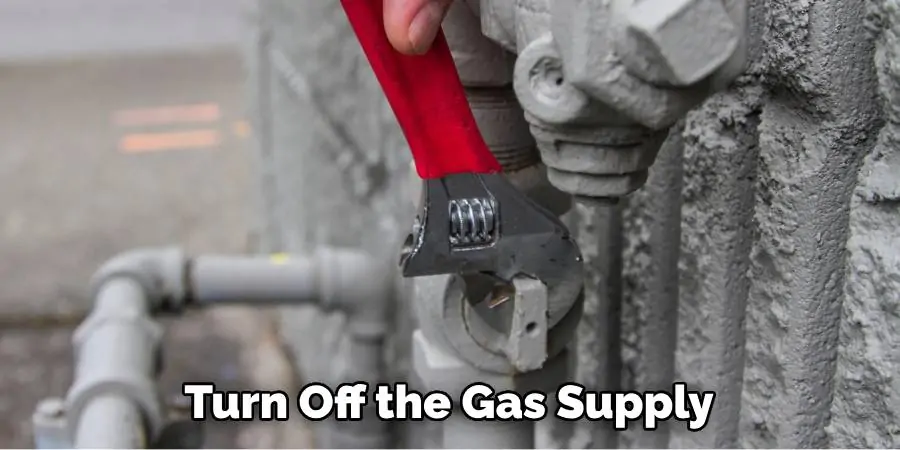
Step 2: Shut Off Gas
Turn off the gas supply to the existing line. This usually involves locating the main gas shut-off valve and turning it to the “off” position. It is crucial to ensure that the gas is completely shut off to avoid any potential leaks or accidents when cutting into the line. After shutting off the gas, wait a few minutes to allow any residual gas within the line to dissipate, ensuring a safer working environment.
Step 3: Prepare Tools and Materials
Gather all necessary tools and materials for the job, including a pipe cutter, a tee fitting appropriate for your gas line, pipe wrenches, thread sealant compatible with gas lines, and safety equipment such as gloves and safety goggles. Ensuring that you have all items beforehand can prevent delays and ensure a smooth operation.
Remember, using the correct type of sealant, such as Teflon tape or pipe dope specifically designed for gas fittings, is crucial to create a gas-tight seal and prevent leaks. Safety equipment is also vital to protect yourself from potential hazards during the process.
Step 4: Identify Location
Determine where you want to tee off from the existing gas line. This should be done strategically to minimize disruption to the existing line and ensure proper placement for the new branch without compromising the structural integrity or accessibility of the existing system. Choose a section of the pipe that is straight, with enough room to safely work around. Mark the location clearly with a permanent marker, making sure it is visible and precise to ensure accuracy when cutting into the pipe.
Step 5: Cut the Existing Line
Use a pipe cutter to carefully cut into the existing gas line at the chosen location. Make sure the cut is clean and straight to facilitate an effective seal with the tee fitting. It is essential to remove any burrs or sharp edges from the cut ends of the pipe, as these can interfere with the fitting’s ability to seal correctly.
Use a file or deburring tool for this purpose and take care to clean away any metal shavings or debris that could compromise the connection. This attention to detail is critical to ensuring the safety and integrity of the gas line after the teeing off process is completed.
Step 6: Install Tee Fitting
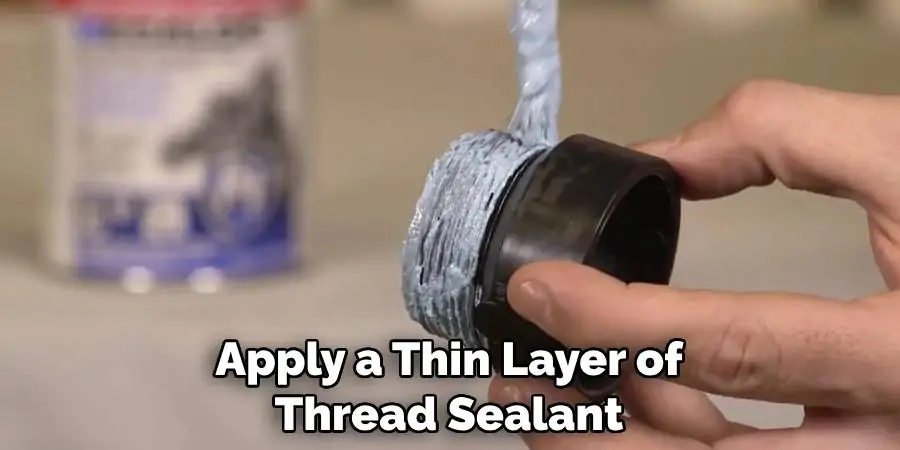
Attach the tee fitting to the cut section of the existing gas line. Ensure it is securely tightened using pipe wrenches. Apply a thin layer of thread sealant to the threads of the tee fitting before securing it in place. This helps create a gas-tight seal, preventing any potential leaks. When attaching the tee, make sure that the opening for the new line is facing the direction where the additional gas line will run. Once the tee fitting is in place, use the wrenches to tighten it until it is securely fastened, being careful not to over-tighten as this could damage the fitting or the pipe.
Step 7: Install New Pipe
Connect a new section of gas pipe to the open end of the tee fitting, leading to where you want the new gas appliance or outlet to be located. Ensure the new pipe section is the correct size and type for your gas system, using only materials rated for gas applications. When making connections, apply a layer of gas-compatible thread sealant to the threads of each fitting before attaching them.
This helps to create a secure, leak-proof seal. After hand-tightening the fittings, use two pipe wrenches to finalize the connection – one to hold the fitting in place and the second to tighten the adjoining pipe or fitting. This dual-wrench technique prevents over-tightening and potential damage to the pipe or fittings, while also ensuring that all connections are securely sealed. Always double-check each connection for tightness and integrity before proceeding to the next step.
Step 8: Test for Leaks
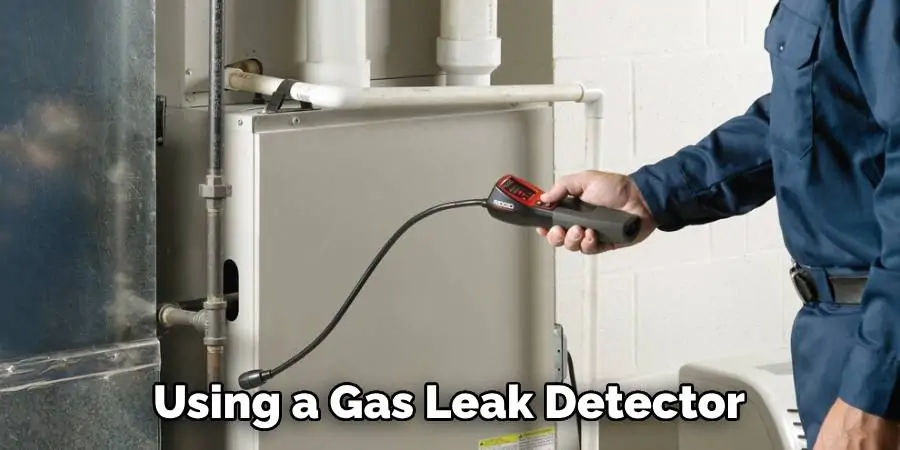
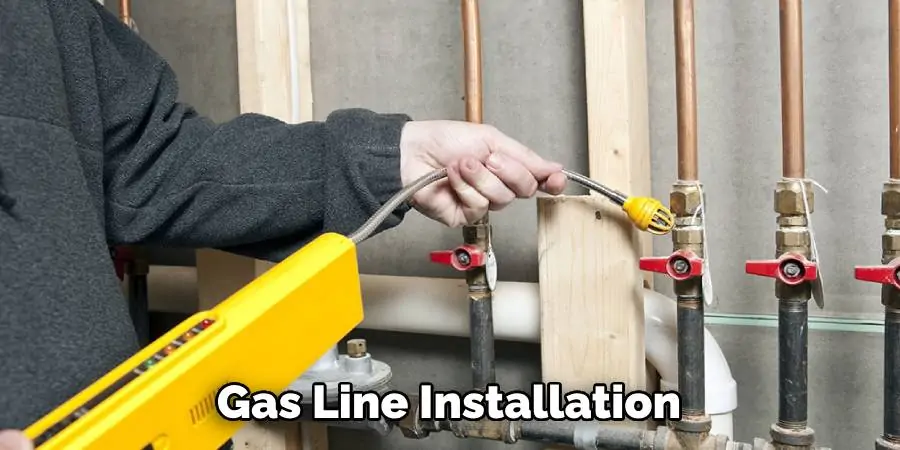
Once the new pipe is installed, test the entire system for leaks. You can do this using a gas leak detector solution or a gas leak detector tool. If any leaks are detected during testing, it is imperative to shut off the gas supply immediately. After shutting off the gas, thoroughly inspect the entire system to identify the source of the leak. It may be necessary to reapply thread sealant or tighten fittings to ensure a proper seal.
In some cases, parts may need to be replaced if they are found to be defective or damaged. Once any issues have been addressed, test the system again for leaks to confirm that the repair has been successful before proceeding with any further steps. Safety should always be the top priority, and seeking professional assistance for leak repairs is highly recommended to ensure the integrity of the gas installation.
Step 9: Pressure Test (Optional)
In some jurisdictions, a pressure test may be required to ensure the integrity of the newly installed gas line. Follow local regulations and procedures for conducting a pressure test if necessary. To perform a pressure test, all gas outlets on the line being tested must be capped, except for one where a pressure gauge is attached. The system is then pressurized with either air or an inert gas, not exceeding the maximum pressure specified by local regulations.
The pressure is observed for a set period, commonly around 15 to 30 minutes, to ensure it does not drop. A stable pressure reading indicates no leaks are present, while a drop in pressure suggests there might be a leak that needs to be identified and repaired. Following the successful completion of this test and rectification of any issues, the gas line can be deemed safe for use. Always refer to local codes for the specific pressure testing requirements and procedures applicable to your project.
Step 10: Final Inspection
Once the installation is complete and any required tests have been passed, schedule a final inspection with the appropriate authorities to ensure compliance with local codes and regulations.
Remember, working with gas lines can be extremely dangerous, and it’s crucial to follow all safety protocols and regulations. If you’re not experienced with this type of work, it’s best to hire a qualified professional to do the job safely and correctly.
You Can Check it Out to Install a Pot Filler in an Existing Wall
Frequently Asked Questions
Can You Reuse Old Gas Lines?
It is generally not recommended to reuse old gas lines when adding new connections. Old pipes may have accumulated rust, corrosion, or damage over time and could compromise the safety and functionality of the gas line. It’s best to install new pipes designed for gas applications to ensure the integrity of the entire system.
Can You Add a Gas Line Yourself?
Adding a new gas line should only be done by a qualified professional with experience in gas installation. Gas lines are highly pressurized and require specific knowledge, skills, and tools to ensure safe and proper installation. Improperly installed gas lines can lead to leaks, explosions, or other dangerous situations.
How Much Does It Cost to Add a Gas Line?
The cost of adding a new gas line can vary depending on the complexity of the project, local labor rates, and materials used. On average, homeowners can expect to pay between $500 and $1,000 for a new gas line installation. It’s essential to get quotes from multiple professionals and ensure they are properly licensed and insured before hiring anyone for this type of work.
Conclusion
In this guide, we have discussed the steps for how to tee off an existing gas line to your home. It’s crucial to follow all safety protocols and local codes when working with gas lines. If you are not experienced with this type of work, it’s best to hire a qualified professional for the job.
By following these steps and seeking professional assistance if needed, you can safely add a new gas line and enjoy the benefits of gas appliances in your home. Remember to always prioritize safety and compliance when working with gas lines. So, follow these steps carefully and efficiently add a new gas line to your home. Happy DIY-ing!
