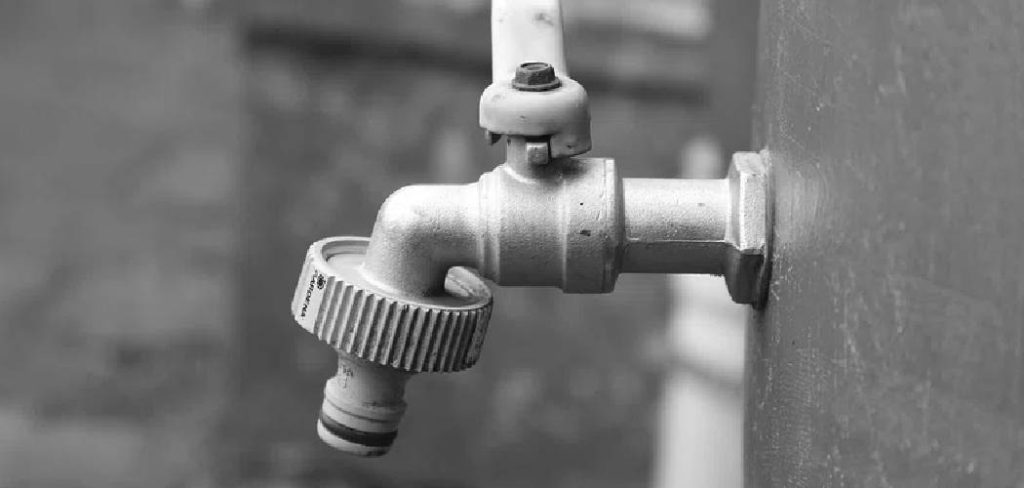
When it comes to installing an outside faucet, using Pex pipe is a popular and efficient choice. Pex, short for cross-linked polyethylene, is a flexible and durable material that is commonly used in residential plumbing systems. Not only is it cost-effective, but it also requires fewer fittings compared to other types of piping making it easier to work with.
In this guide, we will walk you through the steps on how to install an outside faucet with pex. By following these simple instructions, you can have a functional outdoor faucet in no time.
Materials Needed
To install an outside faucet with Pex pipe, you will need the following materials:
- Pex Pipe
- Pex Crimping Tool
- Shutoff Valve
- Outdoor Faucet
- Measuring Tape
- Pipe Cutter
- Deburring Tool
- Adjustable Wrench
Benefits of Using Pex for Outdoor Faucets
Pex piping offers several advantages when it comes to installing an outdoor faucet. These include:
- Flexibility: Pex pipe is flexible and can easily bend around corners without the need for additional fittings. This makes it easier to work with in tight spaces.
- Resistance to Freezing: Pex pipe is resistant to freezing, which is especially important for outdoor faucets that are exposed to cold temperatures.
- Durability: Pex pipe is resistant to corrosion and can withstand extreme temperatures, making it a long-lasting option for outdoor plumbing.
- Cost-effective: Pex pipe is more affordable compared to other types of piping, making it a budget-friendly choice for installing an outdoor faucet.
Step-by-Step Guide on How to Install an Outside Faucet With Pex
Now that you have gathered all the necessary materials and understand the benefits of using Pex pipe for outdoor faucets, let us dive into the installation process.
Step 1: Measure and Cut Your Pex Pipe
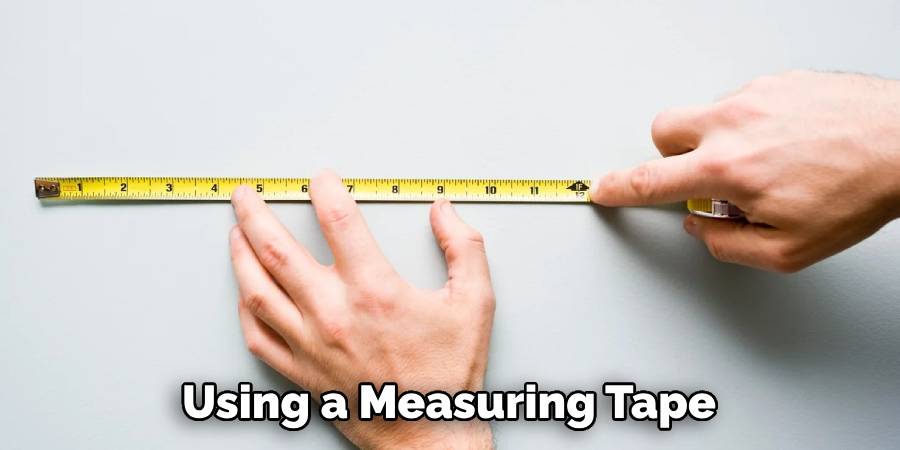
Using a measuring tape, determine the length of Pex pipe needed to run from your water supply line to where you want to install your outdoor faucet. Once you have determined the length, add a few inches to your measurement to allow for flexibility in positioning and to accommodate any necessary adjustments during the installation process. This extra length ensures you won’t come up short when making connections, which is especially helpful if you encounter any unexpected obstacles.
Step 2: Deburring the Cut Ends
After cutting the Pex pipe, use a deburring tool to remove any rough edges or burrs from both ends of the pipe. This will ensure a proper and secure connection with the fittings, preventing leaks and ensuring the long-term integrity of your plumbing. Smooth, burr-free ends are crucial for a tight seal, especially when using crimp fittings with Pex. Making sure the pipe ends are properly prepared is a simple yet essential step in the installation process.
Step 3: Crimping the Pex Pipe
Using a Pex crimping tool, crimp one end of the Pex pipe. The crimp should be placed about an inch away from the edge of the pipe to allow room for fitting connections. This procedure requires precision; ensure the crimp ring is evenly positioned around the pipe before applying pressure with the crimping tool.
A proper crimp ensures a watertight seal, critical for preventing potential leaks that could arise from improperly sealed connections. Inspect the crimp closely to make sure it’s completely compressed; some crimping tools have a go/no-go gauge to help verify the crimp’s integrity. Proper crimping is essential for the longevity and reliability of your outdoor faucet installation.
Step 4: Installing the Shutoff Valve
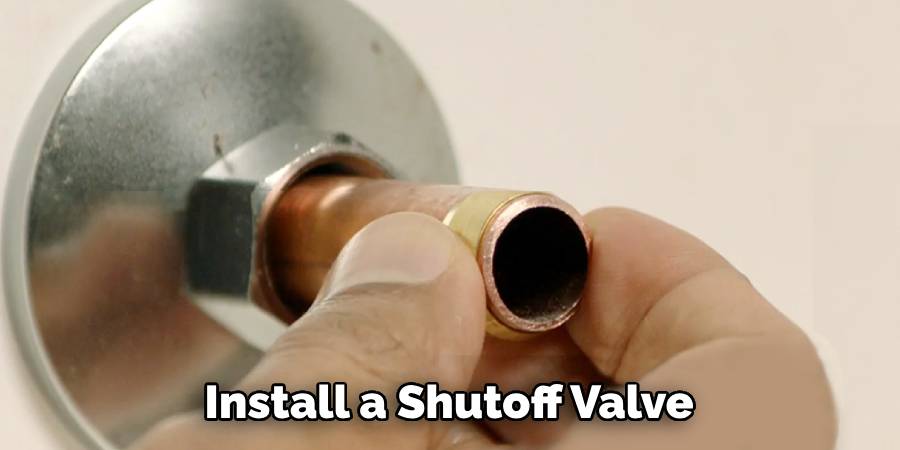
Next, install a shutoff valve on the crimped end of the Pex pipe. This shutoff valve is integral as it provides the ability to control water flow to the outdoor faucet, ensuring you can easily manage and maintain water usage or shut off the supply in case of repairs or during colder months to prevent freezing.
When installing the shutoff valve, make sure to secure it firmly to the Pex pipe using the crimping tool, similar to how you attached the pipe earlier. This ensures a leak-proof connection, maintaining the system’s efficiency and durability. Always double-check to ensure that the valve is oriented correctly; the valve’s flow direction should match the intended water flow to the faucet.
Step 5: Crimping the Other End
Crimp the other end of the Pex pipe and attach it to the outdoor faucet. Make sure to securely tighten all connections. This step is critical in preventing any potential leaks and ensuring the outdoor faucet operates efficiently. Use an adjustable wrench to tighten the connections between the Pex pipe and the outdoor faucet, as well as at the shutoff valve.
However, be careful not to overtighten, as this could damage the Pex fittings or the faucet itself. A firm, snug fit is what you’re aiming for to maintain a reliable and leak-free system.
Step 6: Mounting the Outdoor Faucet
Using an adjustable wrench, mount the outdoor faucet onto your desired location. Make sure to properly align and level the faucet before securing it in place. Ensure the area chosen supports the weight of the faucet and can withstand the environmental conditions it will be exposed to.
Drill appropriate pilot holes if mounting on a hard surface, and use durable screws or bolts that are suitable for the type of wall or support structure. It’s crucial that the faucet is mounted securely to avoid movement that could cause wear on the Pex piping and connections over time. A stable, well-mounted faucet will provide years of reliable service with minimal maintenance.
Step 7: Turning on the Water Supply
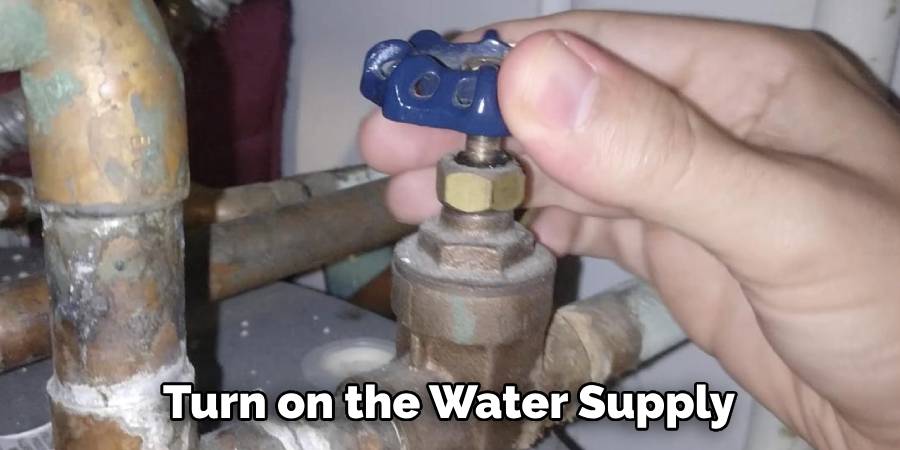
Once all connections are secure, turn on the water supply to test if there are any leaks. If you notice any leaks, tighten the connections further.
Congratulations, you have successfully installed an outside faucet with Pex pipe! Now you can enjoy convenient access to water outdoors for all your gardening and outdoor cleaning needs. Just remember to turn off the shutoff valve during winter months to prevent freezing and potential damage to your pipes. So, go ahead and give it a try – installing an outside faucet with Pex pipe is easier than you think! Happy gardening and outdoor cleaning.
Additional Tips
- When installing an outside faucet with Pex pipe, make sure to use fittings that are specifically designed for use with Pex piping.
- Always follow the manufacturer’s instructions for proper installation techniques.
- It is recommended to add insulation around your outdoor faucet during colder months to prevent freezing.
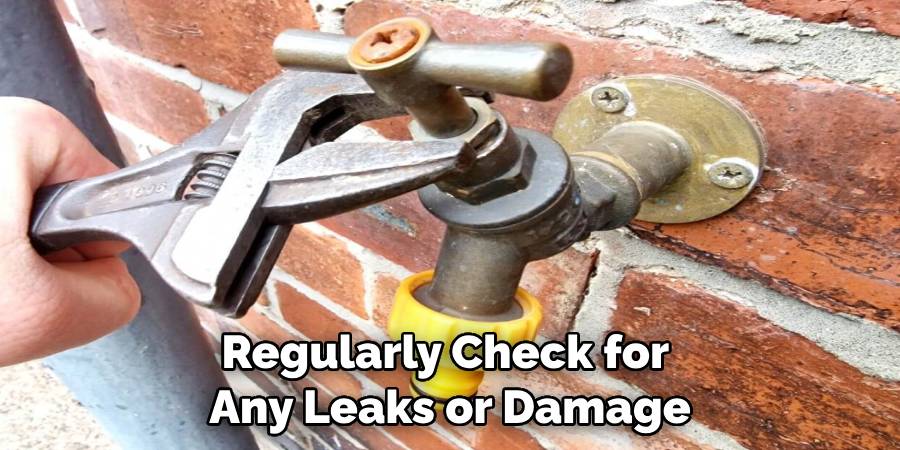
- Regularly check for any leaks or damage on your outdoor faucet and Pex piping. If you notice any issues, make sure to address them promptly to avoid further damage.
Overall, using Pex pipe for installing an outside faucet offers numerous benefits and is a relatively simple process. With the right tools and materials, you can easily install a functional outdoor faucet that will last for years to come. So, why wait? Get started on your Pex pipe installation today and enjoy the convenience of an outside faucet in no time!
Frequently Asked Questions
Can You Run Pex to an Outside Faucet?
As the chill of winter gives way to the gentle warmth of spring, many homeowners begin to ponder the practicalities of outdoor improvements. One question that bubbles to the surface is, “Can you run PEX to an outside faucet?” Indeed, PEX piping, with its remarkable flexibility and durability, offers an innovative solution to traditional plumbing woes.
When considering how to install an outside faucet with PEX, envision the ease with which this resilient tubing can be weaved through tight spaces, resisting the seasonal tyrannies that crack and corrode its rigid predecessors. PEX’s resistance to bursting in freezing temperatures can bring a sigh of relief to the vigilant homeowner. With the correct fittings and a basic understanding of plumbing principles, extending a lifeline of water to the heart of your garden is not just possible—it’s a springtime dream brought to life.
How Do You Install a Pex Faucet?
Installing a Pex faucet is a relatively straightforward process that can be completed in a few simple steps. First, cut the Pex pipe to the desired length using a pipe cutter. Then, use a crimping tool to attach one end of the Pex pipe to the outdoor faucet and secure it with a shutoff valve. Next, crimp the other end of the Pex pipe and attach it to your water supply.
Finally, mount the outdoor faucet securely in place using an adjustable wrench and turn on the water supply to check for any leaks. Voila! You now have a functional outdoor faucet installed with Pex piping.
Is Pex Good for Outdoor Plumbing?
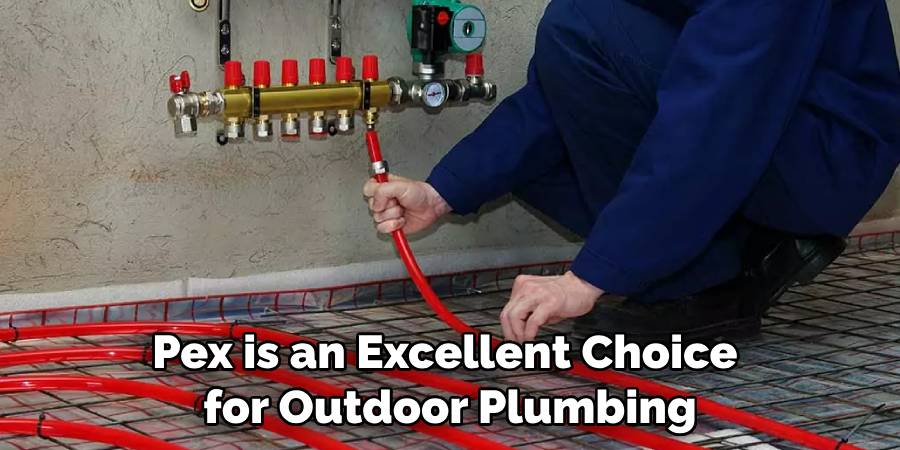
Yes, Pex is an excellent choice for outdoor plumbing. Its flexibility and durability make it resistant to harsh weather conditions, making it ideal for use in outdoor applications such as installing faucets. Additionally, Pex piping does not corrode like traditional metal pipes, ensuring a long-lasting solution for your outdoor plumbing needs.
Just remember to take precautions during colder months by turning off your outdoor faucet’s water supply to prevent freezing and potential damage. Overall, Pex is a reliable and efficient option for all your outdoor plumbing needs. So why not give it a try today? You’ll be glad you did!
Conclusion
In this guide, we have discussed the benefits of using Pex piping for installing an outside faucet. We have also provided a step-by-step process on how to install an outside faucet with Pex pipe and additional tips for maintenance and troubleshooting. Remember to always follow manufacturer’s instructions and use proper materials when working with Pex piping.
With its flexibility, durability, and resistance to freezing temperatures, Pex piping is a great choice for adding convenience and functionality to your outdoor space. So don’t hesitate – try installing an outside faucet with Pex pipe today and enjoy a reliable, leak-free system for years to come! Happy gardening and outdoor cleaning. Enjoy the convenience of having water readily available for all your outdoor needs.
Happy plumbing with Pex pipe!
