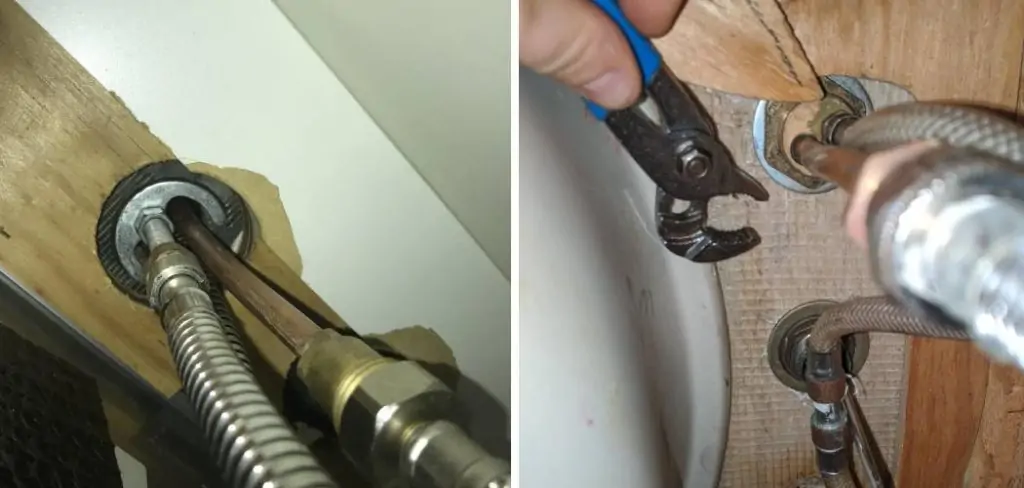
A kitchen faucet nut is an important component that holds the faucet in place under the sink. Over time, this nut can become loose due to regular use or water pressure, causing the faucet to wobble and leak. In order to prevent this from happening, it is essential to know how to tighten kitchen faucet nut under sink.

Tool to Tighten Faucet Under Sink
If you need a tool to tighten your kitchen faucet nut under the sink, here are some recommended options:
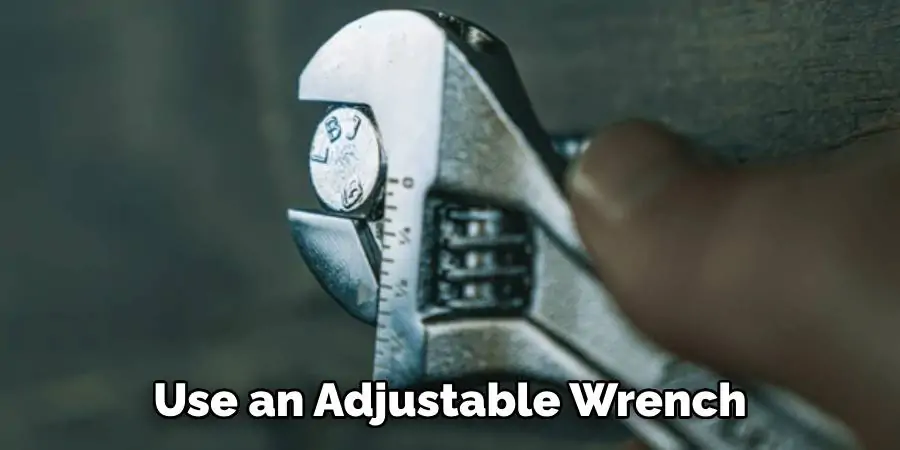
- Adjustable wrench: These are versatile and useful for many plumbing jobs. Make sure to choose one that is the right size for your faucet nut.
- Pliers: There are specific pliers designed for plumbing tasks, such as tongue-and-groove pliers or slip-joint pliers. These can be helpful for tight spaces under the sink.
- Basin wrench: This specialized tool is designed specifically for working on nuts and bolts in hard-to-reach areas, making it a great option for tightening a kitchen faucet nut under the sink.
Remember to always use caution and appropriate tools when working on plumbing tasks, as mishandling them can cause damage and potentially lead to more costly repairs. Happy fixing! So don’t let a loose kitchen faucet nut stress you out – with the right tools and techniques, you’ll have it tightened up in no time. Let’s get that sink back in working order!
How to Tighten Kitchen Faucet Nut Under Sink on 10 Steps Process
Step 1: Turn Off the Water Supply
Before you start working on the faucet, make sure to turn off the water supply for your kitchen sink. This can usually be done by turning off a shutoff valve located under the sink or behind it in the wall. Once you have turned off the water supply, open up the faucet to make sure no water is coming out of it.

Step 2: Remove Any Clutter
Make sure nothing is blocking your access to the faucet nut before you start working on it. This may include dishes, cleaning supplies, or other items that are stored under your sink. It may also be necessary to remove any drawers or shelves that are in front of or underneath the faucet nut so that you can easily access it with your tools.
Step 3: Locate and Identify Faucet Nut
Once everything is cleared away from around your faucet nut, use a flashlight to locate it and identify its size and shape before attempting to loosen or tighten it with your tools. The most common type of faucet nut is a hexagonal (six-sided) nut that is made of metal or plastic and has ridges along its sides for gripping with pliers or an adjustable wrench.
Step 4: Loosen Faucet Nut
Using an adjustable wrench or pliers, grip onto one side of the hexagonal nut and twist counterclockwise until it loosens enough for you to remove it by hand without using too much force. If necessary, use a screwdriver to help loosen stuck nuts by prying them gently away from their threads as you turn them counterclockwise with an adjustable wrench or pliers. Do not use too much force when loosening stuck nuts as this could damage them beyond repair if they become stripped from their threads in the process.
Step 5: Remove Faucet Nut
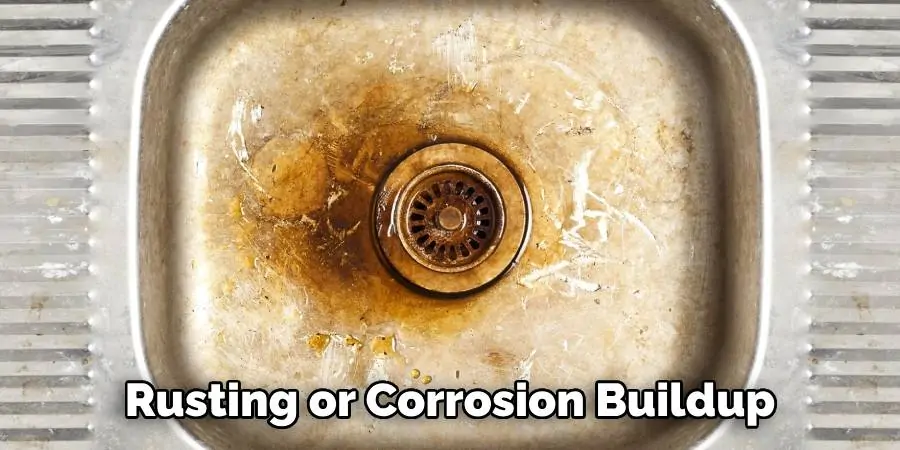
Once you have successfully loosened the hexagonal nut, carefully remove it by hand and set it aside in a safe place where it will not get lost or damaged while you work on tightening its replacement back into place later on in this process. If necessary, use pliers to help grip onto and remove stubborn nuts that do not want to come loose easily by hand alone due to rusting or corrosion buildup over time around their threads inside of their housings beneath your sink’s surface area near its drainpipe connection point(s).

Step 6: Tighten Replacement Faucet Nut
Now that you have removed your old hexagonal nut from its housing beneath your kitchen sink’s surface area near its drainpipe connection point(s), take hold of its replacement hexagonal nut with either an adjustable wrench or pliers and begin slowly twisting clockwise until it begins tightening back into place within its housing again securely without having to apply too much force while doing so as this could potentially strip out its threads if done incorrectly at this stage in this process instead causing further problems down the line when attempting future repairs/maintenance tasks upon this same fixture at some point again later on the down road after already having gone through all of these same steps once prior here today now just completed successfully moments ago just now!
Step 7: Securely Tighten the Replacement Faucet Nut
Continue twisting clockwise until the replacement hexagonal nut has been securely tightened back into place within its housing beneath the kitchen sink’s surface area near drainpipe connection point(s) again now without having had any difficulty accomplishing so during the entire process thus far!
Step 8: Reattach Drain Pipe Connection Point(s)
Reattach drain pipe connection point(s) back together tightly once more after having successfully tightened replacement hexagonal nut securely back into place within the housing beneath the kitchen sink’s surface area moments ago just now!
Step 9: Turn On Water Supply Again
Turn the water supply back on again now after having reattached the drainpipe connection point(s) securely together again moments ago just now!
Step 10: Test Fixture For Leaks
Test fixture for leaks now after having turned water supply back on again moments ago! If any leaks present themselves anywhere throughout system then go ahead & repeat entire process outlined above once more beginning at Step #1 all over again starting fresh here today right away immediately!
How Can I Avoid Damaging the Sink While Tightening the Nut?
To avoid damaging the sink while tightening the nut, it is important to use appropriate tools and techniques. Here are some tips to keep in mind:
- Use an adjustable wrench or pliers specifically designed for plumbing jobs.
- Do not apply too much force when loosening or tightening the nut as this can strip its threads or damage the sink.
- If the nut is stuck, use a screwdriver to gently pry it away while turning with your tools.
- Protect the sink’s surface by placing a cloth or towel over it before working on the nut.
- If you notice any damage to the sink or faucet during this process, stop and call a professional for assistance. It is better to seek help than risk causing more damage. Overall, taking care and using caution while working on the nut can help prevent damaging the sink. So, be patient and gentle when loosening or tightening it to ensure a successful repair without any additional problems. With these tips in mind, you can confidently fix your kitchen faucet without worrying about causing damage to your sink.

How Can I Stop the Nut From Coming Loose Again?
There are a few things you can do to help prevent the faucet nut from coming loose again in the future:
- Use thread seal tape on the threads of the nut before tightening it. This can provide an extra layer of security and help keep the nut in place.
- Check and tighten any other parts or connections that may be contributing to the looseness of the nut, such as the faucet handle or other nearby nuts and bolts.
- Consider replacing worn-out parts with new ones to ensure a tight fit and prevent future loosening.
- Regularly check and maintain your kitchen faucet to catch any potential issues before they become bigger problems. This can help identify loose nuts or other parts early on.
- If you notice any signs of corrosion or rusting on the nut or surrounding areas, address it immediately to prevent further damage that may lead to a loose nut.
By following these tips and being proactive with maintenance, you can help prevent the faucet nut from coming loose again in the future. Remember, taking care of your kitchen faucet regularly can save you time and money in the long run. So make sure to keep an eye on it and address any issues promptly to keep your faucet functioning properly. With these tips, you can confidently fix your kitchen faucet without worrying about a loose nut causing problems again in the future. So go ahead and grab that wrench or pliers and get to work! Your sink (and wallet) will thank you.
Frequently Asked Questions
What is the Correct Way to Tighten the Nut?
The correct way to tighten the nut is to use an adjustable wrench or pliers and turn it clockwise until it is securely tightened without applying too much force. It is important to be gentle and not over-tighten as this can cause damage to the sink or faucet. If you encounter any resistance while tightening, gently loosen and retighten the nut until it no longer moves.
Should I Use Plumber’s Tape?
Plumber’s tape is not necessary for tightening the nut, as it is used to secure threaded pipes and fittings together. However, if you notice any leaks or loose connections after reattaching the drainpipe, plumber’s tape can be applied to create a tighter seal.

What Should I Do if the Nut Won’t Tighten?
If the nut won’t tighten despite your best efforts, it is possible that there is an issue with the threads on either the nut or the fixture. In this case, it is best to call a professional plumber for assistance to avoid causing further damage. They will have the proper tools and expertise to properly fix any potential issues. Additionally, if you are unsure about how to proceed with tightening the nut, it is always a good idea to seek professional help. It may save you time and potentially prevent any costly mistakes. Don’t hesitate to reach out for assistance if needed!
Conclusion
Having a loose kitchen faucet nut under the sink can be incredibly stressful. Thankfully, it is an easy fix that requires no professional help. We hope that this article has helped you tackle your project and get your faucet back in working order. By following these simple steps, now you have the knowledge and tools needed to prevent any leaks from occurring in the future. Don’t forget to regularly check on and tighten up any loose nuts or bolts, as this will ensure that your kitchen faucet doesn’t fall into disrepair again in the future! Take actionable steps today and don’t put off fixing that pesky loose nut any longer – How to Tighten Kitchen Faucet Nut Under Sink!
