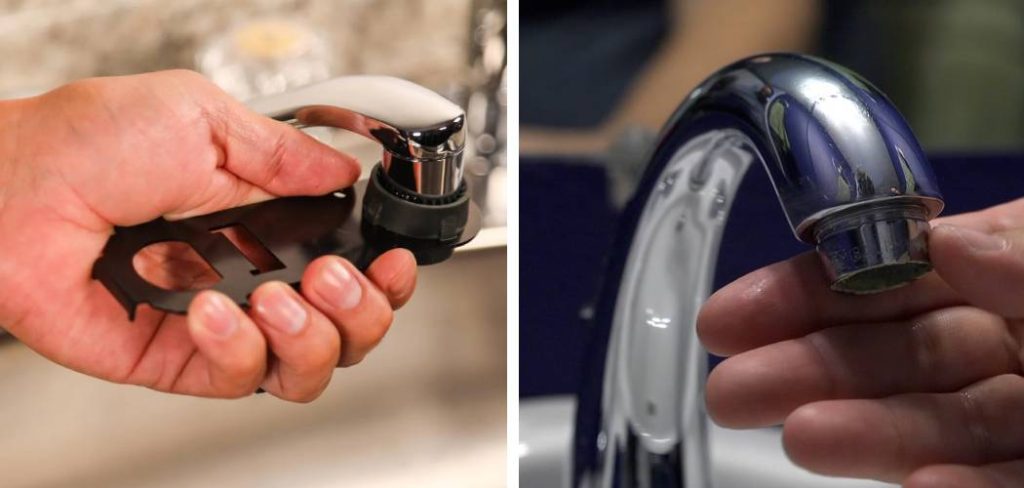
Faucet aerators are small, mesh screens located at the tip of your faucet that help to reduce water flow and save energy. Over time, these aerators can become clogged with mineral deposits or debris, causing low water pressure and an inefficient flow. While there are tools specifically designed for removing aerators, you may not always have one on hand. In this guide, we will show you how to remove faucet aerator without tools easily.
What Household Items Can Be Used to Remove a Faucet Aerator?
If you don’t have a specialized aerator removal tool, there are still several common household items that can be used to remove the aerator from your faucet. These include:
- Pliers: A pair of pliers can be used to grip and unscrew the aerator from the faucet.
- Rubber Band: Wrap a rubber band around the aerator and use it to grip and twist the aerator off.
- Cloth: Use a cloth or rag to provide extra grip and leverage when twisting off the aerator.
- Flathead Screwdriver: Insert the tip of a flathead screwdriver into one of the small holes on the aerator and use it to turn and unscrew the aerator.
5 Ways on How to Remove Faucet Aerator Without Tool
Tackling plumbing issues doesn’t have to be a daunting task — especially if you know a few tricks up your sleeve. The faucet aerator is a tiny but crucial part of your faucet, responsible for controlling the flow of water and preventing splashing. However, over time, it can get clogged with mineral deposits or debris, leading to a reduction in water pressure. The good news is, in most cases you can fix this problem without needing any special tools. Here are five methods to help you remove a faucet aerator with no tools at all.
1. The Tape Method
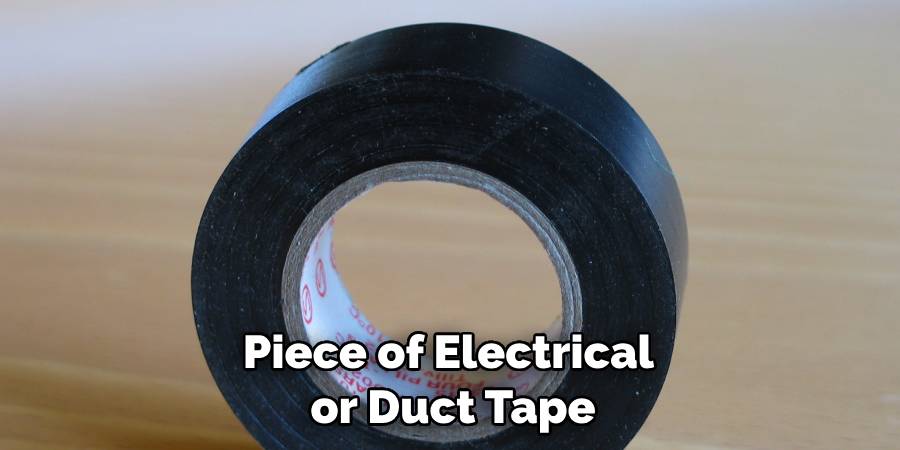
First, grab a piece of electrical or duct tape, and wrap it around the aerator cover. Make sure to wrap it tightly but evenly, so it forms a secure bond with the aerator. Once the tape is in place, use your fingers to twist the aerator cover. The extra grip provided by the tape should make it far easier to unscrew the aerator.
Remember, aerators are typically designed to unscrew counterclockwise, so ensure you’re turning it in the correct direction. If the aerator doesn’t budge at first, apply a little more force gradually; avoid using too much force abruptly to prevent damaging the faucet.
2. The Rubber Band Trick
If you don’t have tape on hand, a rubber band can serve a similar purpose. Take a wide rubber band and wrap it around the base of the aerator where it meets the faucet. The rubber band will add necessary friction to help you twist off the aerator with your hand. This method is particularly useful if the aerator is not overly tightened or if you have relatively strong grip strength.
Using the natural grip of your hand, apply steady pressure in a counterclockwise direction to unscrew the aerator. The rubber band’s added friction reduces the chance of your hand slipping, making the removal process simpler and more efficient.
3. Use Plumber’s Putty
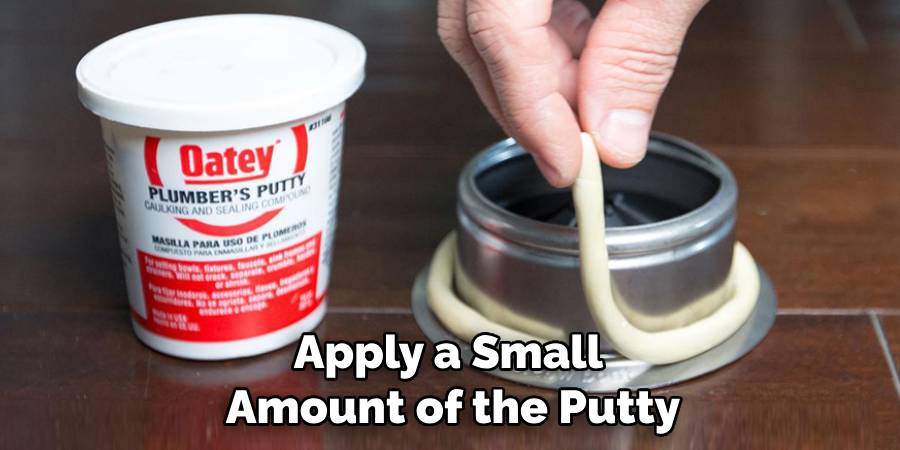
Plumber’s putty can be a quick fix for removing a stubborn faucet aerator. Apply a small amount of the putty around the edge where the aerator meets the faucet. This tacky material can give your fingers the grip they need to break the aerator’s seal and twist it off. Once you’ve got enough grip, gently twist in a counterclockwise direction.
This method is particularly effective for aerators that have been in place for a long period and have become stuck due to mineral deposits. The viscosity of plumber’s putty creates a non-slip surface, ensuring your grip is secure as you exert the necessary force to remove the aerator.
4. The Cloth or Sponge Wrap
A simple piece of cloth or a kitchen sponge can be a lifesaver when attempting to remove an aerator. Wrap the cloth or the sponge tightly around the aerator, then use your hands to turn the covered aerator counterclockwise. The cloth or sponge provides a cushioned grip that makes it easier to loosen the aerator, especially if it is tightly stuck due to prolonged exposure to water and mineral buildup.
This method is particularly effective for avoiding damage to the finish of your faucet, as the soft material of the cloth or sponge acts as a protective layer between your grip and the aerator. Keep applying gentle, consistent pressure in a counterclockwise motion, and the aerator should begin to unscrew with ease. Remember, patience is key; applying too much force too quickly can damage both the aerator and the faucet.
5. Boil Water to Loosen
In some cases, especially where there’s tough lime-scale buildup, the aerator can be stubborn. One way to loosen it is to boil water and then carefully pour it over the aerator. The hot water can warm up the metal, causing it to expand slightly, which might make unscrewing the aerator by hand a bit easier.
Removing a faucet aerator without tools can leave you with more flexibility and less dependence on additional equipment. However, if you do find these methods aren’t working, don’t hesitate to reach out to a professional, to avoid damaging your faucet.
5 Things to Remember When Removing a Faucet Aerator Without Tools
Before you start twisting and turning, here are five things to keep in mind when attempting to remove a faucet aerator without tools:
- Use Caution: Be careful not to damage the aerator, faucet or your hands while trying to remove the aerator.
- Turn Counterclockwise: Most aerators are removed by turning them counterclockwise, so make sure you’re twisting in the right direction.
- Clean the Aerator: Once you’ve removed the aerator, take a few minutes to clean it thoroughly. This will help prevent future clogs and maintain your faucet’s efficiency.
- Check for Leaks: After reattaching the aerator, turn on the faucet and check for any leaks. If there are any, make sure the aerator is screwed on tightly or replace it with a new one.
- Know When to Call a Professional: If you’re having trouble removing the aerator without tools, or if you notice any damage to your faucet, it’s best to seek help from a professional plumber.
Frequently Asked Questions
Can You Use Faucet Without Aerator?
Imagine turning on your faucet, expecting a gentle cascade of water, only to be met with a wild, splashing torrent. This could be your reality if you choose to use a faucet without an aerator. While faucet aerators are often unnoticed, they play a vital role in reducing water consumption and preventing splashes. But what if it’s time for cleaning or replacement and you find yourself without the proper tools?
Fret not, as even the most novice of DIY enthusiasts can learn how to remove faucet aerators without tool. With clever tricks and a bit of ingenuity, you can master this simple task, continue to maintain control over your water flow, and enjoy a well-functioning faucet. Whether for maintenance or an experiment with water flow, learning the ins and outs of your faucet aerator can be both practical and satisfying. Just remember, the right knowledge can turn a perplexing problem into a moment of triumph.
How Do You Use an Aerator Key?
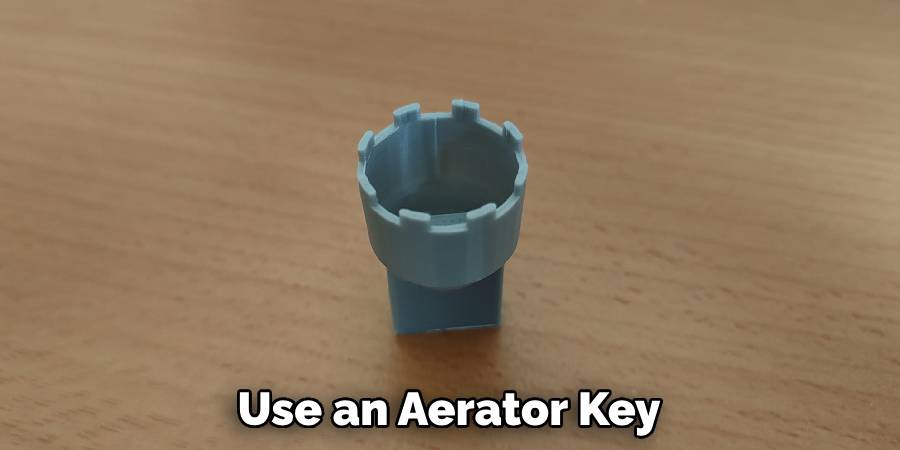
If you’ve tried all the no-tool methods and still can’t remove your faucet aerator, it may be time to bring out the big guns – an aerator key. These keys are specifically designed to fit over the aerator and provide additional leverage for twisting off stubborn or stuck aerators. To use an aerator key, simply place it over the aerator and turn it counterclockwise, just like you would with your hands. Keep in mind that not all aerators are compatible with an aerator key, so be sure to check before purchasing one.
Can You Clean a Faucet Aerator Without Removing It?
Cleaning the faucet aerator is essential for maintaining water flow and preventing clogs. However, if you don’t have the tools or experience to remove the aerator, is it possible to clean it without taking it off? The answer is yes! You can use a toothbrush or small brush to scrub away any buildup on the outside of the aerator.
For deeper cleaning, you can also soak the aerator in vinegar for an hour and then use a toothpick or paperclip to remove any remaining debris. Just be sure to turn off the water supply before attempting any cleaning on your faucet. So, you can easily clean the aerator without removing it, but it’s always recommended to remove and clean the aerator for a more thorough and effective result.
Conclusion
In this guide, we will show you how to remove a faucet aerator without tools, using various household items and techniques. It’s always a good idea to try these methods first before resorting to specialized tools or seeking professional help. Just remember to use caution, turn counterclockwise, clean the aerator, check for leaks, and know when it’s time to call in the experts.
With these tips and tricks, you can easily remove your faucet aerator without tools and keep your faucet functioning smoothly for years to come. So, next time you find yourself in need of removing a faucet aerator, don’t panic – just follow these simple steps and you’ll have it taken care of in no time! Happy DIY-ing!
