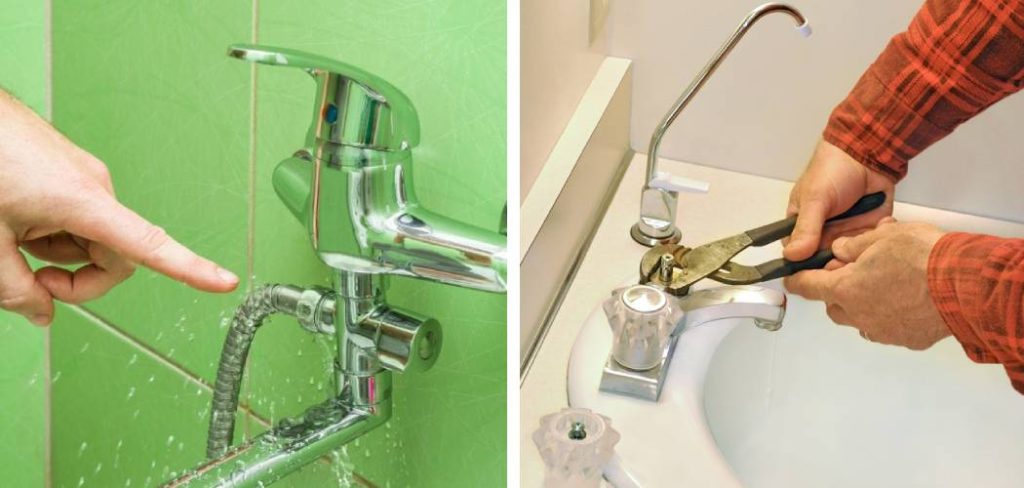
A broken or malfunctioning faucet can be a major inconvenience in your daily life. A faucet that won’t turn off not only wastes water, but it can also lead to higher utility bills and potential damage to your plumbing system. The good news is that you don’t necessarily need a plumber to fix a faucet that won’t turn off. With some basic tools and a little know-how, you can easily fix the problem yourself. In this guide, we will walk you through the steps on how to fix a faucet that won’t turn off.
What Tools Are Needed to Fix a Faucet That Won’t Turn Off
Before you begin, it’s important to make sure you have all the necessary tools to fix a faucet that won’t turn off. Here are some of the basic tools you will need:
- Adjustable wrench
- Screwdriver (Phillips or flathead)
- Allen wrench set (if your faucet has hexagonal screws)
- Replacement parts (such as washers or cartridges)
- Plumber’s grease (for lubrication)
It’s also a good idea to have some towels or rags on hand to mop up any water that may leak from the faucet during the repair process.
Step-by-Step Guide on How to Fix a Faucet That Won’t Turn Off
Now that you have all your tools ready, let’s get started on fixing your faucet. Follow these steps to resolve the issue:
Step 1: Shut Off the Water Supply
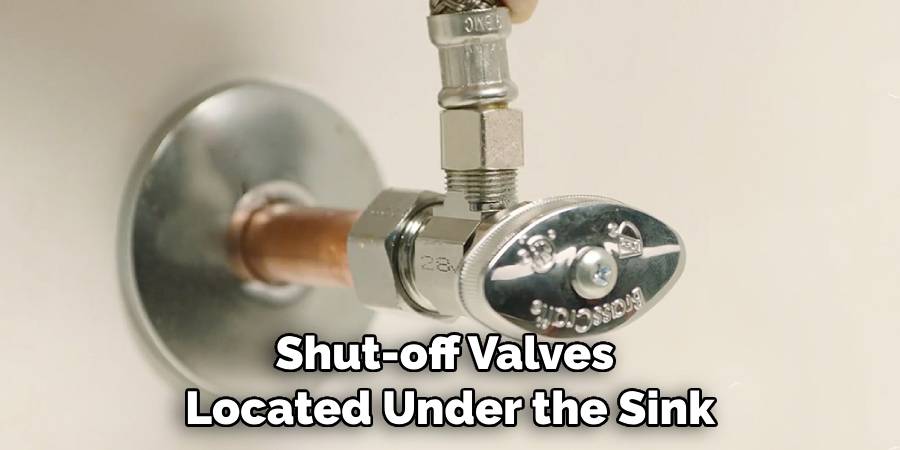
Before beginning any repairs, turn off the water supply to your faucet. This is usually done by turning the shut-off valves located under the sink in a clockwise direction. If you have difficulty locating these valves, remember they’re typically found on the pipes beneath the sink. Turning these valves until they’re tightly closed will prevent any water flow to the faucet, ensuring a safe environment for you to begin your repairs.
Step 2: Inspect the Handle and Stem
Remove the faucet handle by unscrewing it with a screwdriver or by using an allen wrench if it has hexagonal screws. Once the handle is removed, you will see the stem and cartridge (if your faucet has one). Inspect these parts for any damage or wear and tear. Look for signs of corrosion, stripped threads, or damaged seals. These issues can often be the cause of a faucet that won’t turn off properly. If you notice any damaged parts, make a note of them, as they will need to be replaced to ensure a proper fix.
Step 3: Replace Damaged Parts
If you notice any broken or worn out parts, such as a washer or cartridge, replace them with new ones. Make sure to use the correct size and type of replacement parts for your specific faucet model. This is crucial for ensuring the newly replaced components fit perfectly and function as intended. It’s advisable to take the damaged part to a hardware store if you’re unsure about the replacement you need. This way, you can match it exactly, ensuring compatibility. Once you’ve secured the appropriate replacement parts, install them carefully, following the manufacturer’s directions.
Step 4: Clean and Lubricate
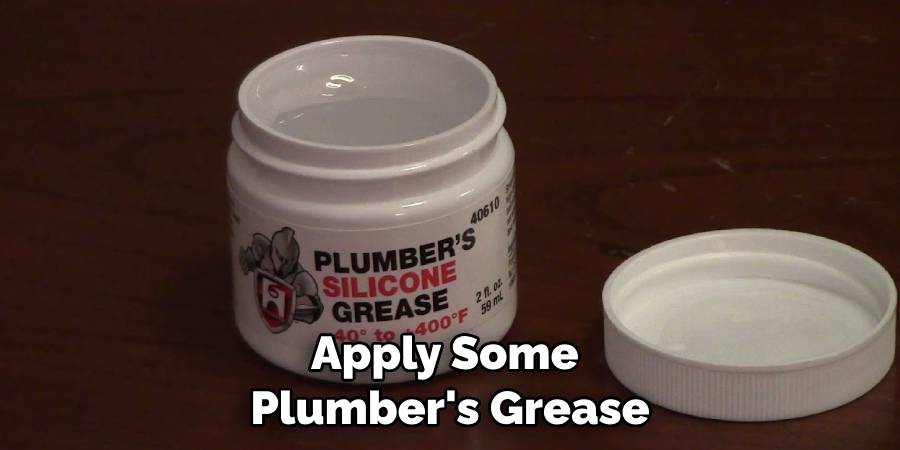
If the parts are not damaged but appear dirty or corroded, clean them with a rag and some vinegar. You can also apply some plumber’s grease to help lubricate the parts for smoother operation. A small amount of plumber’s grease applied to the moving parts can make a significant difference in how smoothly the faucet operates. Be sure to apply it sparingly, focusing on areas like the cartridge and stem where friction commonly occurs. This step not only helps in ensuring a smoother operation but can also extend the lifespan of the parts by reducing wear and tear.
Step 5: Reassemble the Faucet
Once you have replaced any damaged parts and cleaned or lubricated the existing ones, reassemble the faucet in reverse order. Make sure to tighten all screws securely. It’s crucial to ensure that every component is firmly attached but avoid over-tightening, as this can damage the parts and make future repairs more difficult. A good practice is to hand-tighten screws first, then use your tools for the final turns, ensuring everything is snug and well-fitted. This careful attention to detail will prevent leaks and ensure your faucet operates smoothly.
Step 6: Turn the Water Supply Back on
Once you have completed all repairs and reassembled the faucet, turn the water supply back on by turning the shut-off valves under the sink counterclockwise. Allow water to flow through the faucet for a few moments to ensure that everything is working correctly. Be observant for any leaks or drips, which could indicate that some components may not be tightened properly or that there might be a part that still needs replacement. If everything appears to be in order, test the faucet’s functionality by turning it on and off several times. This will help ensure that the issue has been resolved and the repair is successful.
Step 7: Test Your Faucet
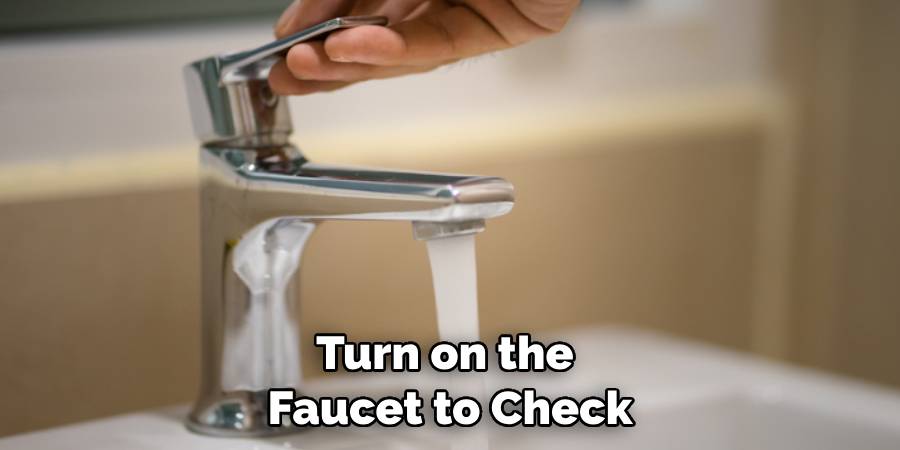
Turn on the faucet to check if it is now functioning properly. If it still won’t turn off, you may need to repeat the steps or consider calling a professional plumber for further assistance. It’s important to acknowledge when a problem transcends a DIY fix, as attempting to repair complex issues without proper expertise can lead to more significant problems. Reaching out to a professional plumber ensures that your faucet and plumbing system are thoroughly evaluated and repaired with precision, preventing future complications and ensuring peace of mind.
Preventing Future Faucet Issues
To avoid future problems with your faucets, there are some simple maintenance tips you can follow:
- Regularly clean and lubricate your faucet to prevent build-up and corrosion.
- Check for any leaks or drips and fix them promptly to avoid further damage.
- If your faucet has a cartridge, replace it every few years as part of routine maintenance. This helps prevent buildup and wear and tear.
- Consider hiring a professional plumber for regular inspections to catch any potential problems early on and save you from costly repairs in the future.
By following these simple tips, you can ensure that your faucet remains functional and efficient, saving you time, money, and headaches in the long run. Remember to always handle any plumbing issues with care and caution, and don’t hesitate to call a professional when needed. Now you’re equipped with the knowledge and tools to fix your faucet like a pro! So go ahead and tackle those pesky faucet issues with confidence. Keep calm and fix on!
Frequently Asked Questions
Why is My Faucet Not Shutting Off?
The incessant drip-drip-drip of a faucet thаt refuses to turn off can be maddening, evoking a sense of helplessness as precious water is wasted by the minute. But before you descend into frustration, understand that this common household issue is often simpler to fix than it appears. Whether it’s a worn-out washer, a stubborn valve seat, or a problematic O-ring, the solution might just be within your grasp.
Armed with the right tools and a dash of determination, you can conquer this leaky adversary, stem the tide, and restore peace and conservation to your home. Ready for a rewarding DIY project? Here’s how to fix a faucet that won’t turn off, empowering you to take control and nudge your faucet back to perfect functionality.
Why Does My Faucet Keeps Running After I Turn It Off?
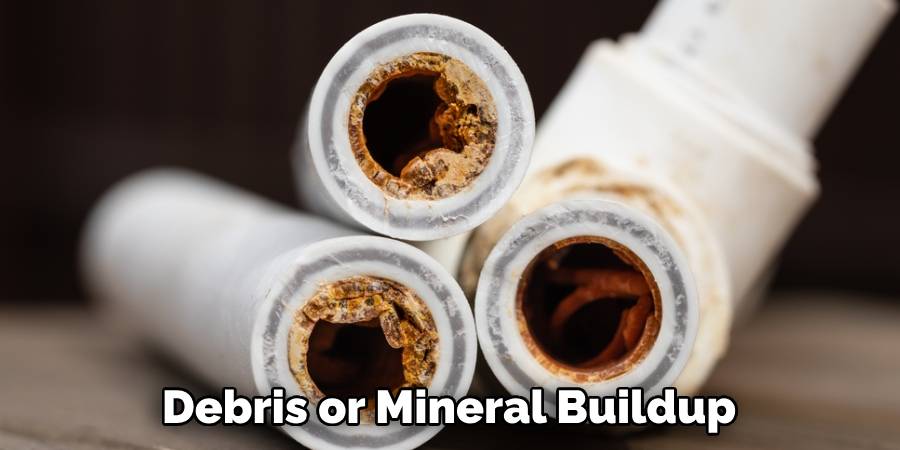
A faucet that continues to run after you shut it off can be a nuisance, not to mention expensive in terms of your water bill. This issue is often caused by a damaged valve seat or cartridge, which prevents the faucet from shutting off completely. In some cases, debris or mineral buildup can also result in a stubborn faucet that won’t turn off. By carefully inspecting and replacing any damaged parts, you can resolve this issue and save money on your water bill in the long run.
When Should I Call a Professional Plumber?
While many faucet issues are easily fixable with some basic tools and knowledge, there are times when it’s best to call a professional plumber for assistance. These include complex or extensive repairs, problems with your plumbing system beyond the faucet, and issues with specialized or hard-to-replace parts. It’s essential to know your limits and seek professional help when needed to avoid causing further damage or creating hazards in your home. A skilled plumber has the expertise and equipment necessary to resolve even the most challenging faucet problems efficiently and effectively.
Remember, proper maintenance and timely repairs can save you time, money, and headaches in the long run. So don’t wait until a minor issue becomes a major problem – take care of your faucets and plumbing system today for a stress-free tomorrow. End of Document
Conclusion
In this guide, we have discussed how to fix a faucet that won’t turn off, step by step. From identifying the issue to reassembling the faucet, we have covered everything you need to know to tackle this common household problem. We have also provided some simple maintenance tips and answered some frequently asked questions to help you prevent future issues and understand when it’s best to call a professional plumber. Remember, with the right tools, knowledge, and determination, you can conquer any faucet problem and restore peace and efficiency to your home. Happy fixing!
