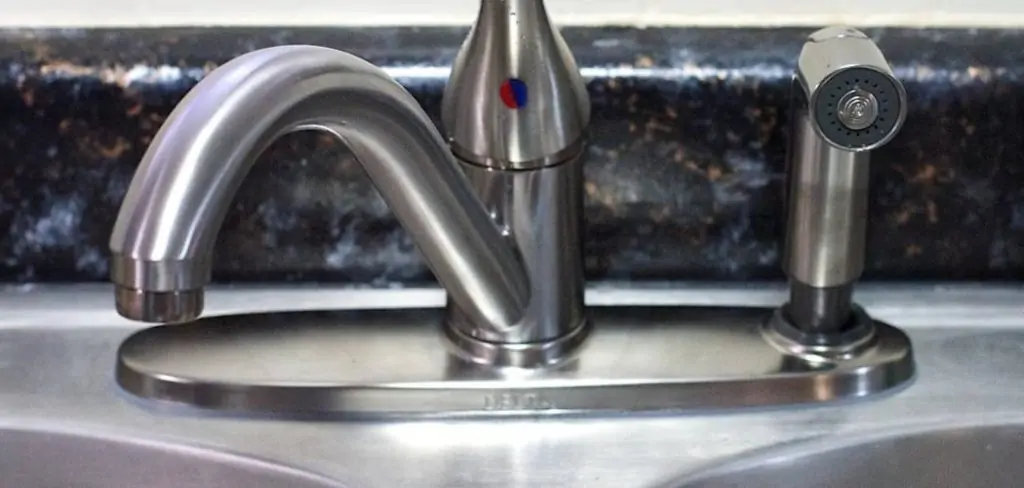
A kitchen faucet is an essential tool in the kitchen that allows you to control the flow of water for cooking, cleaning, and other tasks. Over time, your kitchen faucet may become loose or wobbly due to regular use. This can be frustrating and even lead to leaks if left untreated. In this guide, we will explain how to tighten a kitchen faucet easily.
What tools do I need to tighten a kitchen faucet?
Before you start, make sure you have the following tools on hand:
- Adjustable wrench
- Screwdriver (either Phillips or flathead)
- Penetrating oil
- Plumber’s tape (also known as Teflon tape)
It’s always a good idea to gather all your tools before starting any home repair project. This will save you time and frustration in case you need to stop and search for a particular tool.
How to Tighten a Kitchen Faucet : 9 Step-By-Step Guide
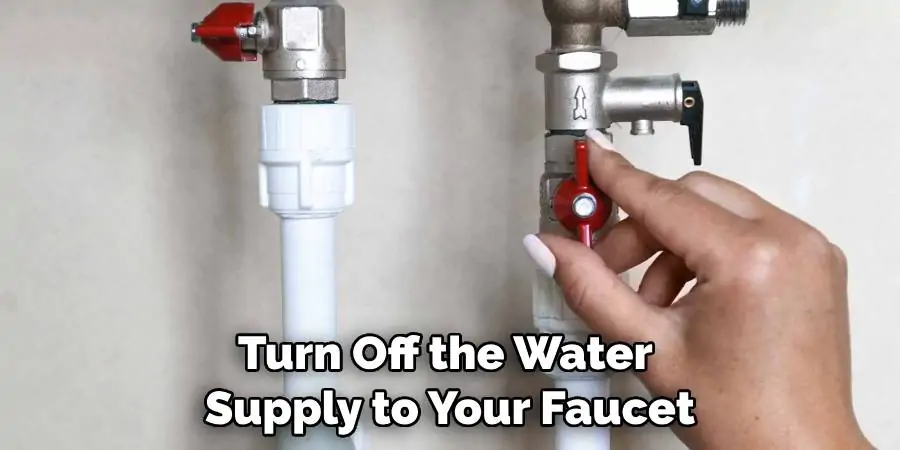
Step 1: Turn Off the Water Supply
The next step is to turn off the water supply to the faucet. To do this, locate the shut-off valves under the sink and turn them clockwise until they are completely closed. Once you have done this, open up the faucet to release any remaining water pressure in the pipes.
Step 2: Unscrew Faucet Components
Once you have turned off the water supply and released any remaining pressure in the pipes, you can begin unscrewing components of your faucet. Start by using an adjustable wrench to loosen any nuts or bolts that are holding together parts of your faucet. Then use a pair of pliers to unscrew any other components that may be attached to your faucet such as washers or O-rings.
Step 3: Clean and Inspect Parts
Once all components have been removed from your faucet, it is important to clean each part with warm soapy water and inspect for signs of wear or damage such as cracks or rust spots. If any parts appear damaged or worn out, it is best to replace them with new ones before continuing with the repair process.
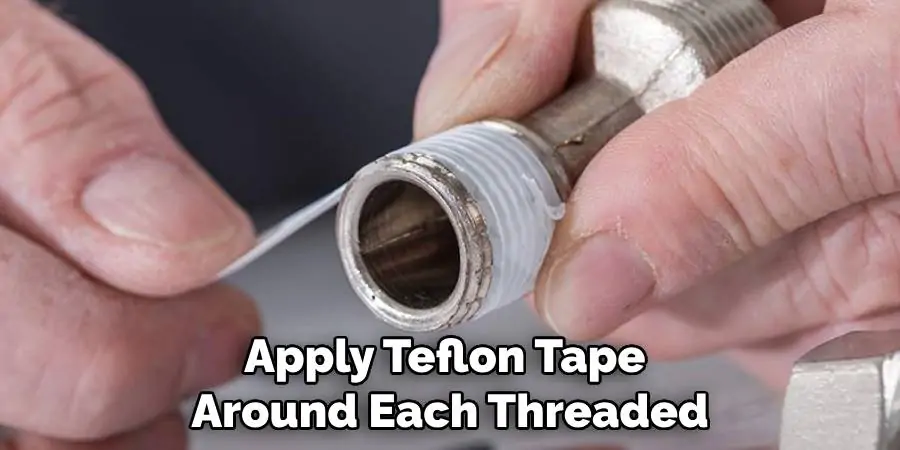
Step 4: Apply Teflon Tape
Once all components have been cleaned and inspected, apply Teflon tape around each threaded component of your faucet before reassembling them back together again. This will help ensure a tight seal between each component when reassembled which will help prevent leaks in your kitchen sink plumbing system down the road.
Step 5: Reassemble Faucet Components
Now that you’ve applied Teflon tape around each threaded component of your faucet, you can start reassembling them back together again in reverse order from how they were disassembled earlier on in this process (i.e., washers first, then nuts/bolts). Make sure each nut/bolt is tightened securely but not overly tight as this could cause damage and lead to leaks later on down the line.
Step 6: Reattach Supply Lines
Once all components of your kitchen sink’s plumbing system have been reassembled securely, you can now reattach both hot and cold water supply lines back onto their corresponding connections at either end of your faucet assembly (if applicable). Make sure both connections are secure before proceeding further with this project as loose connections could lead to leaks later on down the line if not properly secured now during installation/repair process!
Step 7 :Test for Leaks
After all components have been reattached securely onto their respective connections within your kitchen sink’s plumbing system (including both hot & cold water supply lines), it’s time to test for leaks by turning on both hot & cold taps simultaneously at full force for a few minutes while inspecting underneath & around entire area for any signs of leaking water (i..e drips/puddles forming). If no leaks are present after several minutes then congratulations – you’ve successfully tightened up that pesky kitchen sink’s plumbing system!
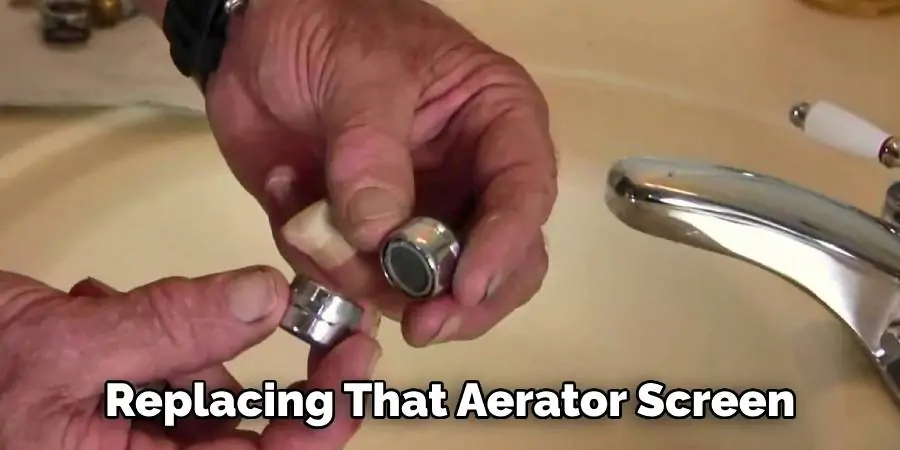
Step 8: Replace Aerator Screen
Finally – don’t forget about replacing that aerator screen! The aerator screen helps regulate & reduce flow rate from tap while also helping remove sediment particles from entering into plumbing systems from incoming water supply lines – so make sure it’s replaced properly after completing the tightening process above!
Step 9: Enjoy Your New Kitchen Sink Fixture!
You’re now ready to enjoy your newly tightened kitchen sink fixture – congrats! Just remember though that if problems persist or if anything else seems amiss then it’s always best practice to contact an experienced professional plumber who can assess the situation more accurately & provide better advice on how best handle the situation moving forward 🙂
How do I remove the faucet handle?
If you need to remove the faucet handle for further inspection or repair, follow these steps:
- Turn off the water supply to your faucet.
- Locate the set screw on the bottom of the handle and use an Allen wrench to loosen it.
- Once the set screw is loosened, you should be able to pull the handle off easily.
- If the handle is stuck, use penetrating oil to loosen it before pulling.
- Once you have removed the handle, you can inspect and repair any components that may be causing the issue.
- When reattaching the handle, make sure to tighten the set screw securely with your Allen wrench.
- Turn on the water supply and test for leaks before using the faucet again.
Remember, if you are unsure about any steps in this process or encounter any difficulties, it is always best to consult a professional plumber for assistance.
Frequently Asked Questions
How do I take apart the faucet base?
If you need to take apart your faucet base, it’s important to know a few key steps to make the process as efficient as possible. First, turn off the water supply to your faucet. This will ensure that you don’t accidentally flood your kitchen or bathroom while working on the faucet. Then, remove any decorative pieces or knobs covering the base of the faucet. You may need to use a wrench or pliers to loosen and remove these components. Once they are out of the way, use adjustable pliers to loosen and remove the screws that hold the faucet base in place. Once you’ve taken apart the faucet base, you’ll be able to replace or repair the necessary components to get your faucet back in working order.
How do I locate the leak in the faucet?
Are you tired of hearing the constant drip, drip, drip of a leaky faucet? Not only is it a nuisance, but it can also increase your water bill significantly. Finding the source of the leak is the first step in fixing the problem. Before you start tearing apart your faucet, check the handles and base for any visible signs of water. If you don’t see any leaks, turn off the water supply and take apart the faucet. Check the washers, o-rings, and valves for any signs of wear or damage. If you’re still unable to locate the leak, consider calling a professional plumber to ensure a proper fix. Remember, ignoring a leaky faucet can lead to bigger problems down the line, so act fast to prevent any further damage.
What do I do if the faucet still leaks?
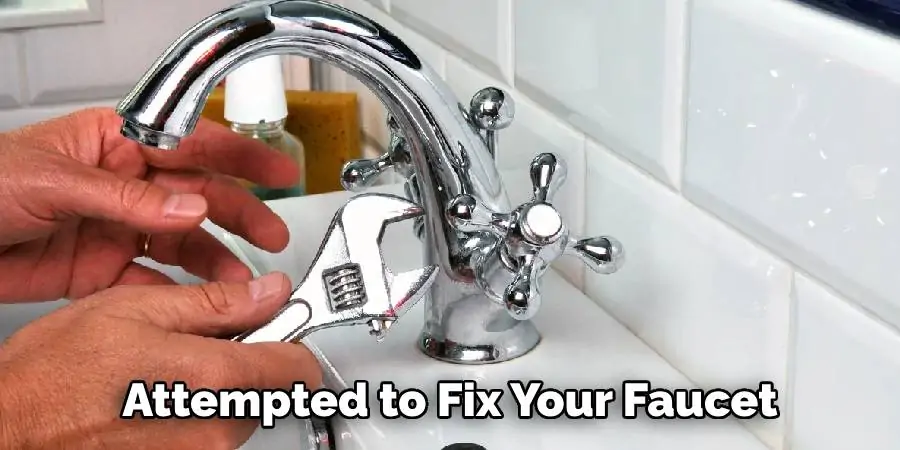
If you have attempted to fix your faucet but it still leaks, don’t worry as there are a few things you can do. Firstly, ensure that the water supply is turned off before inspecting the faucet. Check for any signs of damage to the washer or valve seat, as these are common causes of leaks. If these appear to be in good condition, try tightening any screws or bolts that may be holding the faucet together. If this still doesn’t solve the issue, it may be time to call in a plumber. Don’t let a leaky faucet continue to waste water and money, take the necessary steps to resolve the problem and enjoy a fully functional faucet once again.
Conclusion
Overall, while the process of tightening a kitchen faucet may seem intimidating at first glance it’s nothing to be afraid of. With the right supplies and confidence you can have your kitchen faucet working again in no time. As long as you keep safety in mind, shut off and disconnect any existing water lines, find the right tools for the job, inspect underneath the sink regularly for leaks, and don’t forget to give yourself some patience this project doesn’t have to be tedious or overwhelming. Plus, being able to perform this task might come in handy when similar issues arise in the future. Now that you know how to tighten a kitchen faucet, what are you waiting for? Get out there and get started!
